125 rebuild chronicle

noobi

New member
ok, after all the query threads, it is going to happen.
i will replace the piston and ring on my bike!!!
i got a piston set ok, wiseco make one, same as the cr125gp 54mm
while im at it will may do some port matching, squish seting and general maintenence on the engine while the barrel is off.
who make the gg little end bearings? i can get a genuine one but at twice the price of any other sort of needle roller bearing,
now if anyone has any info they would like to pass on to me, i have never done this before, that would be greatly appreciated. i have access to all the necessary tools.
i have started this as more of a journel for me, as there is no other threads about it. i will post photos too

so before i start, any helpful tips anyone

thanks
 
125 top end

If you need a small end bearing, Wiseco should have plenty of them. You might also try to get ahold of a Wiseco catalog, they usually have the bearings, circlips, piston pins listed for many different bikes. See which ones carry the same part number. It's a place to start anyway.
 
ok
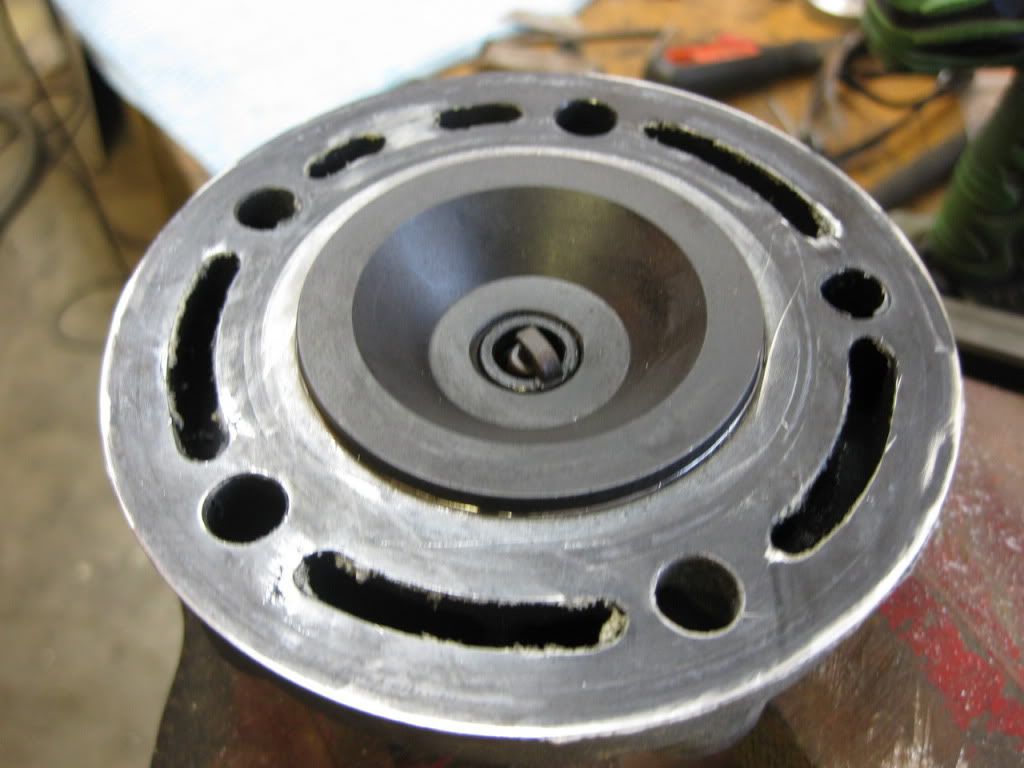
i pulled the head off, everything is ok there
it was a mission trying to get the barrel off though. firstly, the nut that holds the pv actuator arm on snapped, then the barrel wouldnt clear the frame, so removed the pv cover plate, now its off
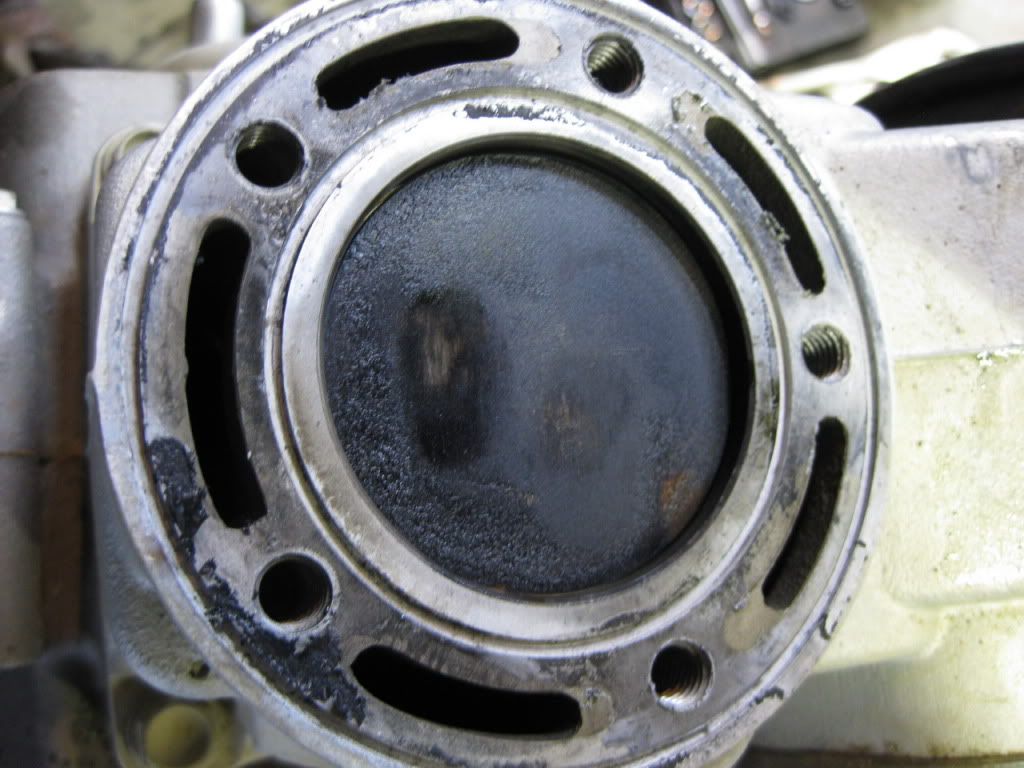
pulled the old piston off, its fine, so is the l/e bearing.
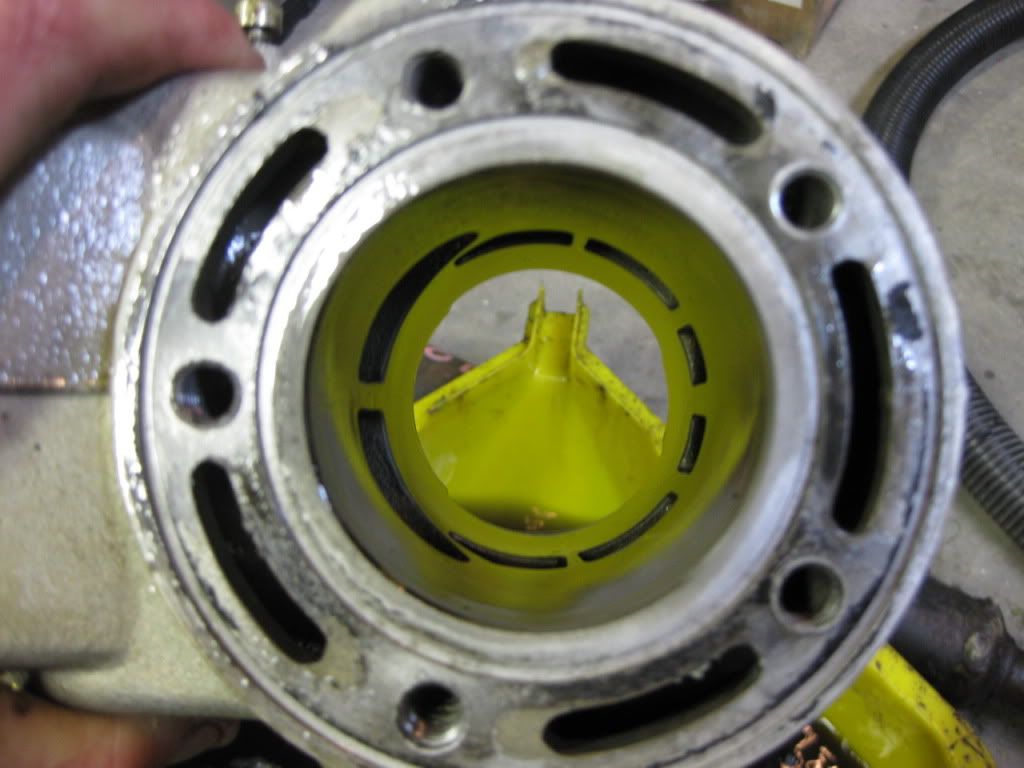
bores fine
the b/e bearing feels fine, a few mm of sideways play in the rod
the new piston is a 54mm wiseco cr125gp piston, fits perfectly, the pin rod and bearing all line up nice and snugly
the squish is about .788mm, Ron at RB designs suggested about 0.762mm, so a negligible amount of difference there.
the old piston will be fine for a spare i think
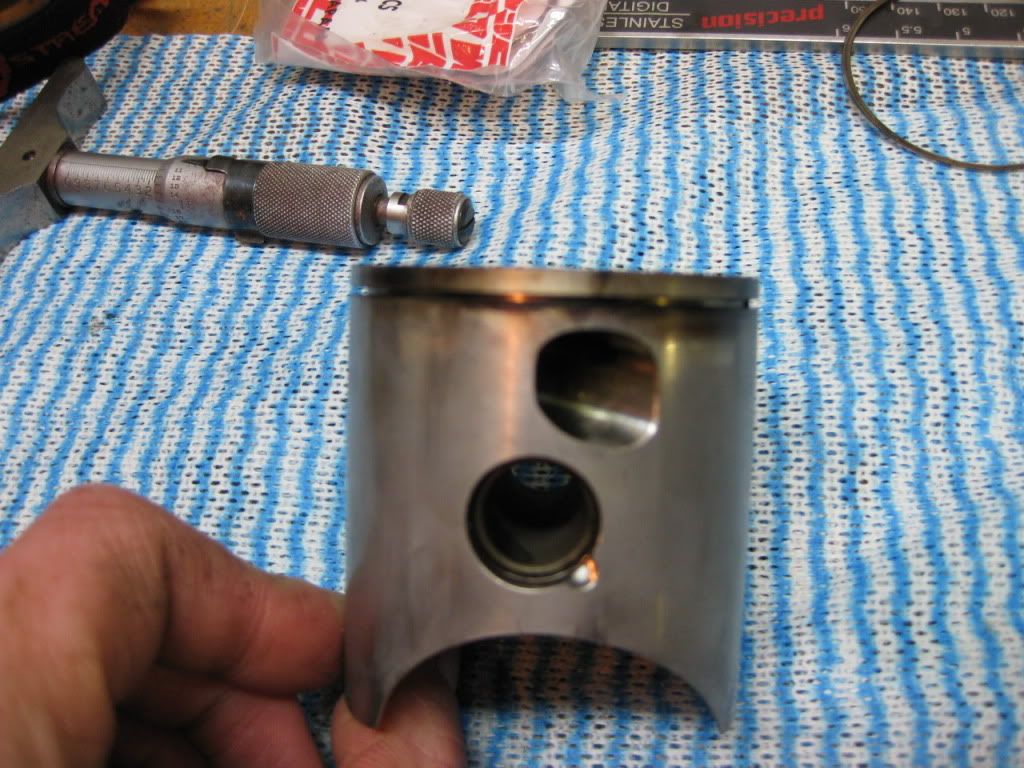
do the holes on the side do anything? they dont go anywhere. but the new piston doesnt have them
IMG_0359resize.jpg

head
IMG_0349resize.jpg

bore
IMG_0365resize.jpg

old piston with jetting map
IMG_0350resize.jpg


so only grief so far, how the hell am i supposed to get the pv actuator arm off without snapping the bolt, theres a nylock nut on it and it wasnt moving
 
That bike looks to be in good shape with no issues. All Wiseco 2-stroke pistons I've seen have those holes, to reduce weight I suspect. The PV plate studs have been snapping for years. You need to heat the M5 nyloc nut with a heat gun or very carefully with a tourch before trying to remove it. Sometimes they snap anyway as some are way overtightened at the factory from my experience. They are cheap and I usualy buy a spare with a new bike anticipating this. If you look close at the plate/stud you will see why they break, the stud is turned down and spot welded to the back of plate. Its not so much an issue of the nyloc nut friction as the nut being too tight. If you get it off without snapping it, and just snug down a new nut, there are no problems as the part normally never breaks in operation.
 
is there any way of getting the cam part off the pv crank (the bit with the now broken bolt still attached) off with out pulling the whole pv to bits?
the exploded parts diagram suggests not, although there is a cap screw that thread into the pv crank, but it doesnt hold anything on?

and its good to hear another opinion that everything looks good and as it should be
any tips on running in the new piston and ring?
i was just gonna start is, warm it up then do some hard pulls through the gears and rev range, nearly to the top rev range but not let it sit on any rev level for very long. or should i do a short no stress period before the high reving business?
 
Noobi,
Was about to send a pm about the pv actuator nut but was too late.I broke mine as well.The head looks nice & clean,piston has a bit of build up though,more compression!;) What premix do you use?
Advice-Get the barrel honed reguardless of condition to get the most out of the new piston & rings.Check ring gap.
Check & double check the rings are seated correctly to the piston ring pin.
When putting the circlip on the piston pin,stuff a rag around the bottom end so it can't fall in,sounds obvious but can be over looked .
Running in.Everyone seems to have a different idea.On my old kdx 200,I always did a 'soft 'ride up to operating temp.,let it cool down & did it again,no top end revs for any period.A friend in the bike trade told me about a different scenario for the next piston replacement .Start the bike & let it warm up,then give it arseholes! (technical term in NZ for those reading).Cover the whole rev range,the more the revs vary the better.Don't hold it wide open for a long period,just ride it hard.I carried it out as instructed,expecting a spectacular melt down.But it did make a noticible difference.It had more bottom end & pulled harder than ever before,I am now sold on this idea.
The theory- The rings bed in very quickly & what you do with it in the first hour will set how well the rings seal.This applies to the honed surface of the cylinder as well.Higher revs= closer & sharper mating of the rings to cylinder.
It may be all b.s. ,but it seems to work.End of the day it's your money in there.
Good luck,it is going to rip!You never seem to notice the drop off in performance but you sure notice the increase.
 
gg3,
yea i was suprised when that happened, didnt expect to be breaking stuff that early on in the process! awell, its an easy fix if i can get the cam part that has the broken bolt in it off :confused:
i run 40:1, book says 50:1 i think, with castrol TTS. its jetted rich in the top end i think, cuz theres always splooge coming out of the pipe after a fast open farm ride but not after a slow forest ride. bike shop said that i should go to a 42pilot, because the 40pilot had the air screw turned out ot far?. it has a 175main in it atm iirc. dont know what needle, the 6mm bolt head appears to be stripped and i cant get it off:confused: and dont want to break that
anyway, i dont want to get it honed, its nikasil and dont trust a hone within 100m of a nikasil bore, have heard horror stories about a very light hone going thru the nikasil, im not keen on that happening
i think ill just warm it up do a average loop, a bit open but not tapped open then go and do a run and give it arseholes.
hopefully i notice a bit of a difference, the piston that came out appears to be fine. but its only $200 for peace of mind :p
 
Grind or split the M5 nut with a Dremel tool cutoff wheel. Cover everything carefully to keep the grit out. For the cyl, go over it with a Scotchbrite pad, wash it, and your good to go. To hone that cyl you would need to be careful due to the narrow exhaust bridge. Thats the first place the plating is likely to flake off.
 
Grind or split the M5 nut with a Dremel tool cutoff wheel. Cover everything carefully to keep the grit out. For the cyl, go over it with a Scotchbrite pad, wash it, and your good to go. To hone that cyl you would need to be careful due to the narrow exhaust bridge. Thats the first place the plating is likely to flake off.

got the cam part with the stud off, drilled/angle ground out the broken stud, went to rethread the new hole and broke two taps on the weld that was still left on one side, but all ok now, just have to get a cap screw thats the right length and locktite it in. then just reattach everything. also got the rest of the broken stud off the pv arm. just grabbed the shoulder that was left of the shoulder bolt/stud with some vice grips and then undid the nut. so sweet as(another nz saying, means everything is fine)
im still apprehensive to take a scotchbrite to the bore, sounds strange to me:confused:
 
ok, the new squish is about 0.4mm? is this too much? Ron and RB recommends 0.726mm of squish
i will either a)machine 0.3mm of the head off
or b) put another 0.3mm gasket on
suggestions?
 
Back
Top