48 mm Sachs

justinholmes10

New member
48 mm Sachs fork caps won't back off!

So I have the 48 mm Sachs forks with the adjustable pre-load. I need to know is there any major differences between these and the ones without with regard to assembling/disassembling. (2011 GasGas EC 300 6 days)
 
Last edited:
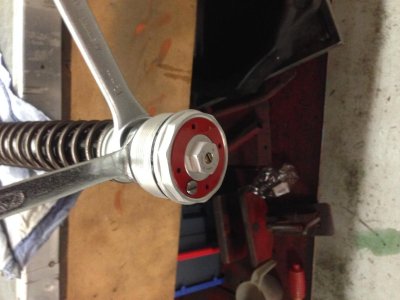
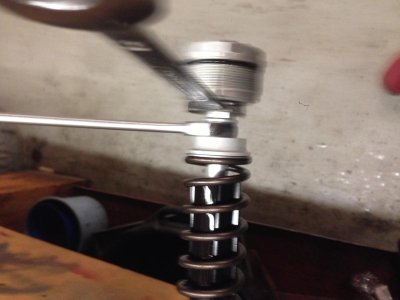
I have begun to try and replace the seals, but haven't gotten far. I have started to back off both fork caps from cartridge rod but after a few threads, they both want to stop backing off. I have a 19 mm on the lock nut and a 17 mm on the cap nut. What am I missing ? I don't want to screw this up because I know replacement parts are very hard/impossible to come by ..
 
Can't see what you have the 17mm open end located on. I'd personally be using a 6 point socket on the top of the fork cap and backing the whole cap off from there. Make sure the rebound adj is backed out before you start, and that it continues to come out with the cap.
 
I tried that as well. But both caps stop backing off at the same point for some reason.. I didn't want to try forcing it because I've read how delicate they can be.
 

Attachments

  • image.jpg
    image.jpg
    76.1 KB · Views: 25
You won't strip those threads. Likely some thread locker or similar in there too causing it to bind a little. Can try some heat, or lean on it a little more. The removal isn't the delicate part. The cap threads onto the outside of the damper rod. The rebound clicker threads into the damper rod. They'll both back off together. The part where most people come unstuck is when putting the cap back on and not having the clicker thread into the rod properly.
 
i thought that might be what it could be. but wouldn't the thread locker make it difficult to back off from the beginning ? i just find it strange that they both become increasingly more difficult after 3 or 4 threads of backing off? is it possible that i need to remove the compression nut at the bottom first?
 
So I'm happy to say that you were right Jakobi. I gave it a bit more elbow grease and it came right off. I feel like a pansy now but happy nevertheless. Do I need to remove the cartridge to get the upper stanchion and fork leg separated, or am I able to I'll hem apart now ? I know that when putting oil in later, that the cartridge needs to be in with the spring removed, so I don't want to do any extra steps for fear of doing something irreversible .
 
You can remove the base valve (comp adjuster) from the bottom of the fork which will allow the whole cart to be removed, or you can simply slide the dust seal back, remove the circlip, add some heat and slide hammer the 2 fork halves apart and the cart will stay attached to the lower leg.

With the right tools it's not overly hard to remove the BV, however without you can run into head aches. One thing to consider is that if the oil is looking like its seen better days, that the bulk of the sludge will be at the lowest point... around the base valve. Removing it is the easiest way to clean it properly, but if you're willing to spare some extra oil you can also opt to just flush a bit more through.
 
thank you for the reply. i think ill leave the base valve where its at in that case. i want to try and mitigate any potential damage due to my lack of mechanical skills. thanks for walking me through this.
 
got both fork seals in. so hopefully this will be my final question. I've read in another thread that 7.5 is the ideal weight for fork oil. can anyone verify this??
 
Before the viscosity experts get into the full science of it i will give the rider's answer as yes 7.5wt

cant remember the range of air gap but believe it to be 100-120mm
 
easier

thank you for the reply. i think ill leave the base valve where its at in that case. i want to try and mitigate any potential damage due to my lack of mechanical skills. thanks for walking me through this.
I find it easier to remove the comp on the bottum of the fork and dust seal to remove clip, and slamming the forks apart.:cool:
 
Back
Top