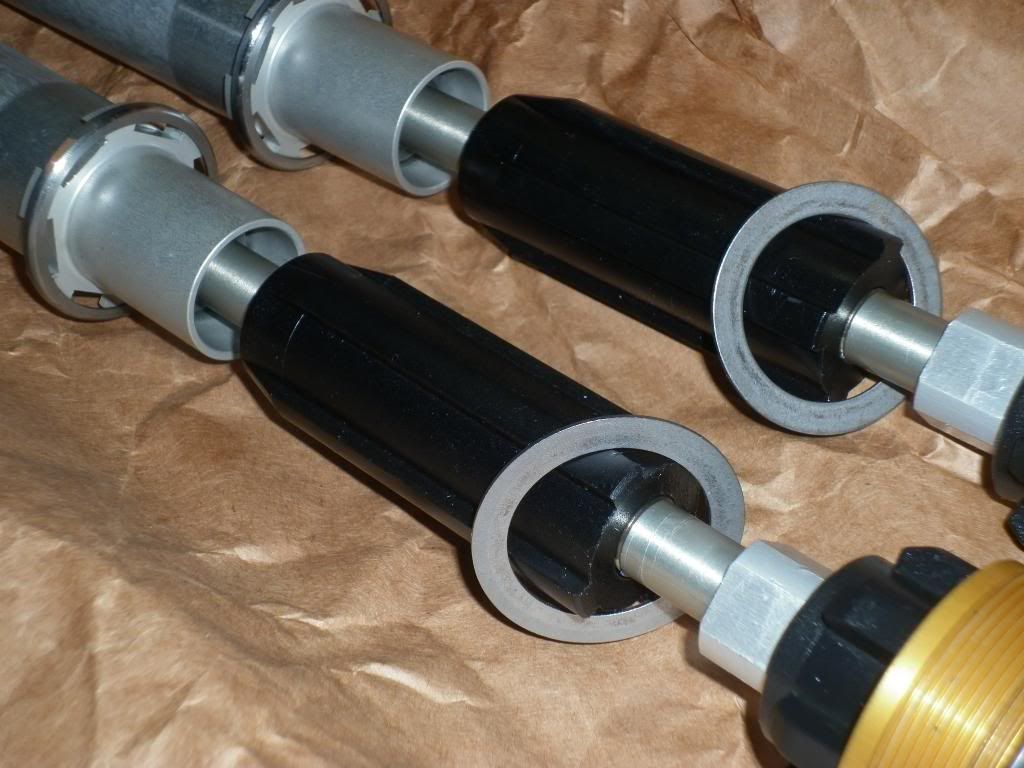
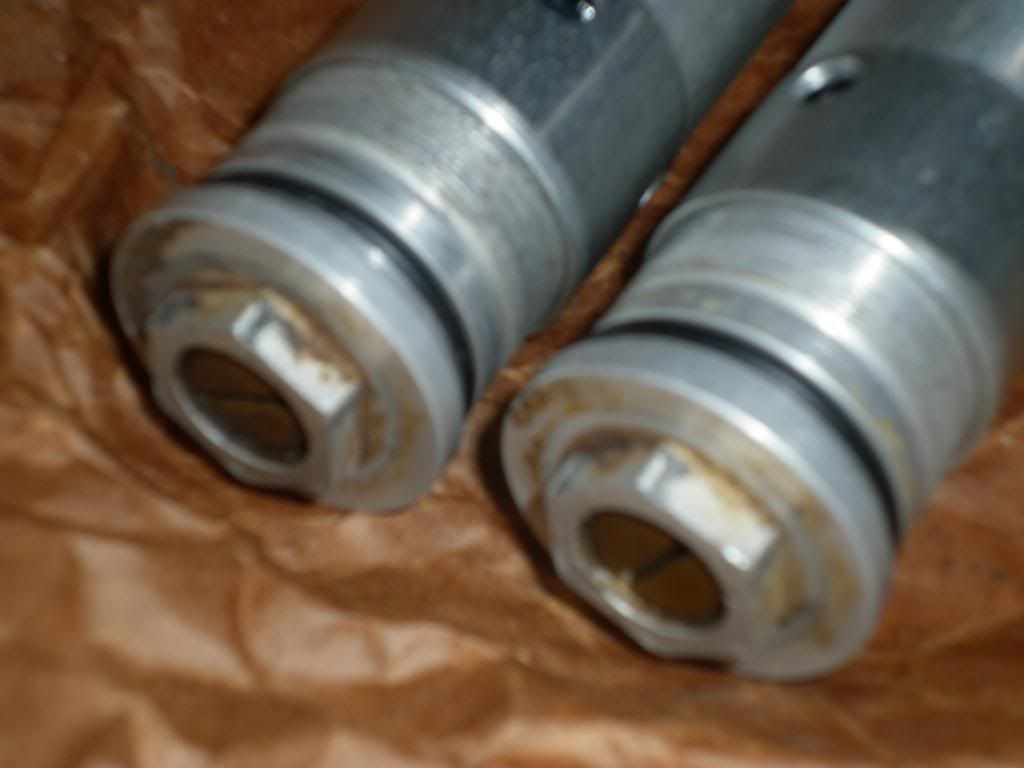
So after owning my '11 EC300 equipped with Sachs/Sachs for 6 months now and finally being happy with the jetting/engine I've decided it's time to do something about the suspension.
First up I've put in the correct weight springs for my 93kg naked frame. I have .46 springs up front with 3mm preload and a 110mm air gap.
I also have a 5.6 spring on the back although with 9mm preload I have 22mm static and 105mm race sag so could go up to a 5.8. I'm happy with the shock for now so let's put that to the side and ignore it.
My issues with the forks:
I consider myself an average trail rider, occasionally ill get frisky and ride at an above average pace though not for long and usually not through the technical trails where above average riders will leave me behind. I ride typical Aussie bush trails, 90% single track if I can help it, fair amount of off-camber terrain, roots, rocks, boulders and logs. Even though I'm not very good at them I love hills, the steeper and more technical the better within reason. I'm average joe, not Graham Jarvis after all.
Current gripe is with the fork, I have it set with the clickers about as good as it will get I think. Compression is basically wound all the way out. With rebound wound all the way in. I found I had to wind the compression right out to avoid the initial harshness at the beginning of the stroke, thinking dropping the front down from a high slow speed wheelie, that jarring sensation you get. It was like that hitting normal trail trash, small washout jumps etc. Winding compression right off has reduced this a lot, but not got rid of it altogether. I also found as I wound the compression off I had to add rebound to slow the rebound down.
This was effective to a point. I noticed that at a point towards the max rebound the compression stiffened up again, reducing compression to address this resulted in savage rebound again. I think I've read somewhere this 'crossover' is a normal thing? In any case I'm now at approx 3/4 min compression and 3/4 max rebound which seems to be the point immediately prior to this 'crossover' occurring.
With these settings the bike is better on trail trash though not plush by any means, it still tends to deflect and jar on square edged objects especially off-camber roots etc, the rebound is acceptable and won't dive into corners, though pushes a small amount if I'm lazy and weighting the rear too much. It has good bottoming resistance even off decent sized washout drains although the rebound from these jumps is a little quick and pogo ish. When used a lot as in on quick ish downhills with lots of rocks and small ledges the forks seem to stiffen up and jar the buggery out of me, the rebound also seems to quicken up resulting in the front pogo ing it's way down the hill. Very unnerving.
Like many others have observed these forks definitely perform better the faster and harder they are pushed. Unfortunately I can't push them that hard.
So it's time for a revalve. Other options such as TTX internals / fork swap etc are appealing but ultimately more expensive and out of my budget. I can get a re-valve from a reputable tuner who will perform on site valving and evaluations and while its not what I call expensive (A$650 for front and rear or ($430 front only) I don't have that spare cash laying round at the moment. Ultimately I think I'll go there and get it done, but in the meantime I'm going in myself.
SO.... Simmo has given me some ideas and help and I've read all I could Google on various shim stacks and info on these forks. Re shim stacks ill probably pull mine down and post up current specs and then ask for opinions.
What I'm after at the moment is help in getting them apart. I've had WP48mm off KTM apart before, didn't revalve but pulled it all the way down and re-assembled. I've also done the fork seals and springs in these Sachs forks. I'm not afraid of pulling them apart but I am afraid of stuffing them. Is there any information/guides on pulling these forks down?
The base valve seems straight forward to remove. I note it's made of room temperature butter as someone described it? It seems the mid valve is hard to get to due to the cartridge being a pain to disassemble? Can someone spell out exactly why this is? All I can get from threads on here is to use heat and a special tool is required?
(I spoke to a local suspension tuner today, he told me he doesn't use heat to crack the cartridge but hits the spring seat against something hard to crack the thread locker then grips the spring seat in a vice and turns the cartridge itself to undo it? - is this right he sounded a bit unsure on the Sachs)
I know official documentation on the Sachs fork is non existent, but why isn't there a how to pull them apart guide on here? I'm going to put my hand up and say ill do one, but first i need to learn how to pull them right apart myself.
Are the only valving mods people do to the base and mid valves? Is there a rebound stack that people change? (New to valving remember)
Synergy I've seen you recommend opening the ID of the bottoming cone and nylon capture disk? Once I have them apart and figure out what they are is this a must do mod?
Thanks all I appreciate anyone taking the time to read this and or offer any good advice. Pictures would also be good
Last edited:


