S3 Race Custom Modified EC250 Complete Rebuild

crank rebuild

Oh OK I see, you are dropping the crank off to be rebuilt. That's good ,because a 3 jaw puller would not get that bearing off the crank. You Need a bearing separator style- it has knifed edges,so as you tighten up the nuts. Its forces the puller behind the bearing-get it real good and tight. Then use a press on the WELL supported crank assy.
Its the only way I have ever done main bearings.
 
That bearing should not be that tight of a fit on that crank that it takes a crazy effort to remove, the case press fit should be tighter. Only the inner race of the two part rollers are supposed to be tight. If the bearing bore in the case is so loose it allows the bearing to slip in and out easy, I would use some bearing retainer compound after a proper degreasing. This works in this application, but not so well if the inner race/crank journal fit is loose.

As advrider suggests, a bearing separator will get under the bearing. Retain this in a vise, and a few good taps on the end of the crank with a plastic hammer should do it.
 
And thats why I love this place. Knowledge!! I never even knew such a tool existed but my logic was the same that if I could hold the bearing in a vice and then tap the crank end it should slide out. Makes perfect sense to have something holding behind the bearing that is the right shape to clamp into the vice.

The crank has been in the freezer over night, so I think we'll probably try a bit of heat on the inner race again this morning. If thats no go I'll head out and buy a bearing separator. Once the cases are cleaned up I'll check the new bearing to see how easily it will push in or out. On inspection it doesn't look like there is any wear on the case side.
 
The freezer/heat trick worked the second time round. Popped it off at the dealers this morning and then left it with him along with the Vesrah rod kit. Replacing with the same brand of rod as I've been happy with the life and performance of it. All the measurements were still in spec.

Is it normal for the rod to feel like it can rock a bit side to side? I'm not sure if it was actually rocking or just felt like it. Zero noticable up and down. Needles looked good. The side clearance was right in the middle of spec.

Vesrah seems to know what they're doing - I haven't seen one fail either.

You've got quite a bit of leverage on the rod at the top end so a little 'rocking' play is to be expected.

Can't wait to see the build-up pics ;)
 
You know how to keep me motivated Steve. Today I'm only going to clean up all the gasket surfaces, lay out all the new parts and double check I have everything. Might get the old bearings out today, but will probably wait until tomorrow. I have other tasks to do too (such is life).

Back onto Daves comment about the UCCR and how it may be contributing to some of the extra heat in the piston. I was thinking after a comment on another forum. Basically, the other option I have at this point is also sliding in a single 0.1mm base gasket. That will take my squish up to 1.35mm, but will raise the ports a touch, and add an extra 0.35cc's of volume :D It should net some better over rev in both aspects. I might lose a touch off the bottom as a result. I might do that as its the cheap and easy option and I have everything here to do it myself.. and if I'm unhappy its easy to switch back. I'll crunch some numbers tonight to see just how much difference to the UCCR this will make.
 
I don't know, my setup is pretty tight and on the edge for pump fuel and piston looked perfect when I had the jug off. Perhaps it's just a result of jetting being a bit crisp for the setup.


Sent from my iPad using Tapatalk HD
 
I don't know, my setup is pretty tight and on the edge for pump fuel and piston looked perfect when I had the jug off. Perhaps it's just a result of jetting being a bit crisp for the setup.

I think this plays a part too Glenn. I think that the 175 main with the Yamaha needle was cutting it really fine. Couple that up with my riding continuing to improve and more time spent in that rev range and its pretty likely. The needle clip position is definitely in its ideal position. At half a clip richer the bike loses snap and doesn't want to stand up as much when coming onto the pipe. Noticably decreased performance. The pilot circuit I have been running a bit on the richer side for torque.

The other consideration is that the bike fell totally flat in the top end coming home at the end of the last ride. Enough to make me decide I wanted to pull it down. It was having issues idling, either stalling or racing when adjusting the idle speed. On pull down I noticed a weeping main seal on the stator side. Was this enough to allow for a hot run? Who knows? If you know a way to ascertain which it was I'm happy to investigate further, otherwise I'm going to assume it was a result of all of the above. I'll probably drop comp a touch more, as well as fattening up the main jet a size or two.
 
So your going back to the PWK, no Lectron or SmartCarb?


Sent from my iPad using Tapatalk HD
 
So your going back to the PWK, no Lectron or SmartCarb?

Good call!

I am on the preorder list for the SmartCarb. Not sure when they'll roll out to Australia though. I was advised I'll need to pay more postage than the original deposit and they would contact me to make this before shipping. In the meantime Dave is letting me hold on to the Lectron and on Kevins (Lectron) advice we're going to sample a few more needles to see if we can clean up the bottom end. At some point I may run the PWK just for a back to back comparison. I'd also like to give Dave a play with the SmartCarb to return the favour.
 
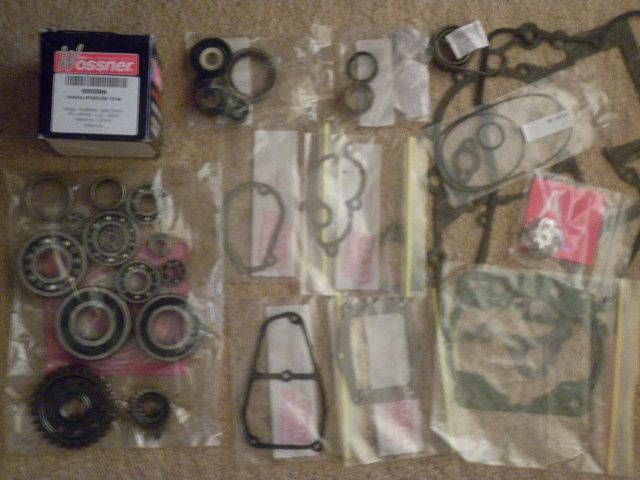
Checked my spares box. I have everything I need to get the rebuild done. Now I just need to decide to run 1 x 05.mm base gasket, or more likely 2 x 0.3mm gaskets.

P1010037_zps45f06e8f.jpg
 
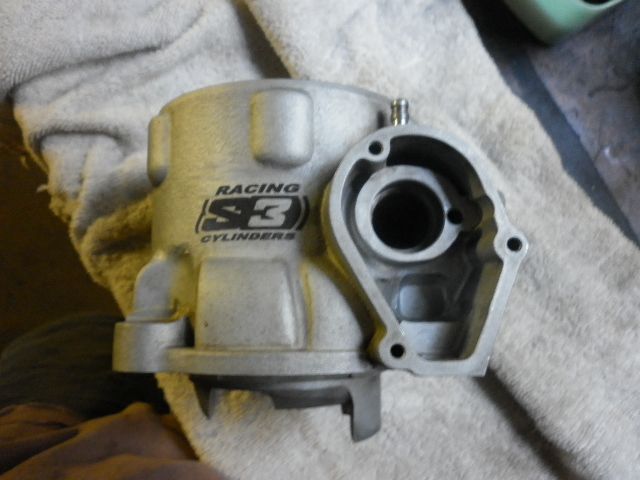
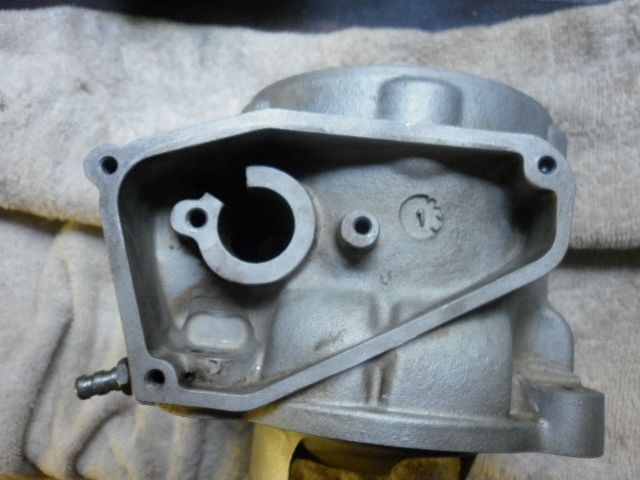
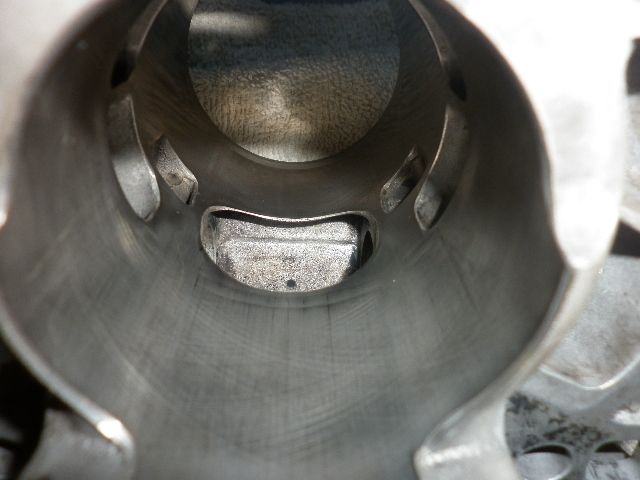
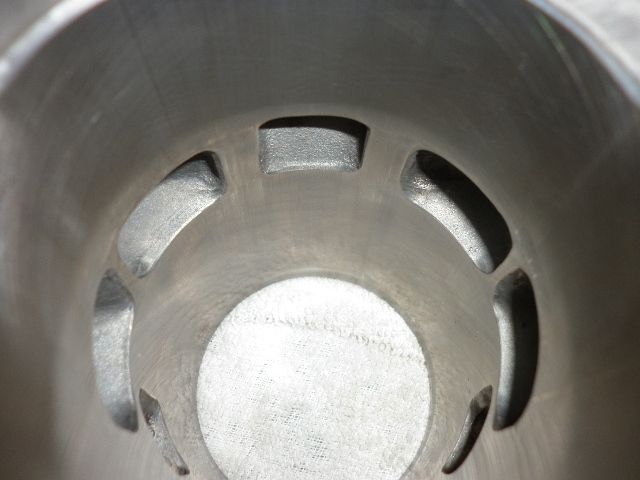
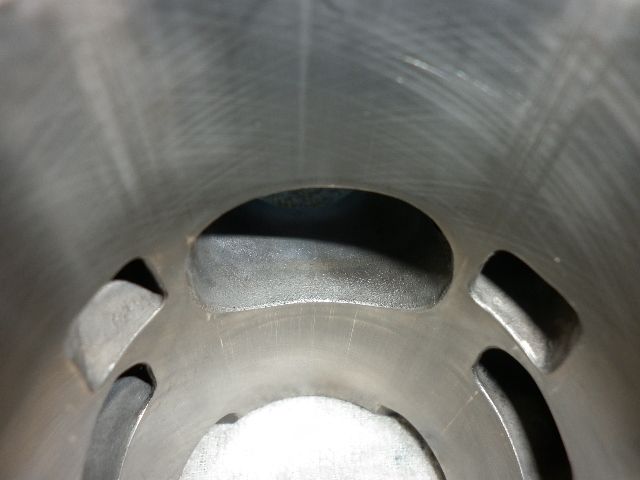
Decided to spend the afternoon relaxing and cleaning the cylinder and powervalve. One of my favourite jobs. The PV actually didn't look too bad and I only did a half baked job of cleaning it up. I couldn't be bothered bringing it back to a polished finish again this time around. I still need to hit the cylinder with some scotchbright or the likes. So far just washed down with some kero, and then carb cleaner. Next stop will be the dishwasher (when the missus isn't watching!) Also cleaned up all the gasket surfaces on the cases. Ready to rumble. And the dealer left a message. Crank has been done and ready to be picked up again. Same day service!

P1010039_zpsf703e32c.jpg


P1010042_zps7c1f2626.jpg


P1010045_zpsdd1b514a.jpg


P1010046_zpsb7971e9e.jpg
 
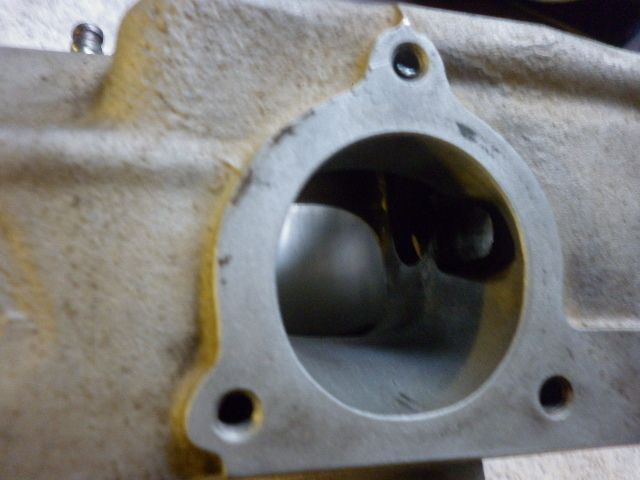
More of inside the cylinder.
P1010048_zpscdb196ac.jpg


P1010049_zpsafc1030f.jpg


P1010051_zps76b10c47.jpg


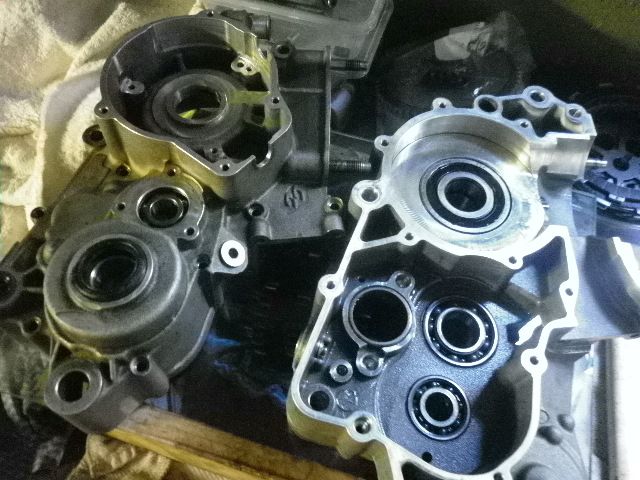
And of course. The nice cleaned up cases, which are ready for bearing removal.
P1010041_zpsab1e5034.jpg
 
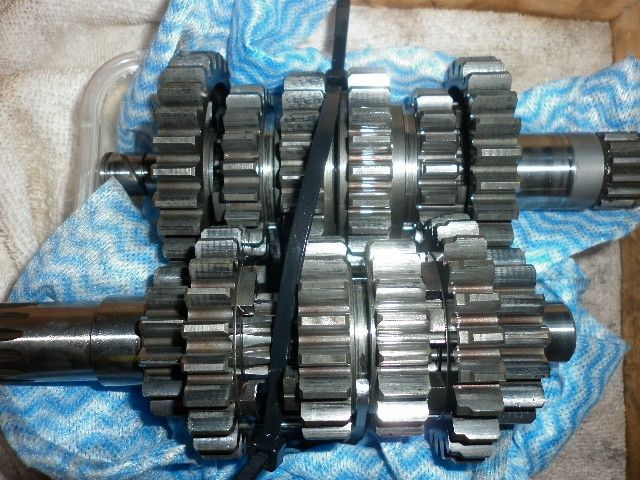
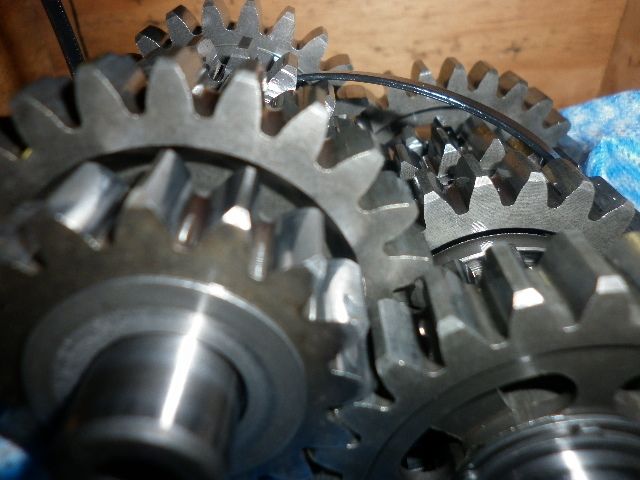
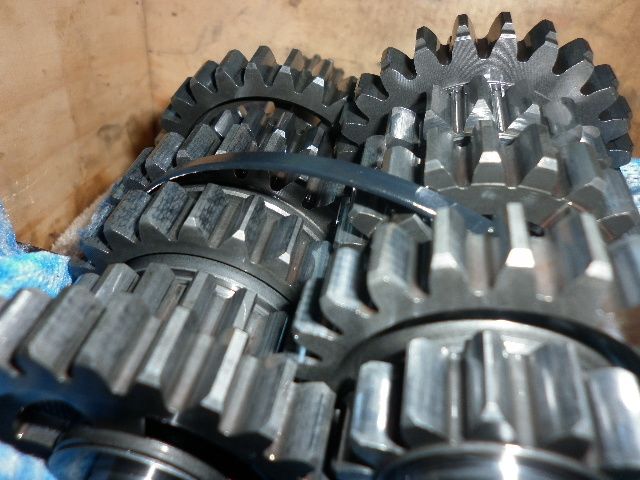
And last pics for the day.. The transmission and gear set. Please let me know if anything strikes you as worn or damaged.

P1010053_zps286546ec.jpg


P1010054_zpsb7ec6ee7.jpg


P1010055_zpsd1b92b1d.jpg
 
Uccr

Crunched a few numbers working backwards from where we were.

With Daves previous calculations of 14:1 with a 21cc dome, and 1.25mm squish (4.3cc), we'd have a 6.1cc dome volume. This doesn't sound right though and I believe we had a dome volume of 6.6mm in the 250's. Anyway, without filling this thread with a heap of numbers, I did the maths both ways, and by going from 1.25mm squish up to 1.35mm I will see about 0.3 less UCCR.

So if I'm at approx 14:1 it should drop down to 13.7:1 (or if prev at 14.3:1 it'll drop back to 14:1). Pretty much decided I'm going to run the extra bit of gasket this time around.

Dave do you have a record of your numbers somewhere? I remember I never sent you the piston, so I'm not sure if you were using one you'd previously cc'd, or working backwards from when I cc'd the full trapped volume. The later makes sense to me.
 
Regarding the gears, you need to inspect the leading and trailing edge of the gears where they mesh, known as "dogs."

transmission_geardog.jpg


These are the dogs, you just want to look at the engagement side on the drive gear and the receiving side on the driven gear. Once you spend some time figuring how the transmission works (moving stuff side to side and front and back), it's easy to determine where the wear should be. The concern is when the edges are worn or rounded at the interface. The wear will be on the leading edge. If you are not having problems you won't see any issues.

Here's a bad one-
IMG_0338.jpg


Here's a heavily undercut gear to prevent slipping-
undercut.jpg


Spend some time searching for "undercut gears" and you will find good info regarding inspecting your gears. You do need to separate the gears from the shaft for a full inspection, but a cursory glance should let you know how deep to go.

If I dig around a bit I might find my worn gears to give you a reasonable view of what I have seen. Otherwise, if you don't have any trans problems, you should be good as you are.
 
Cheers Phil. Not sure I want to be pull the gearbox apart too much. I'll never get it back together. Hahah! I would but I can see it being a headache. I'll check it all out. Great info re the dogs too. I had heard the terminology but never really knew what they were.
 
Today was just one of those days. I had planned to do very little and take my time. You could say it went to plan, as I did very little and it took most my time.

It was just one of those days where nothing seemed to go right. Old bearings proved to be a pain to get out. A few dropped out really easily, a few didnt. The needle rollers for the tranny seemed to be the tightest fit by far. One needed to some assistance on the outer race from the other side. The other was a blind press and I needed to get my mate to drop his blind bearing puller off to get that one out.

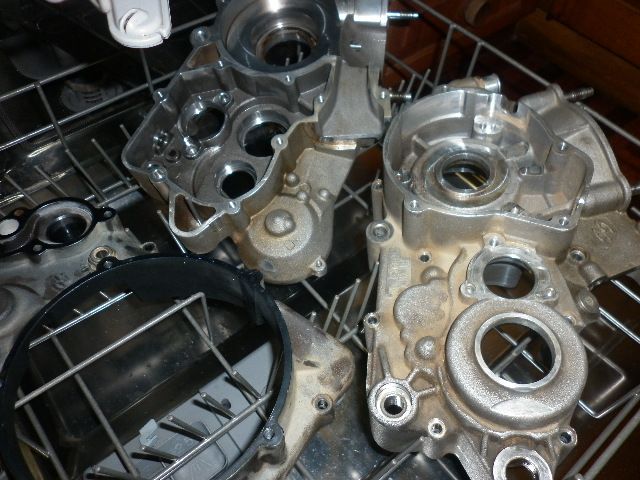
Next up I decided I'd clean the cases in the dishwasher. All good. An hour passes. They don't really look that much cleaner, so decide to go old fashioned. Scrubbing away all good. Letting the truck wash have a soak, I went to get the pressure washer ready. Hose blows off the back and sprays water everywhere. Get it back on, and then bleed the air bubbles out and turn it on. Nothing. Motor not engaging. Check the power point. Yep its live! POS Karcher pressure washer. It failed once under warranty, got repaired and I have used it once since. It worked briefly when I kicked it :D Move it back to the tap. Blow the hose of it again. Still won't work... So hose it is. Hosing everything down. Waters going everywhere. Splashing back at me. I'm wet! Its wet.. We're all wet.. but at least we're clean!

Back up to the house and start warming the cases up. The bearings had spent all day in the freezer. Just like when taking them out... Some went in easy, others didn't. If you even slighlty dropped it in on an angle the heat of the case would exchange to the bearing and it would lock up on me. Had to heat the lot to get it back out and start over. This was a bit of a trend. I don't want to know how many hours the oven was running today between getting bearings out and putting bearings in. Again on fitment some where tight and needed some help on the outer race with a socket. Some pushed in beatifully by hand. The mains seemed to push in well. Most the smaller ball bearings were no issue. The large caged bearing was a bit of a stubborn one, and both needle rollers for the transmission felt like virgins.

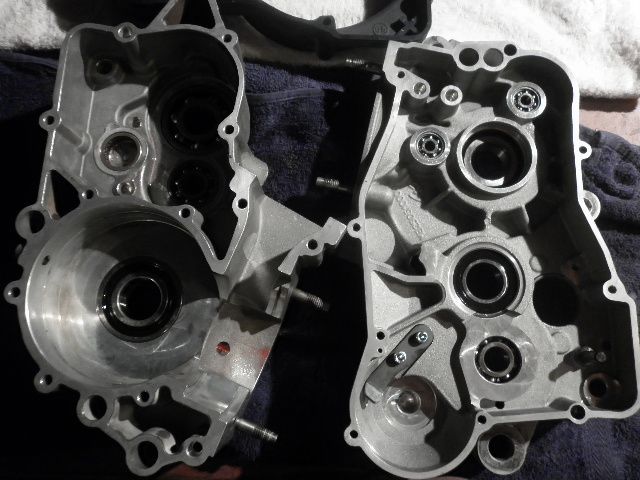
Today is now over. My cases are now clean, and have new bearings in them. Everythings been lubed up with some 2T oil. The sealed main bearings (as per stock) still seem to pass 2T oil through them too, and feel tighter than the old ones. Should be like a new bike!

Back to school tomorrow. So no updates for a few days.
 
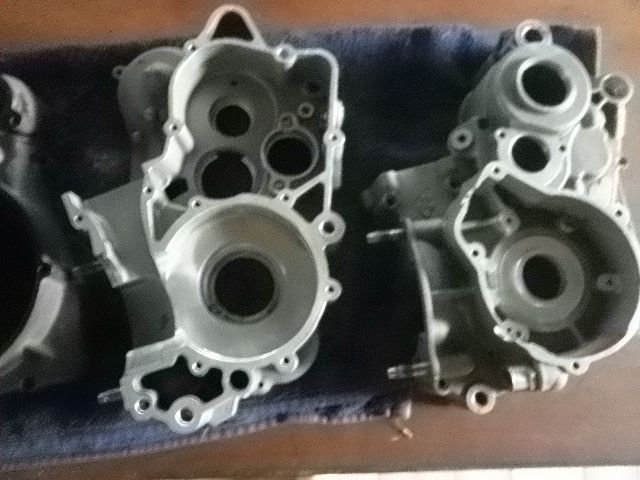
Dirty cases
P1010069_zps9e04b673.jpg


Clean cases - NO! The dishwasher didn't do this.. Good old fashioned elbow grease did :D
P1010070_zpscd808f4c.jpg


New bearings dropped in
P1010071_zps0bfd5958.jpg
 
Back
Top