Complete Rebuild - EC250

Bearings are on dry ice tonight. The plan has always been to use heat/cold to install. Just not for disassembly of that side where the bearing is exposed and can be easily driven out.
 
Did you just go to a bearing house with a list of bearings, or were you able to pin down a complete bearing kit from a dealer/other source?
 
I wouldn't lose any sleep over it either ;) It's not like it will be cause for the new bearing not to seat properly. I figure if you pressed out and in enough times you could run into issues but probably still not likely.

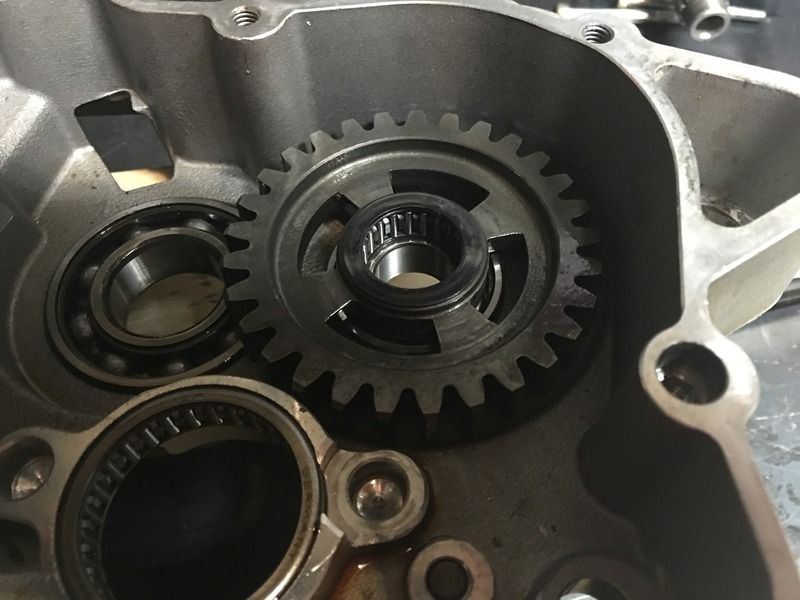
When I did mine, even with heat I couldn't get the needle rollers for the transmission shafts to come out, and no chance to use a punch from the far side on one of them. Had to get to it with a blind bearing puller.

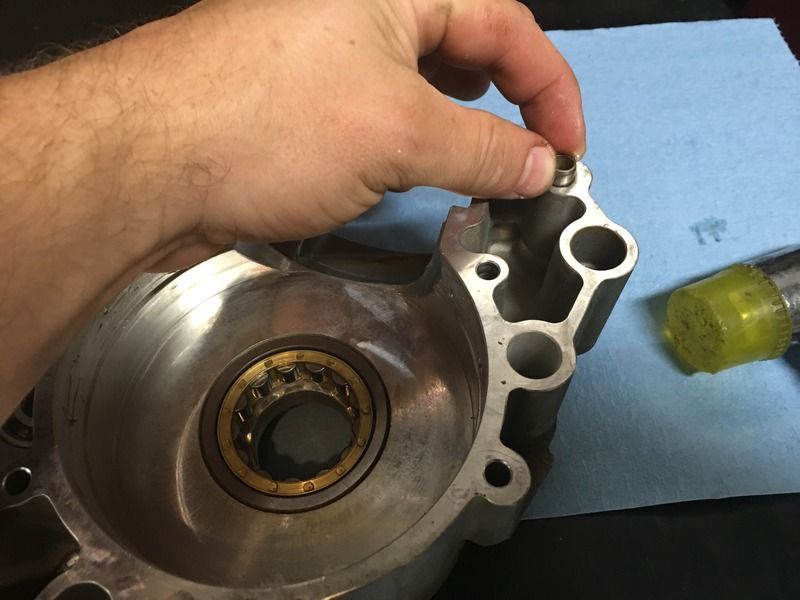
Even without dry ice, new bearings will easily drop into a hot set of cases as long as you can get the bearing square before letting go of it.
 
Great point about getting it square before dropping it in. If it isn't squared up, it starts heating up the bearing and cooling the cases very fast and it gets stuck... having to start the process over.

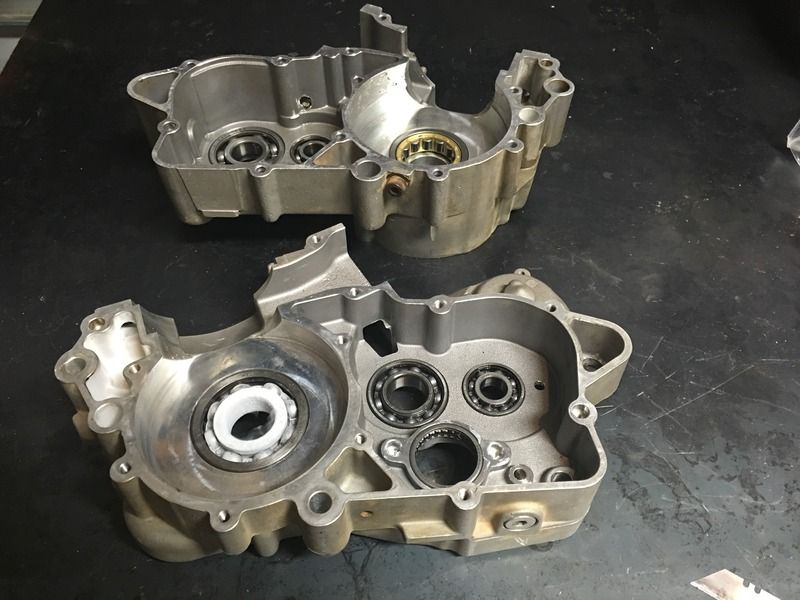
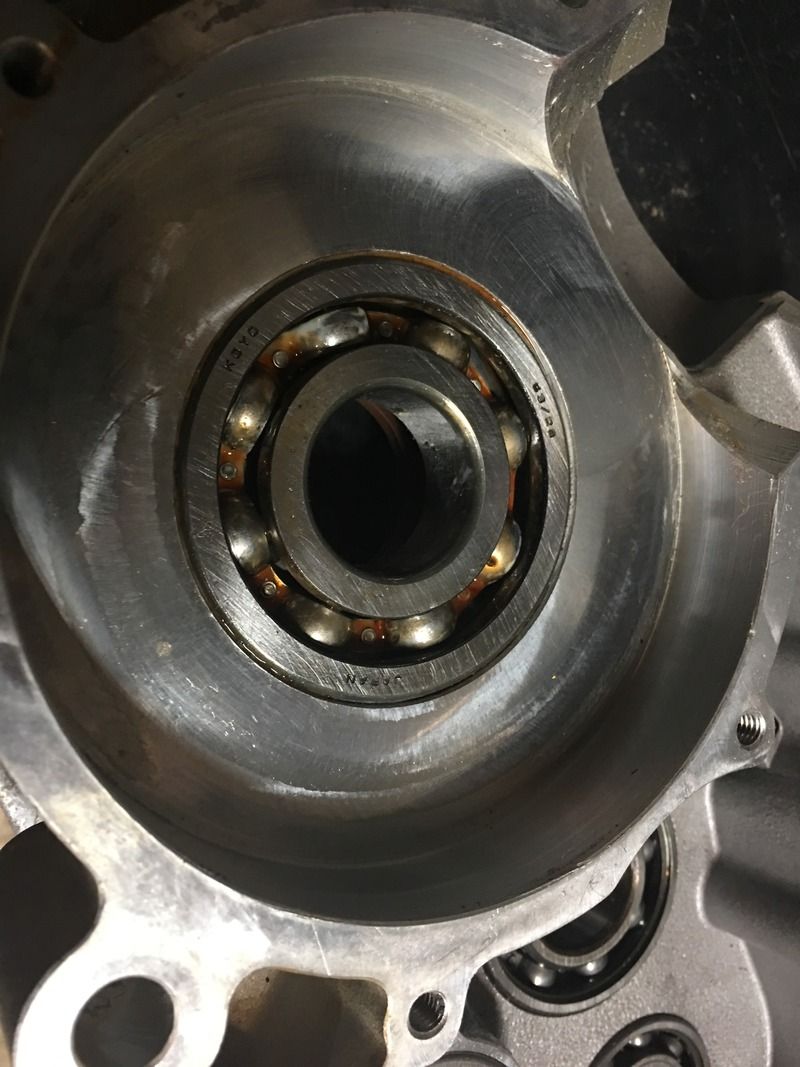
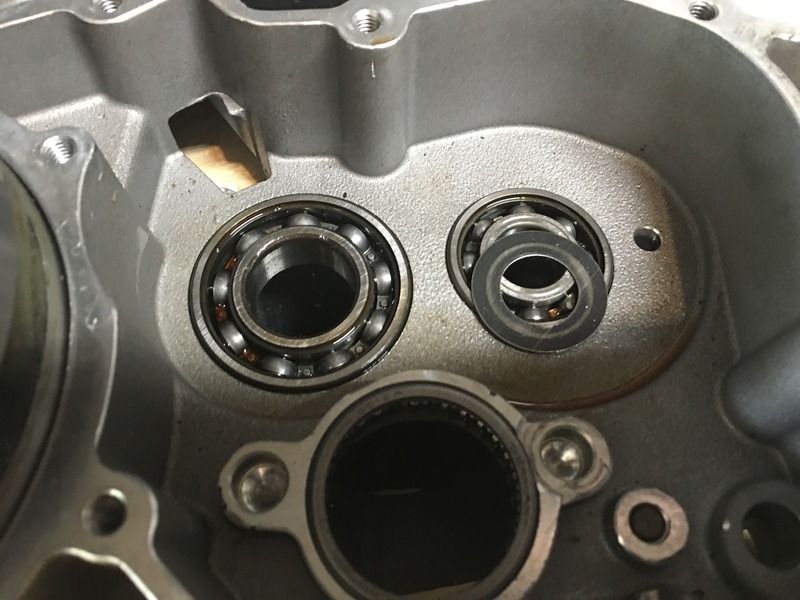
All the bearings went in just fine, except this one. It took a second attempt: Proof that not everything works the first time. :)

 
I sent a list of replacement parts and work needing to be done to Hall's Cycles in Springfield, IL. I've had good luck with them in the past and they will continue to get my business. The packaging all says gofasters on them... so I guess they all came through the dealer network. I bet I could have sourced all the parts individually, for less, but it was nice to send them a box of beat up parts and have a box containing all the good stuff in one shot:

Crank Bearings:
WORL: NJ206 EM C4 ME250112013 $42.99
KOYO: 63/28C4 ME20912006 $74.99

Crank Seals:
ME250112009 $24.50
ME250112008 $34.99

Complete Gasket Set: ME250544100 $134.99
Kick start seal: ME25632021 $12.99
Water pump Seal: ME25610011 $29.99
Selector Seal: ME120136048 $3.25
Primary C/S Seal: ME25636024 $13.50
2 Primary C/S O-rings ME25632025 $9.98

Piston: $189
Connecting Rod Kit: 09230125 $106.99

Rebuild and Labor:

Rebuild the crankshaft and balance: $98
Clean up the damage to the head: $35.00

Re-plating the cylinder: $250
Hall's sent this out to a shop called Millenium. It looks fantastic. Pics to come soon.
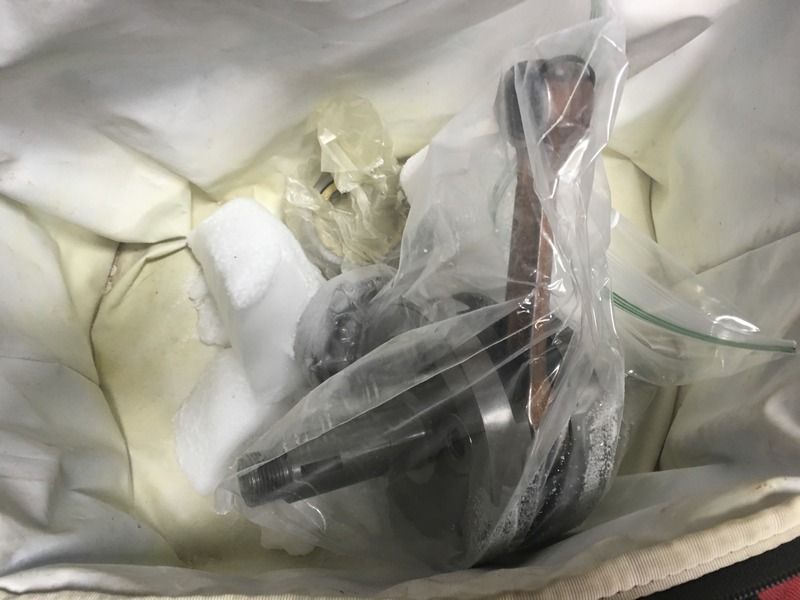
 
The bearings and crank sat in dry ice overnight to get as much shrinkage as possible. I laughed to myself as I typed that btw.


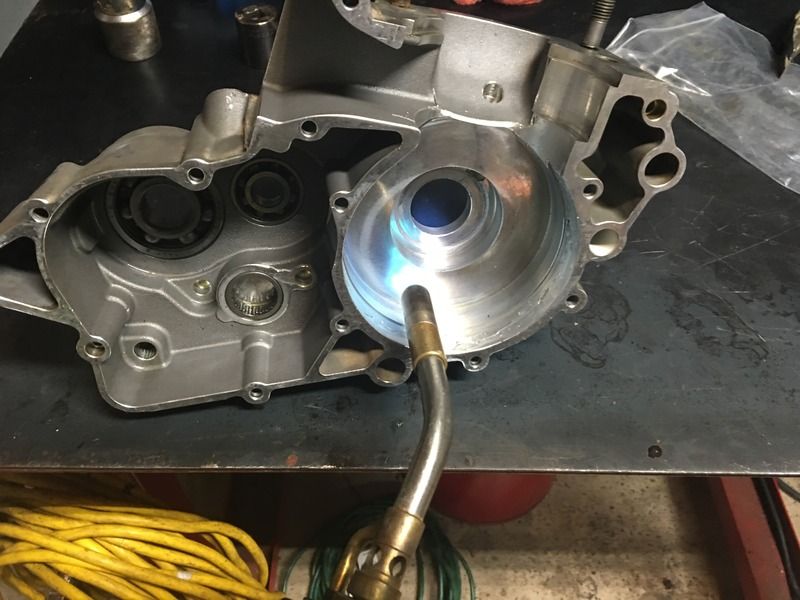
I heated the case using a MAP gas torch. You can also use a hot plate or an oven. The GG workshop manual states 150 degrees. I put an IR thermometer and it said 155 degrees. Close enough!


Be gentle when handing the case. Other bearings may just fall right out when the case gets hot. Two of the bearings on the back side of the right-side case fell right out while doing this. The dropped right back in, but keep an eye out for this. oh and wear heat resistant gloves when handling a frozen bearing or hot cases.

Square up the frozen bearing and drop it into the case. These took zero force to insert.

 
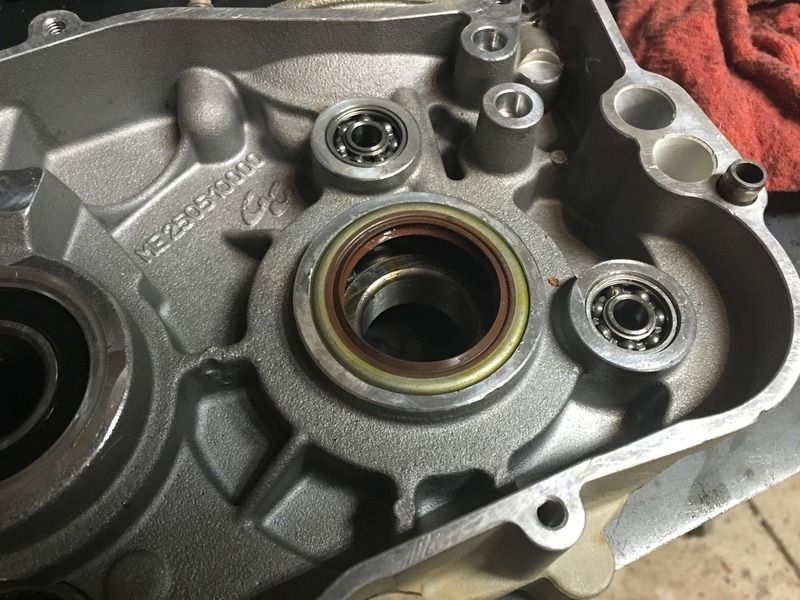
It is easier to install the crank seals before you drop in the crank:


Grease all of the bearings. I used a bit of Klotz in each bearing and worked them around until satisfied.


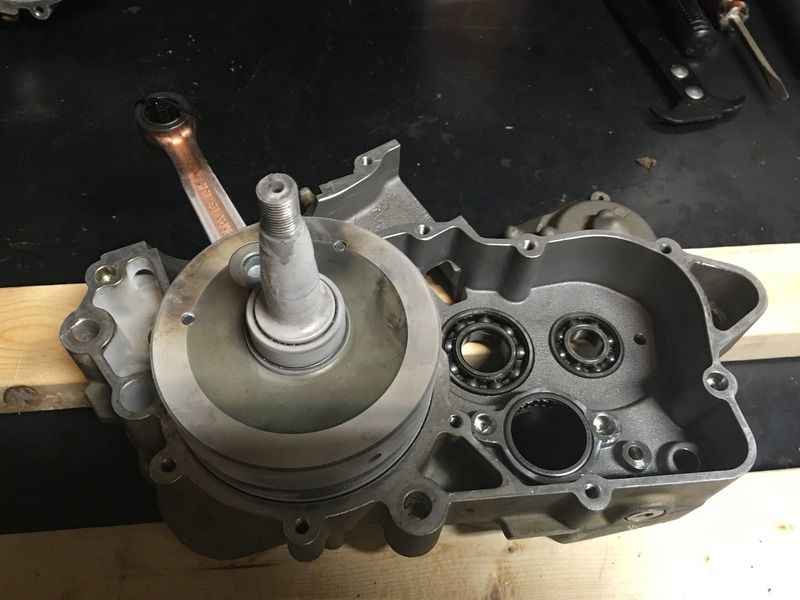
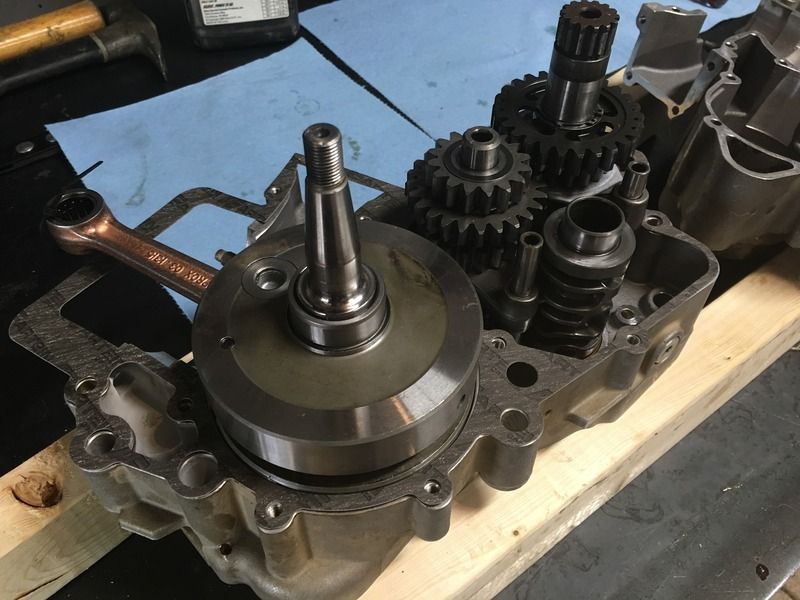
Installed the crank:


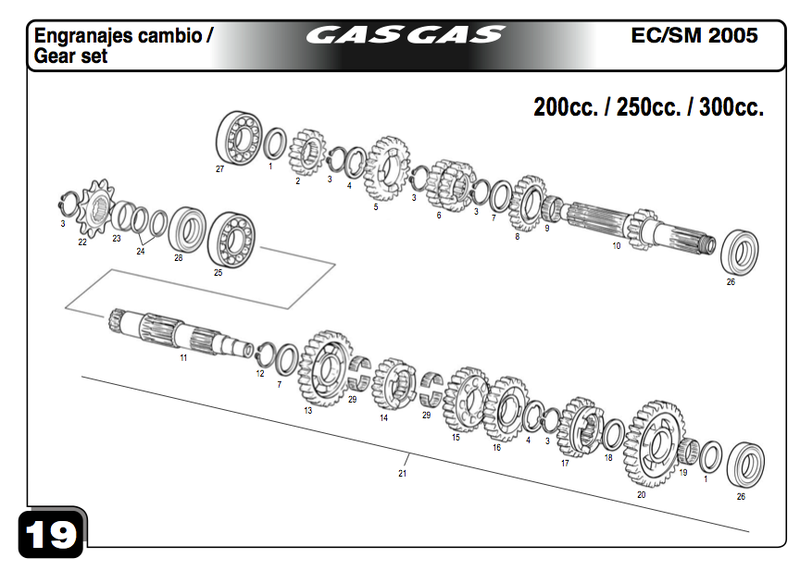
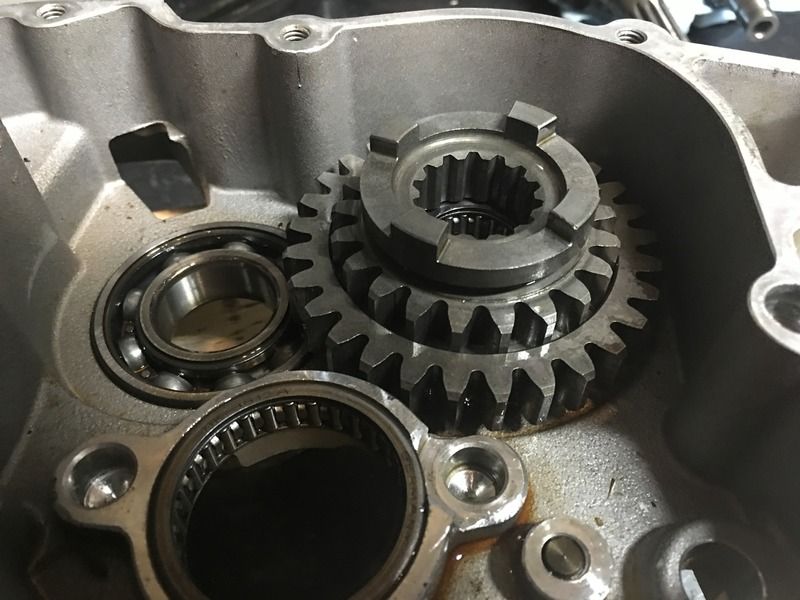
This diagram really helped me keep all the thin washers straight. Since I am installing everything into the right side of the case, but removed them all from the left side, it started to get confusing. The orientation of 1st and 5th gear on this diagram may be misleading. I used this diagram for sequencing, but refer to how you took the gears out for your reassembly.

 
Last edited:
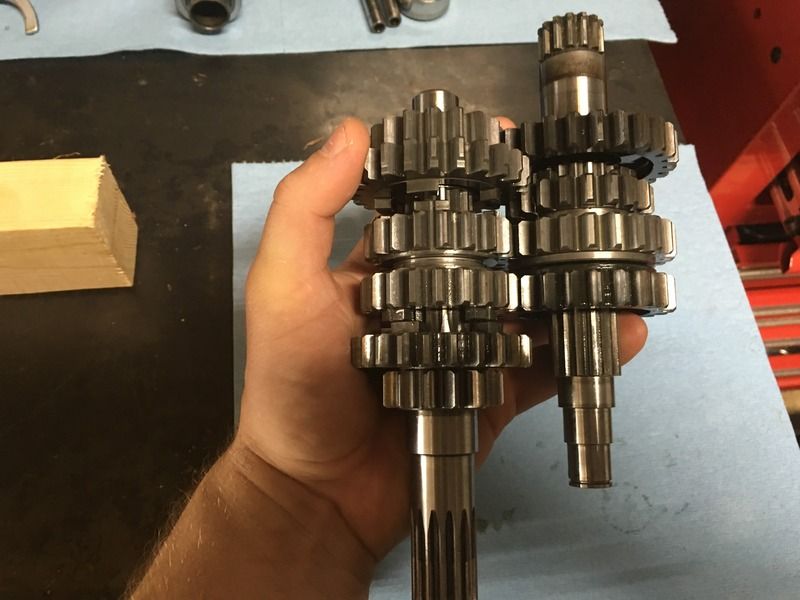
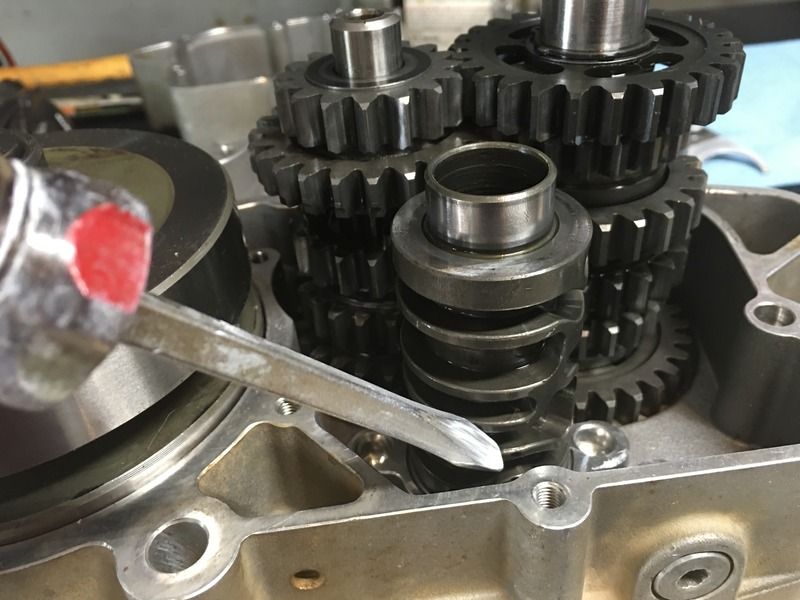
Started reassembling the transmission:

Washer - This is the wider one:


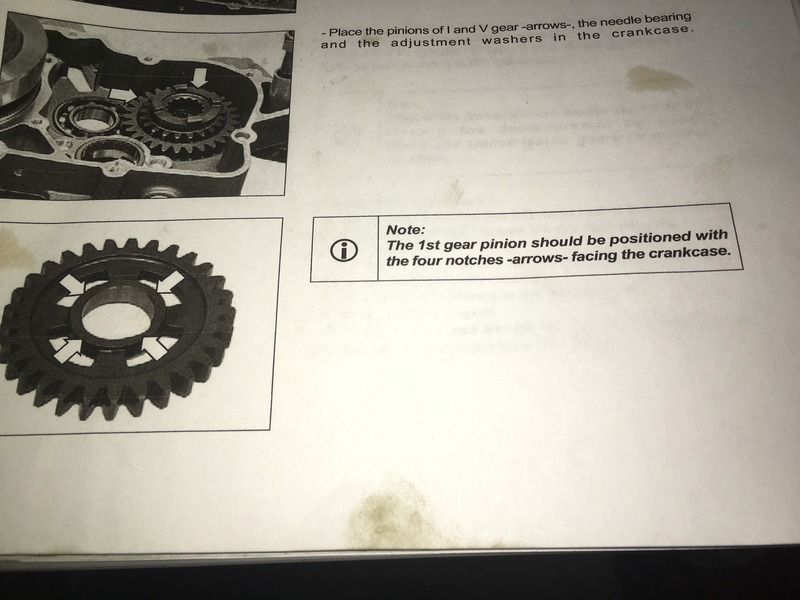
This step threw me for fits. The workshop manual diagram is a bit blurry. Which side went up/down:


Place the 1st gear in and slide the needle bearing inside:


Followed by the narrower washer:


Followed by 5th gear:


Align the 2 gear cams in your hand and put them into the case together:


Last edited:
I forgot to show this step, but you place the 2nd gear and washer onto the primary gear cam. You can do this before you place the gear cams in or after.


Place the shifter drum into the engine case. Remember to line up the mark you made. My mark aligned with the other engine case, but that mark was basically the bolt hole:


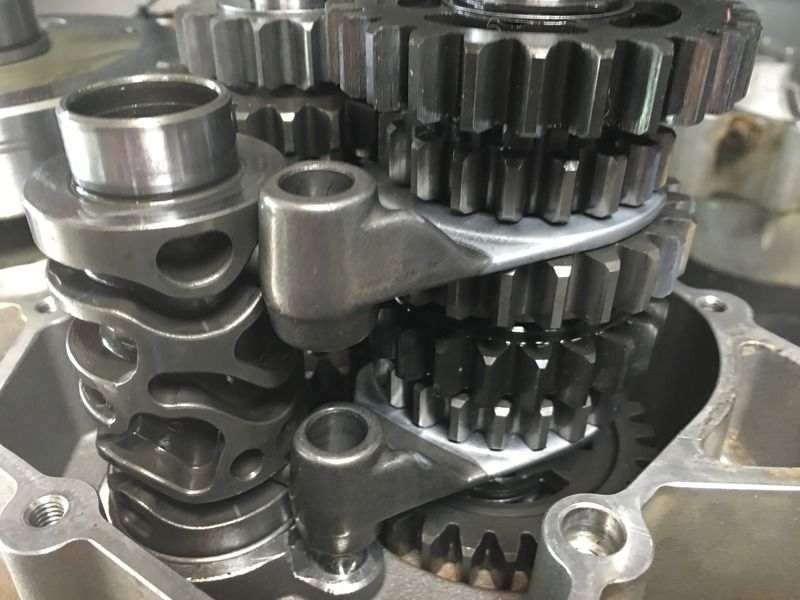
Place the two shifter forks on the right side gear cam and into the groove on the shift drum. If you look closely, you may notice that my 1st and 5th gears are upside down... this was a mistake and didn't re-take a picture of the shift fork installation. The earlier pics in this thread of 1st and 5th gear have been corrected.


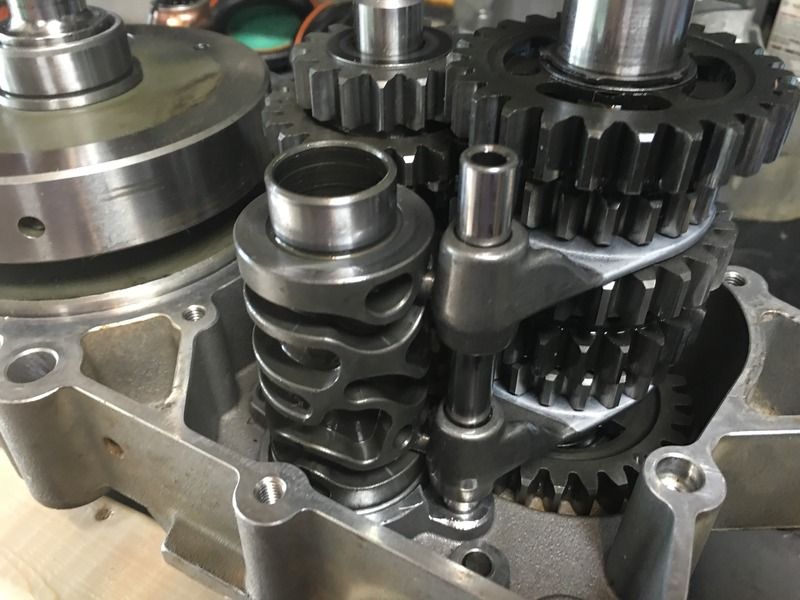
Slide in the longer shift rail:


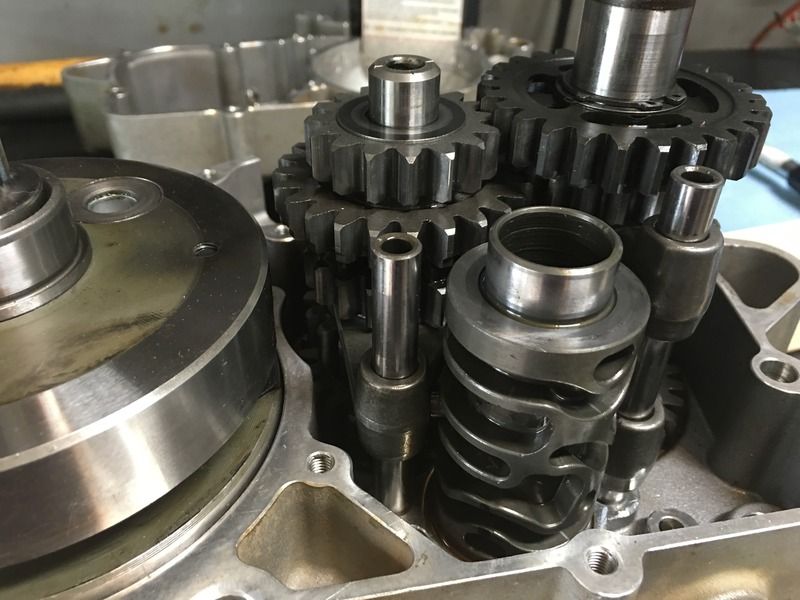
Do the same thing on the other gear cam:
 
Last edited:
Replace the alignment dowels. The manual tells you to put them in the left side case. Not sure it matters.


Place the gasket on the engine case:


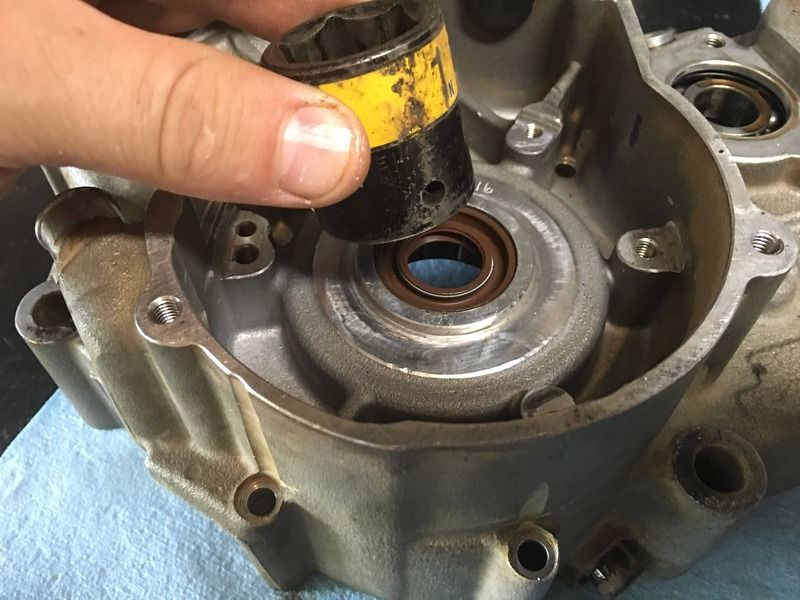
Time to replace the other crank seal. The manual says to position it with the lip facing out. I used a 1" socket to carefully get it seated. Be careful not to damage the lip. Others have chimed in with the observation that this seal should probably face with the lip inward. I'll report back if I have any problems with this orientation.


I am waiting on a new primary seal... it hasn't arrived yet. I'll add it later, but this is the logical time to put it in.
 
Last edited:
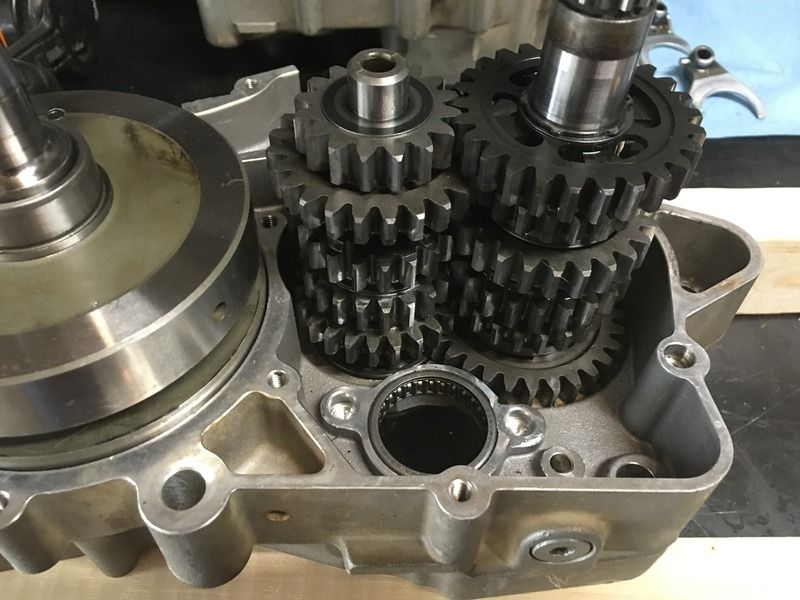
Place the left side over the right side and carefully align the shafts. Check that the alignment pins and gaskets are all aligned. A gentle tap with the rubber hammer and it all fell into place:

 
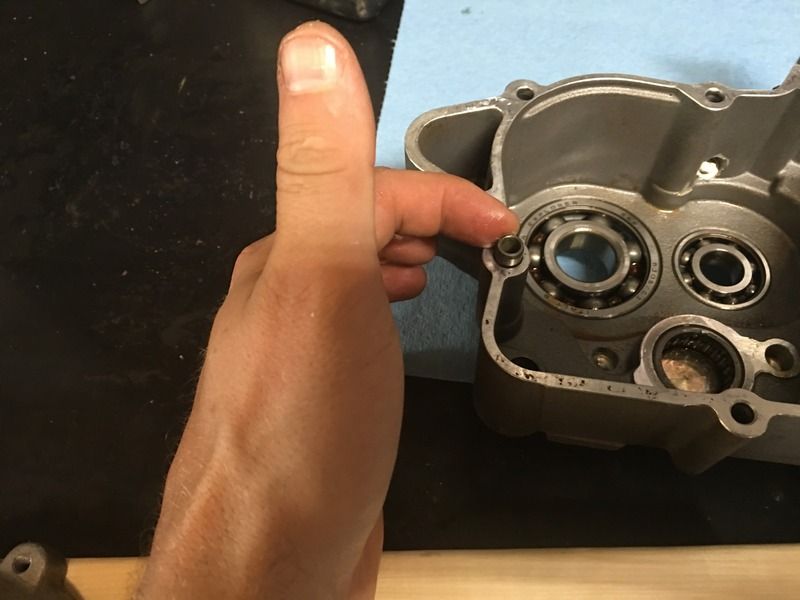
Replace the alignment dowels. The manual tells you to put them in the left side case. Not sure it matters.

I like to put the alignment dowels in the same side with the gasket, as when I put the gasket on one side and the dowels on the other side, I get the inevitable gasket slide/alignment pin "hole punch" effect. Being careful helps, but sometimes my thumbs outnumber my fingers.
 
I agree,except when dowels are stubborn and theres a risk of burring them on removal.as long as theres 2 locating gasket im happy.that said a quick buff cleans burrs up quick.great thread
 
Anyone know where the solid alignment pin goes? I've looked through all of my pictures and can't determine which one is supposed to be solid.

I assume this is an alignment pin, anyway. I don't recall this part anywhere in my disassembly and do not see it in the parts breakdown.
 
Last edited:
Well, I officially feel like an idiot. This isn't an alignment pin. It was an old crank roller bearing. It must have hit the floor when I was removing them and I picked it up inadvertently.

The alignment pins ARE all hollow. They have to be, since they have a bolt that must go through them.
 
Last edited:
I'll save some time for others, trying to remember which bolt length goes where. Remember to alternate around diagonally when tightening the case bolts. I started in the middle.


Trimmed the gasket with a razor blade:


It might be a day or two before the next update. I'm waiting for the primary shaft seal and will be media blasting a number of parts before installing them.
 
Back
Top