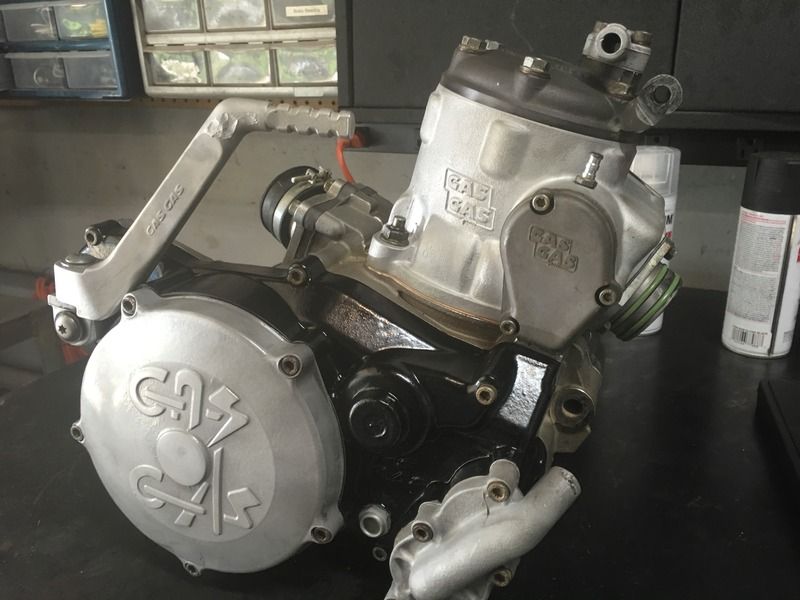
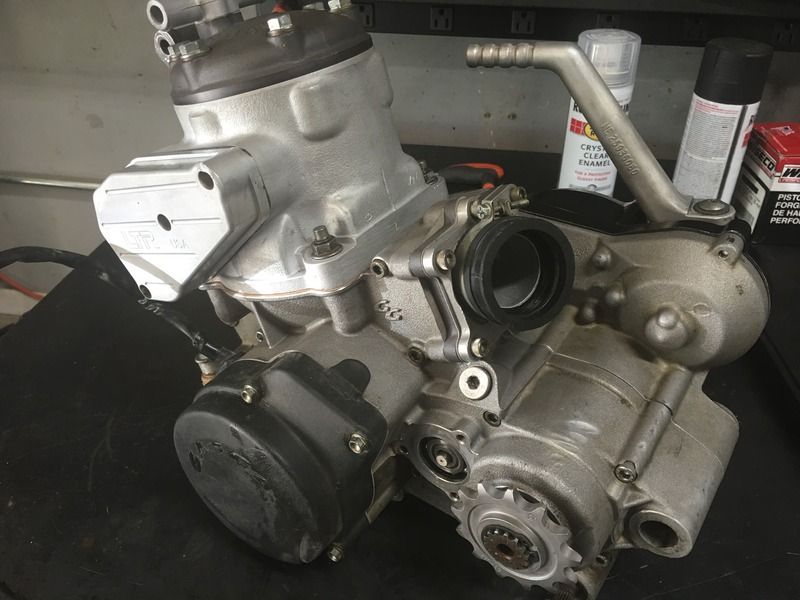
Complete Rebuild - EC250

Power Valve

Curved side is down, facing the exhaust port. The ridge (or "step") is on the top, facing up toward the head.

Long pin through the hole, lined up through the hole in the top of the flapper, and into the other side of the cylinder:
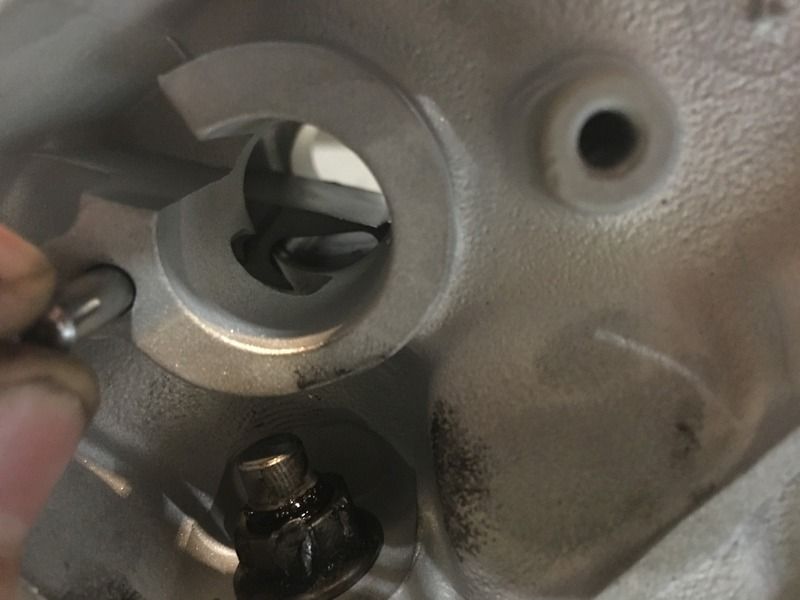

Slid in the valve with the rotating pivot point:
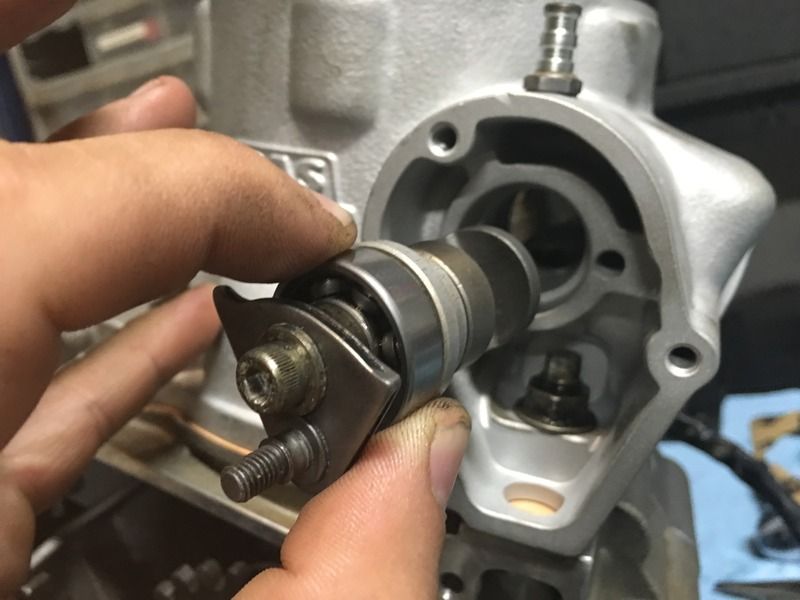

Insert the other valve, with the short pin. I put the pin through the slotted hole in the flapper and into the hole on the other valve:
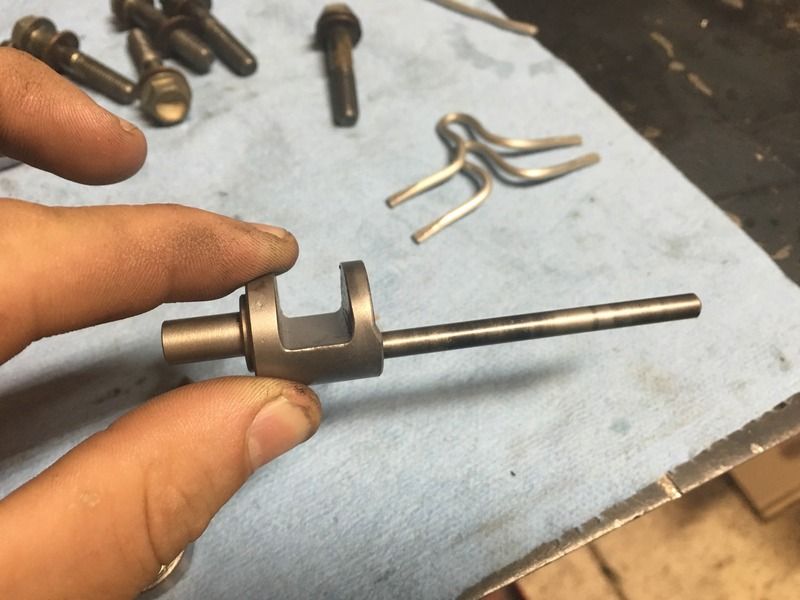
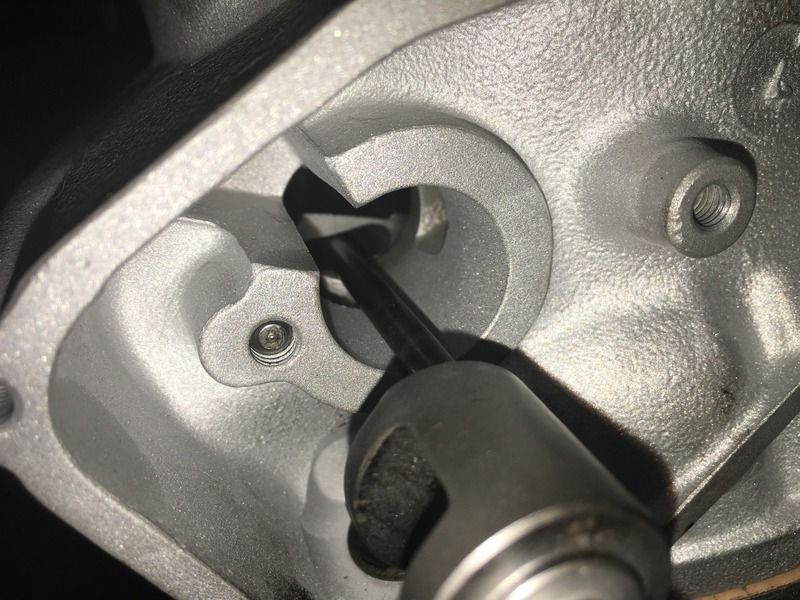
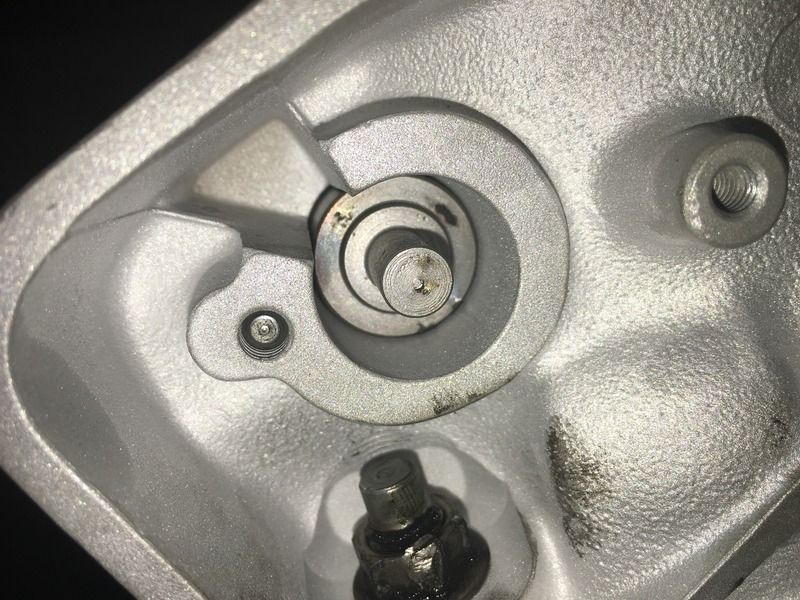


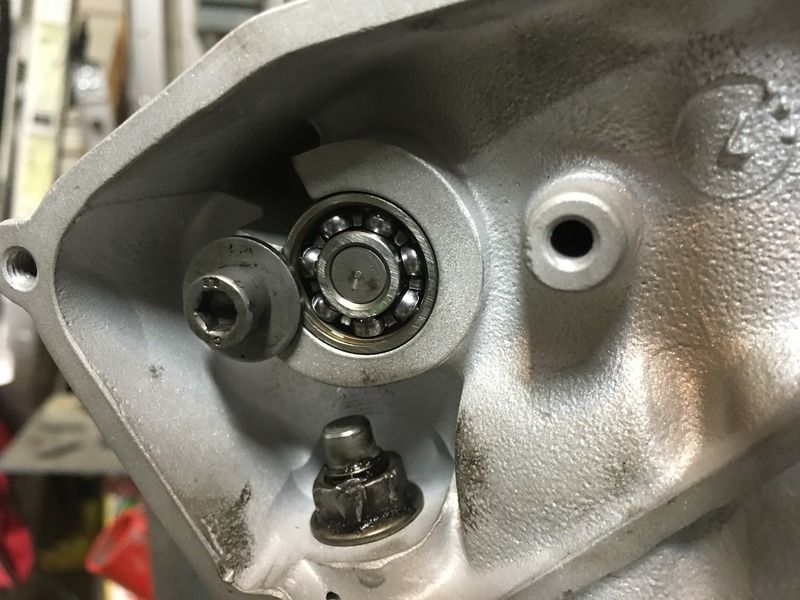
Fresh new bearings:
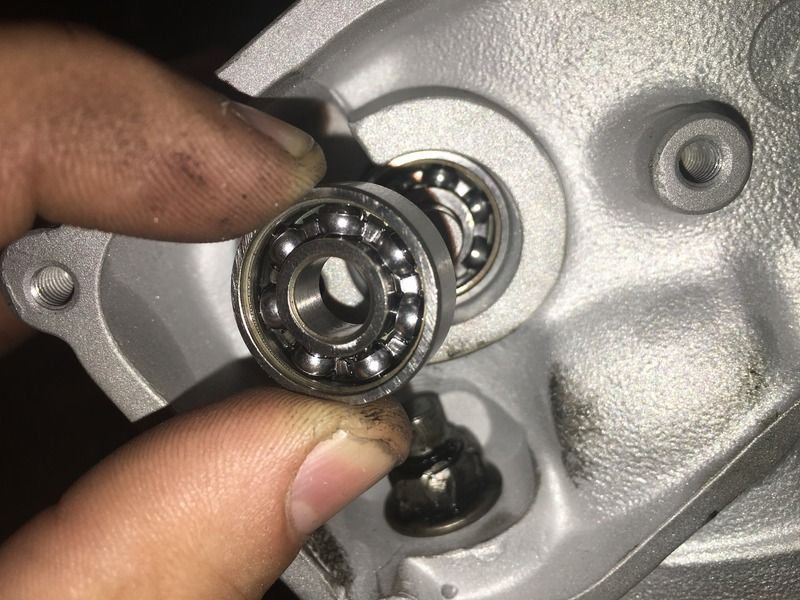
 
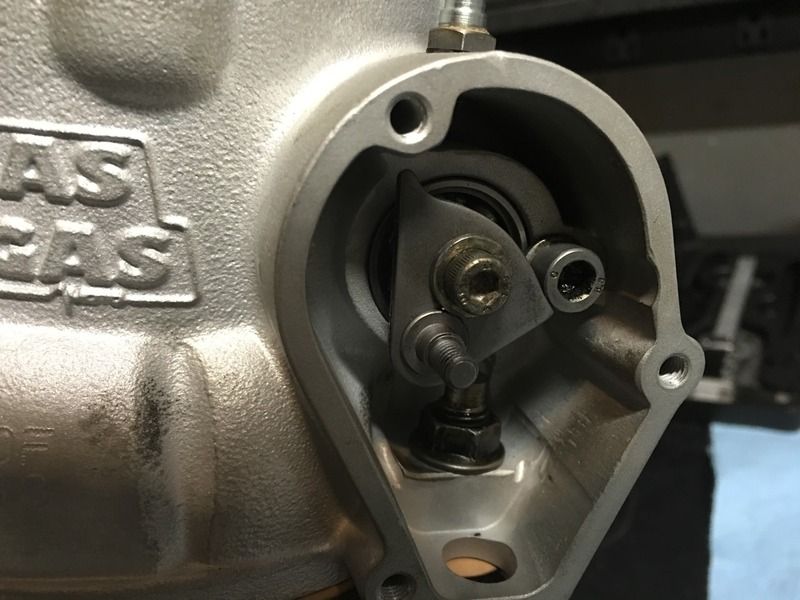
Add the bearing retainer washers and nuts on each side:


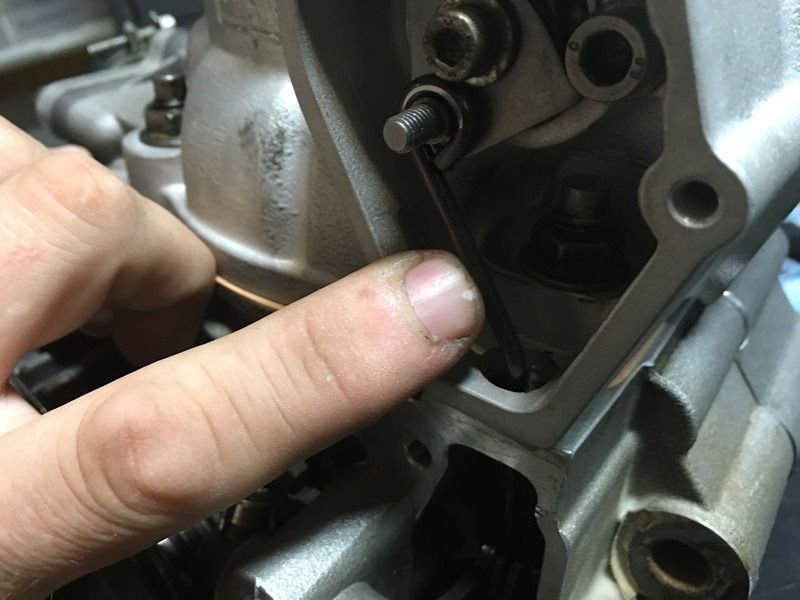
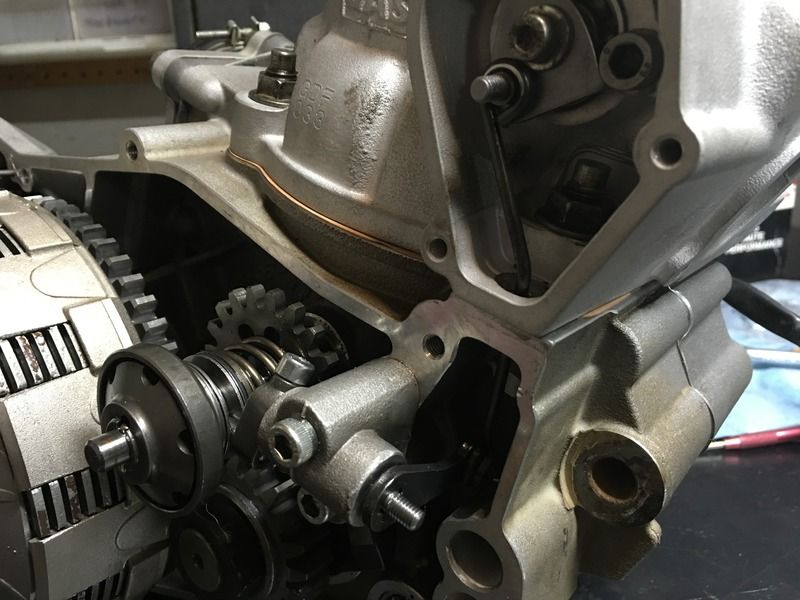
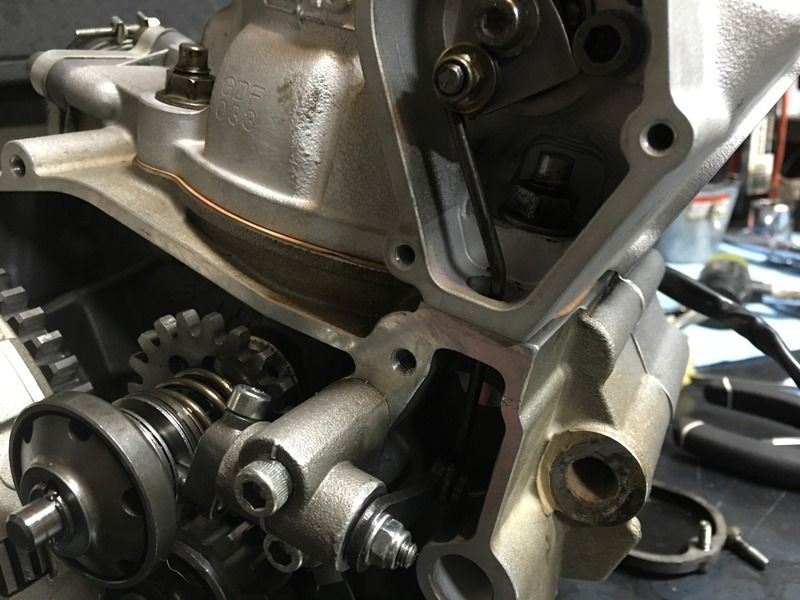
Slide the power valve linkage arm up through the hole. It might help to remove the nylon water pump gear to get a straight shot up through the hole.


Put the arm back on the shaft. It is keyed to only fit in 2 orientations. It should look like this:


Add the washers and lock nuts:
 
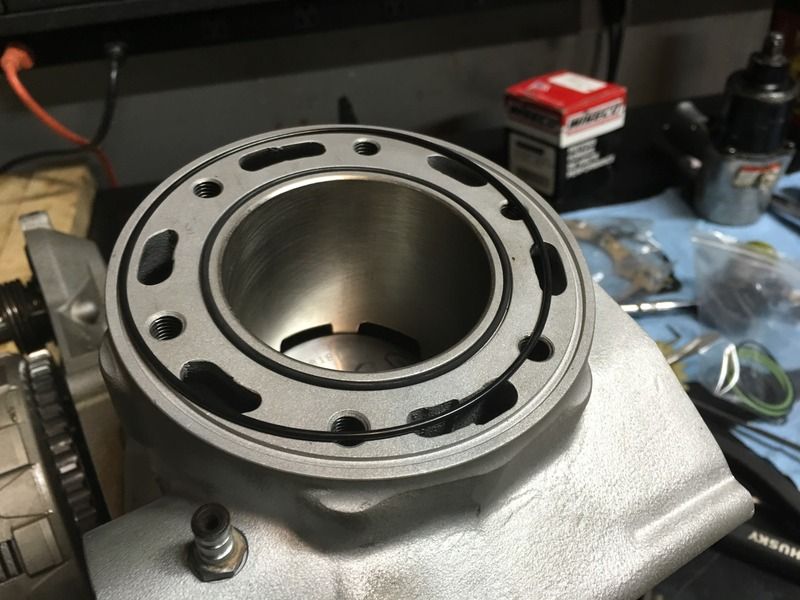
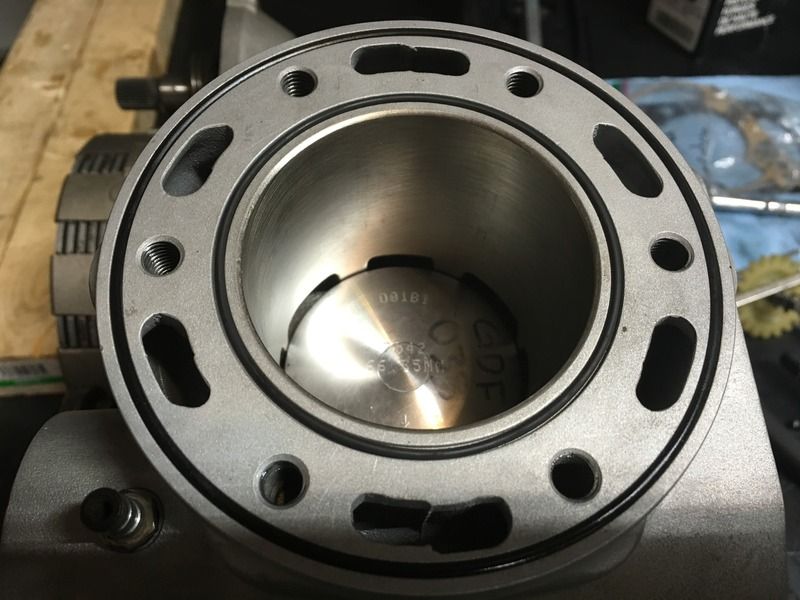
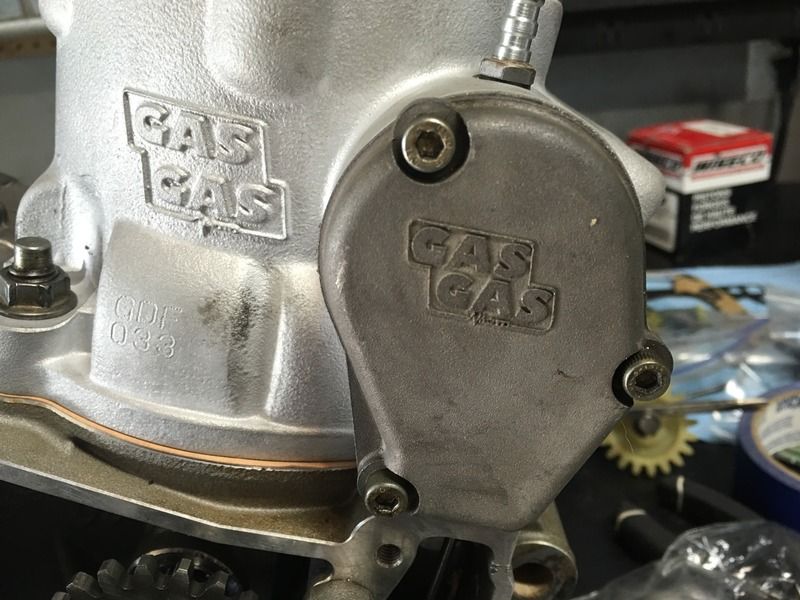
Buttoning up the cylinder head. Add the o-rings:


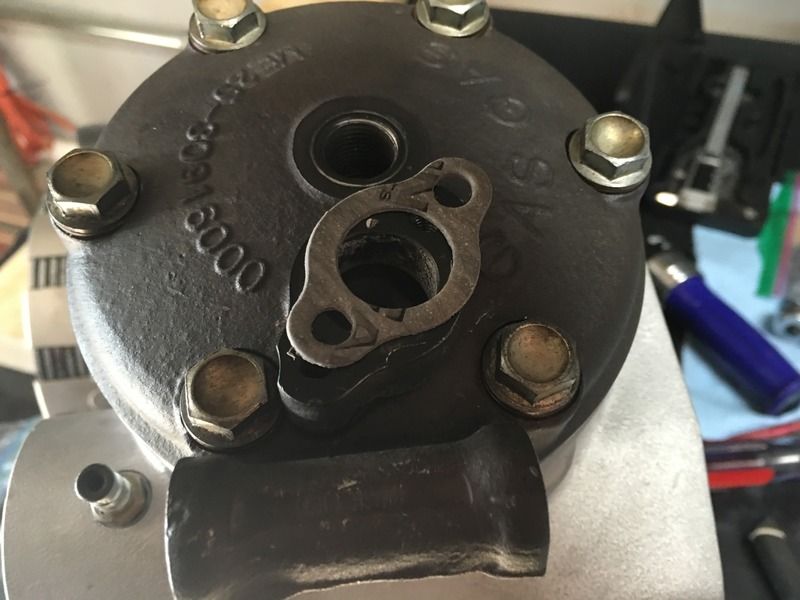
Tighten the head bolts to 25 Nm. Housing gets a fresh new gasket:


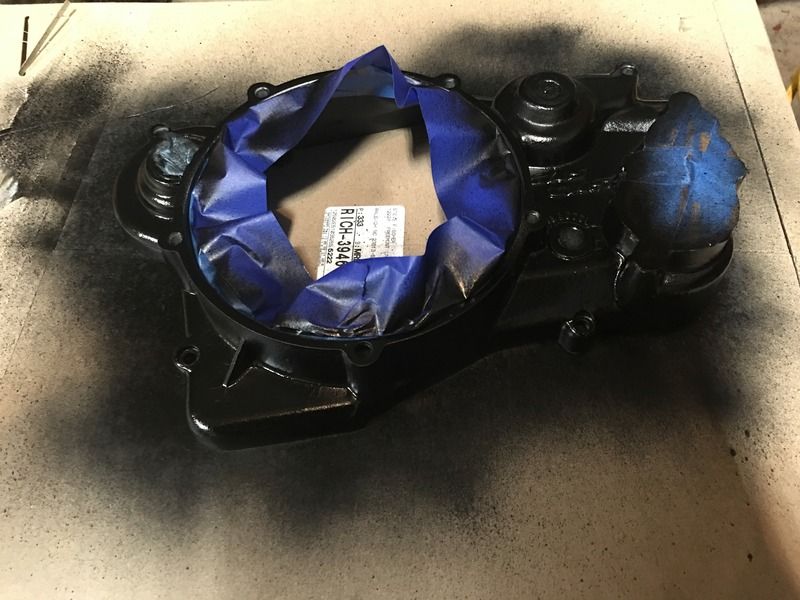
When I blasted the outer cover, the black anodized coating was removed. Some black high temp engine enamel was sprayed on.
 
Last edited:
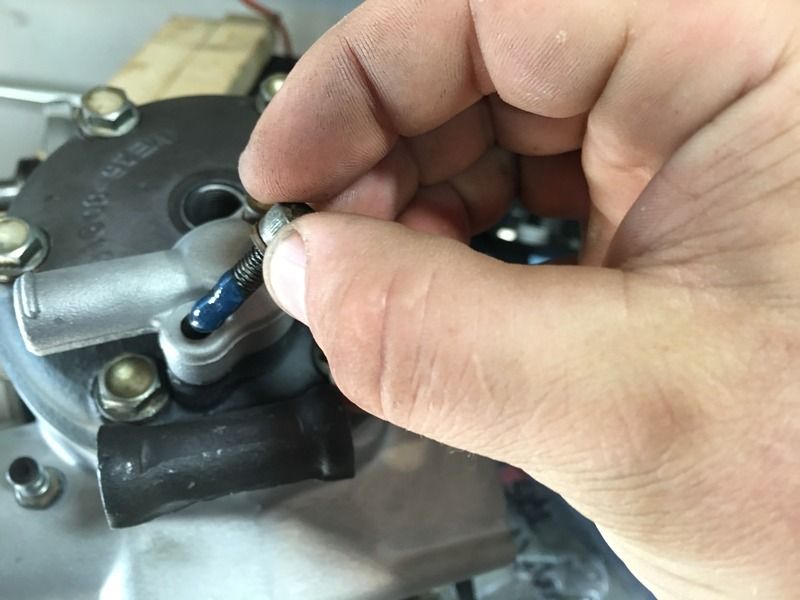
Locktight on the bolts... you don't need this much, lol.


New gasket on the right side cover:


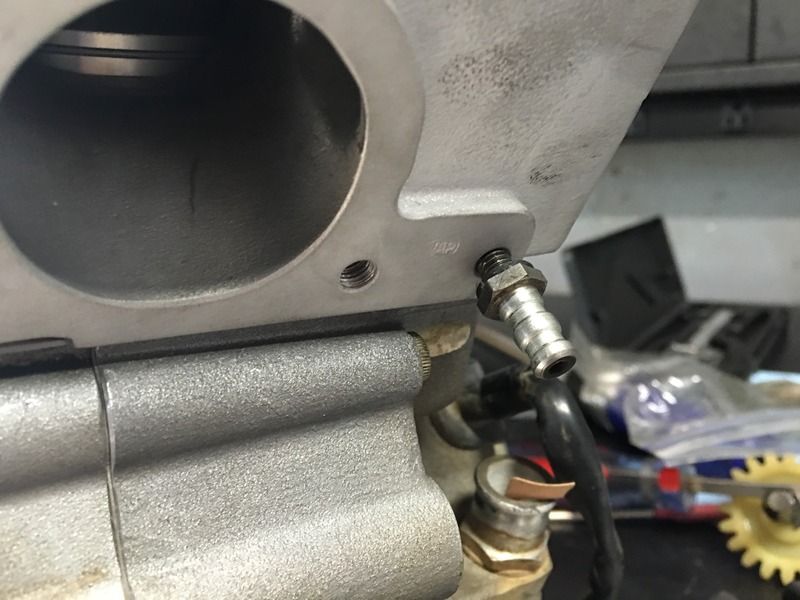
Reinstall any vent fittings. This one broke as soon as I snugged it down. I swear I wasn't putting much pressure on it. A new one should be here later this week.


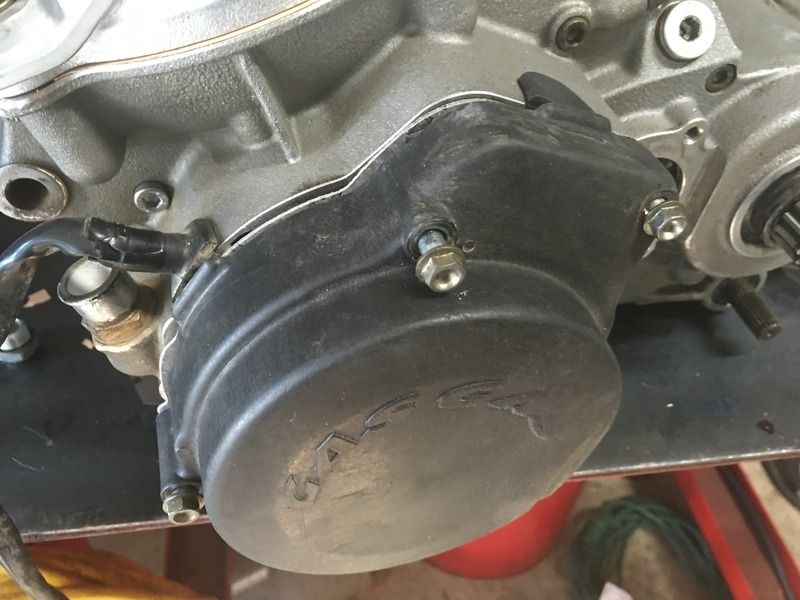
New gasket on the stator cover:


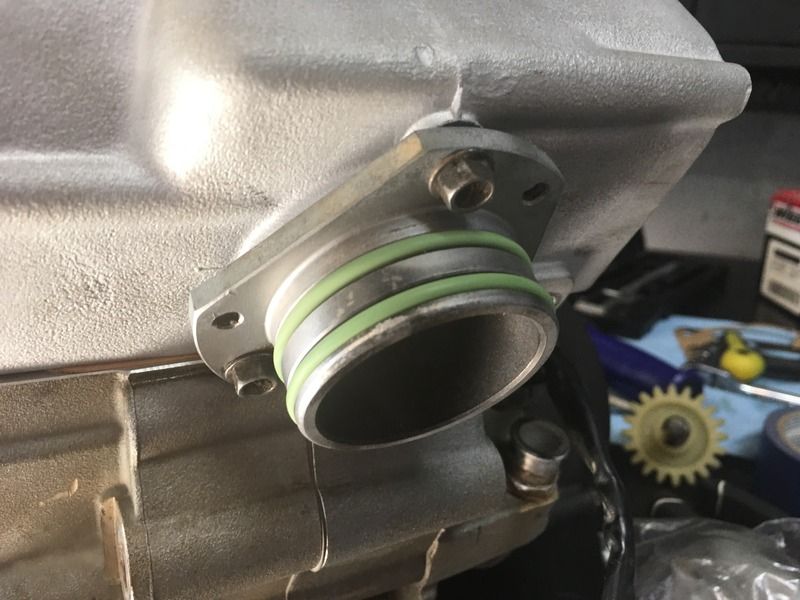
New exhaust gasket and O-Rings:


Right Side cover back on:


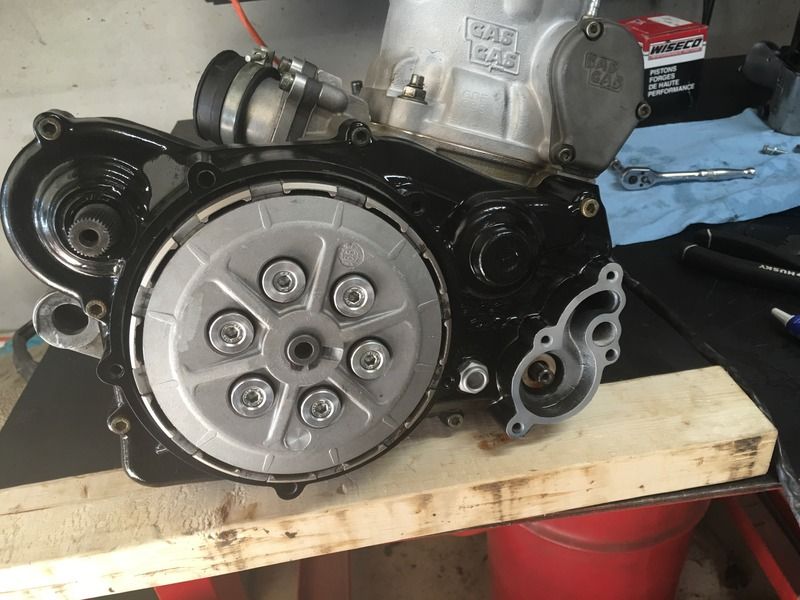
Clutch cover was blasted and clear coated:


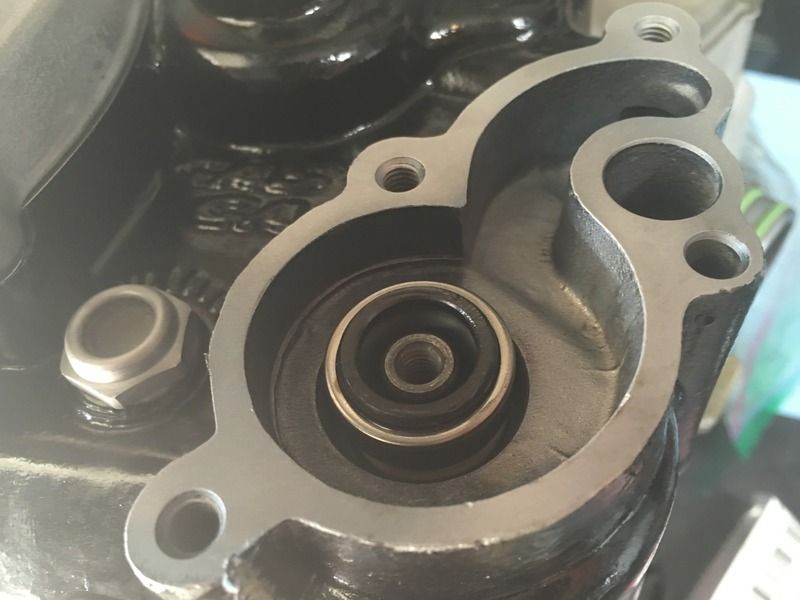
Water pump seal: (OOPS IT IS IN UPSIDE DOWN)


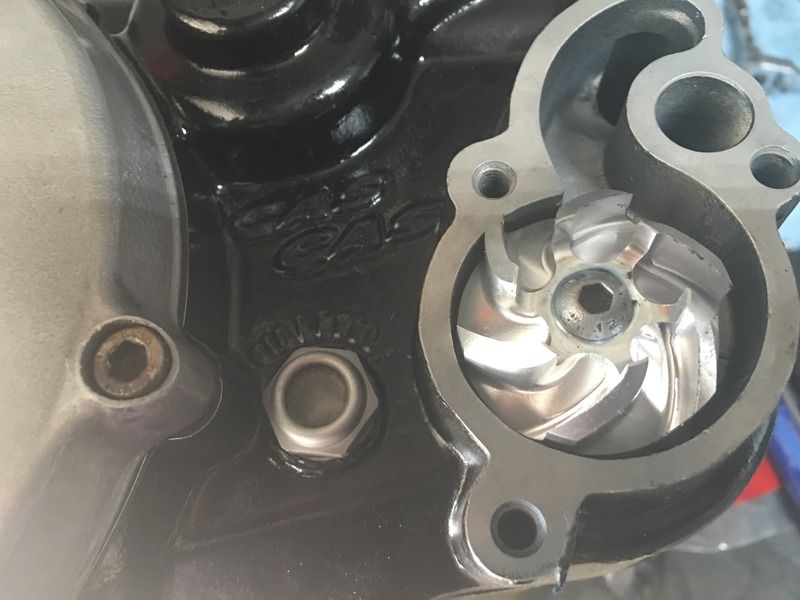
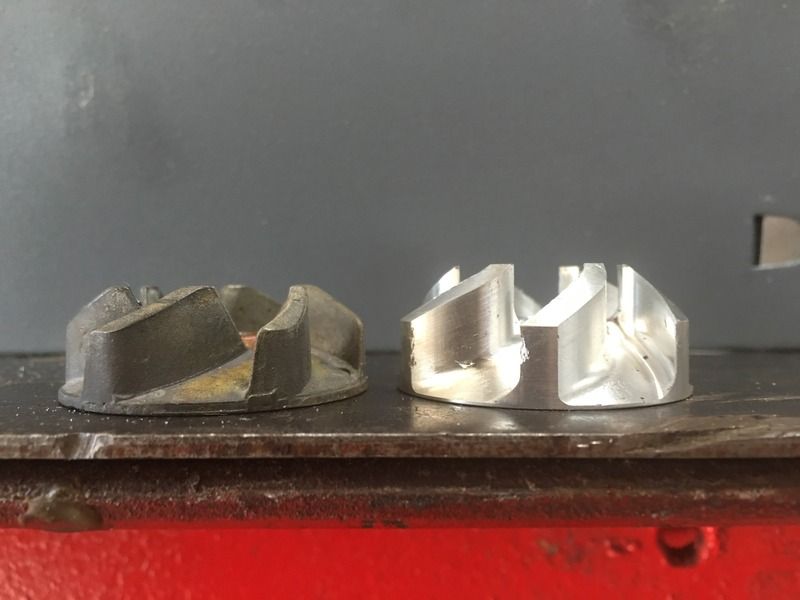
New Ultra Impeller from Checkpoint:


It needs about 1mm removed to fit inside the water pump cover: It hits in a couple places. I need to chuck it up and take a little off.
 
Last edited:
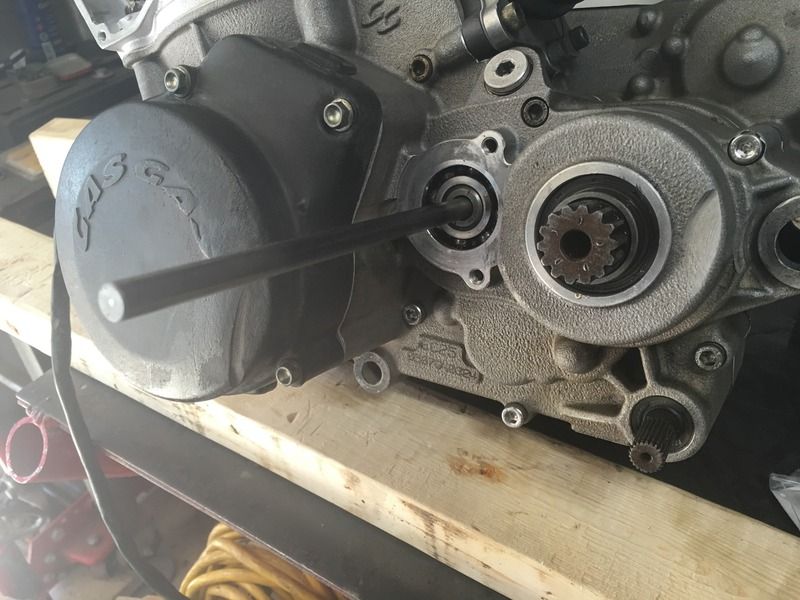
Clutch push rod:


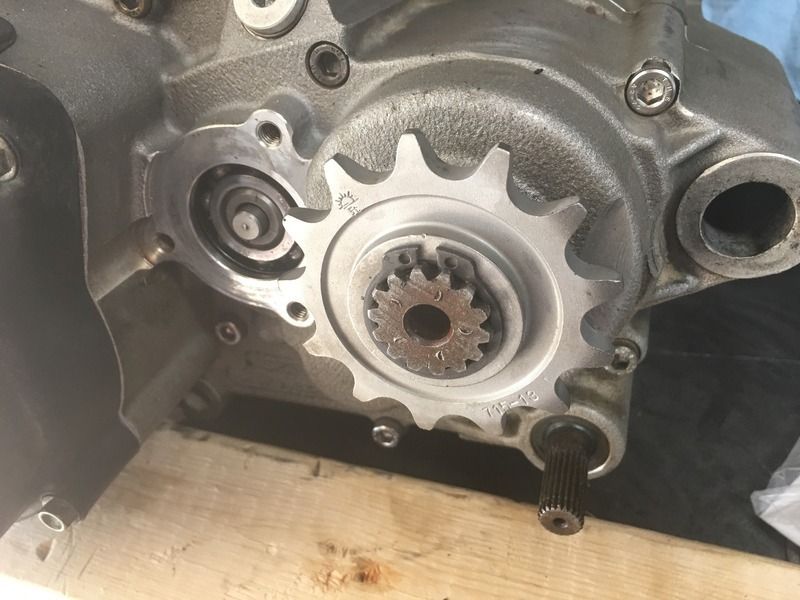
Sprocket and clip:


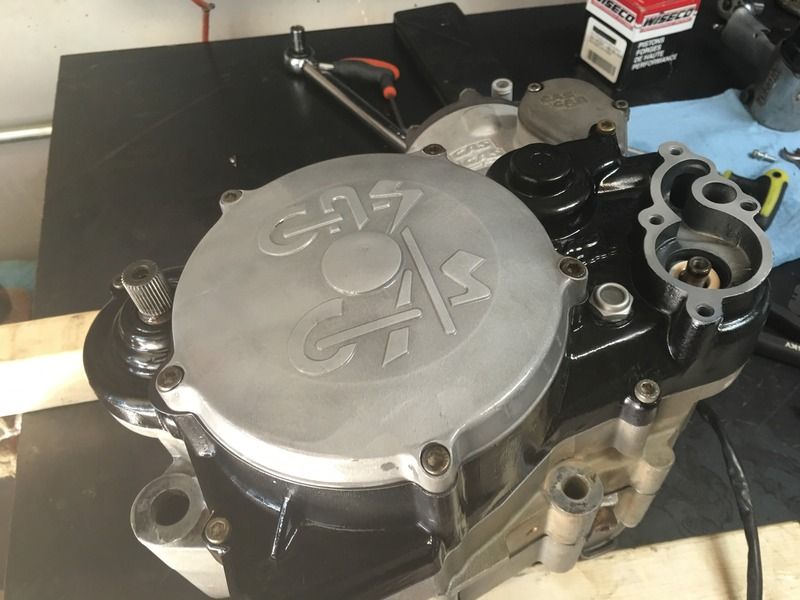
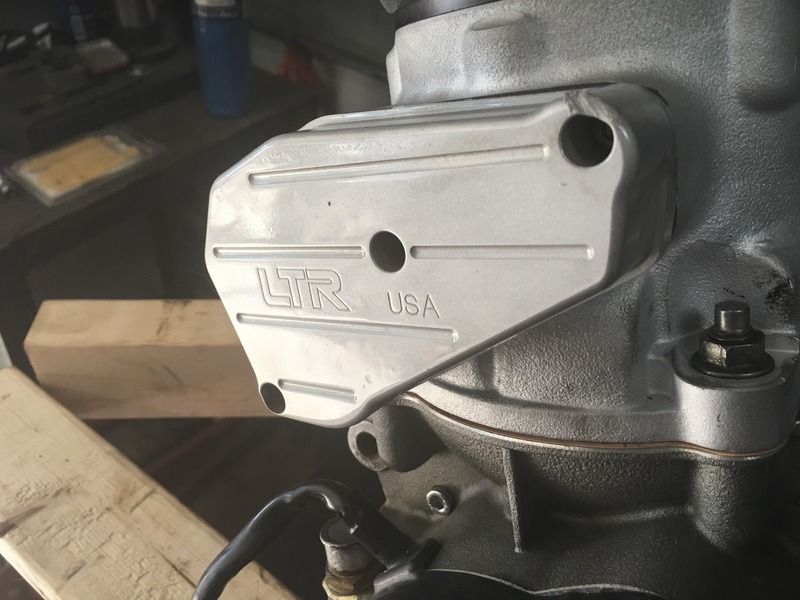
The PV left cover was blasted and cleared as well:


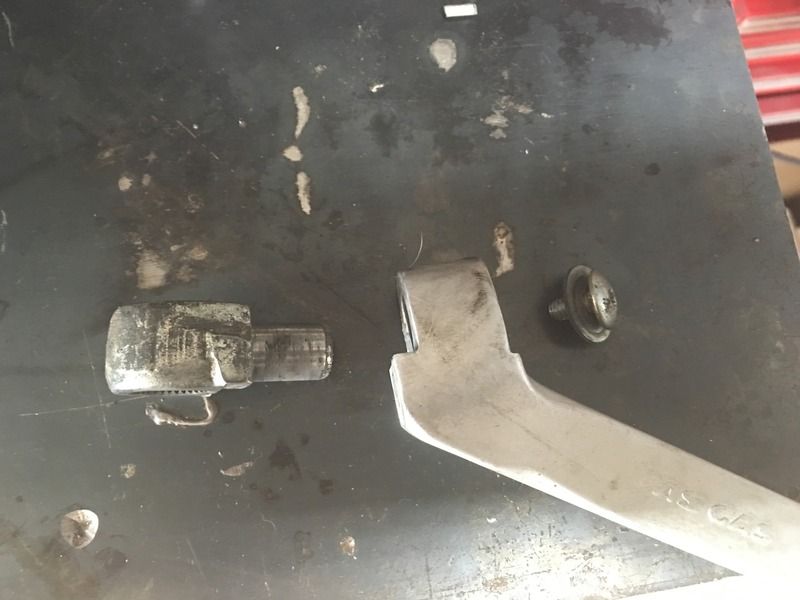
Disassembled and removed the spring and ball from the kick lever. Headed to the blast cabinet:


Water pump cover added:


Playing with it now. I added one more wrap of tension and it does the same thing.

It returns with the cover off. It returns with the cover placed on. As soon as I tighten the cover bolts, it binds.

When I place the cover on a flat surface, I can slide a 0.07mm feeler gauge under the cover. Manual says max spec is 0.05mm. Would this be enough to bind it?
 
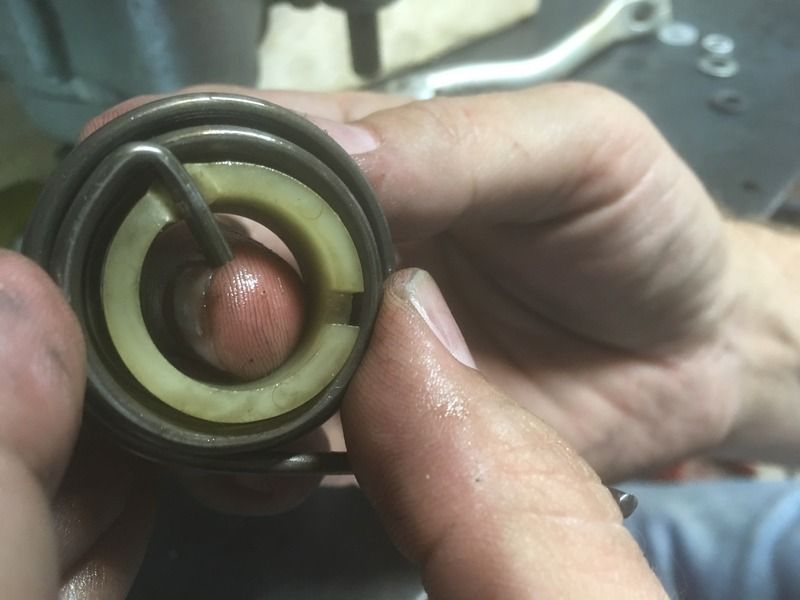
Here was the problem:

The nylon spacer inside the spring had turned and the spring was not aligned with the notch. This made it sit too high and bound up the starter shaft.

 
I'm curious on your squish gap. You showed the outside edge measurement. What was the inside edge measurement?? If it's any thing like my 200 was it will be 1mm bigger yet.
 
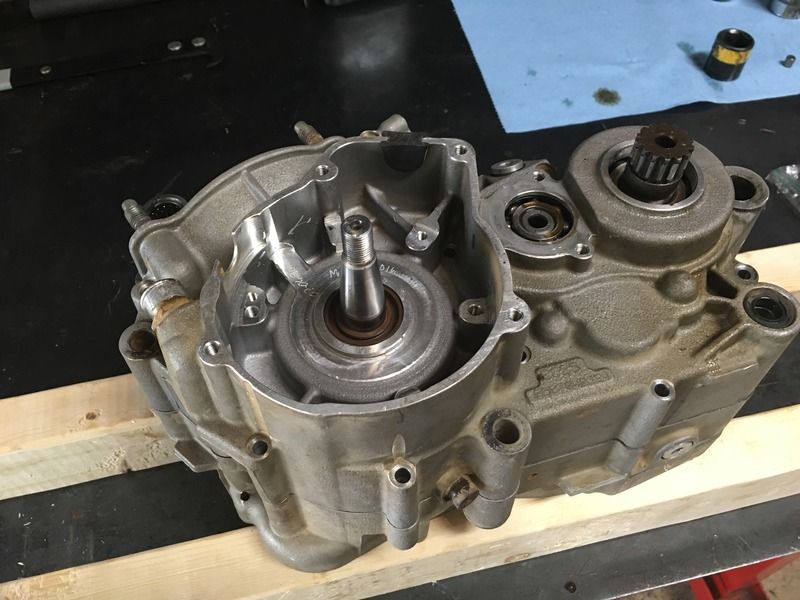
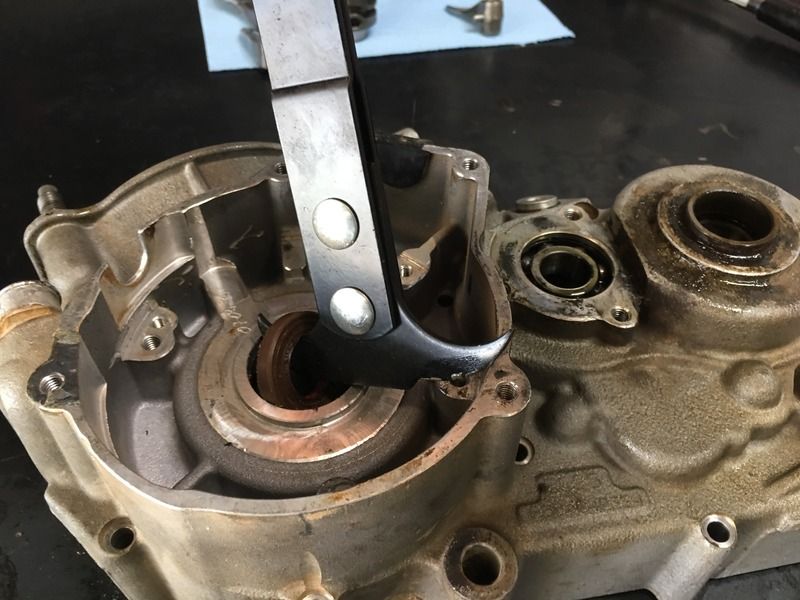
ignition side crank seal looks to be installed inside out. I took apart a bottom end last that was last touched at the factory and the seal was opposite what you show here. Anyone care to chime in?
 
Perhaps the translation was off.although i havent had my bottom end to bits,every other seal ive seen anywhere,ever,has lips to oil/inside,ie opposite to yours.wether it matters is another question!
If the lips taper either in/out in profile it would suggest theres a right/wrong way.
Only reason i can think of for that way is if crankcase press is negative, (vacuum).my 2t theory is a little rusty,is the crankcase pressure positive or negative?or fluctuating between?
 
Crank case pulls charge in, and then blows it up the transfers, so pressures should be alternating in the cases. The seal will always seal better in one direction than the other - the logic is probably that by having it backwards as in the pic above, the better seal will occur in the direction it is facing, that being it may blow some oil/compression out past the seal, but be less likely to pull air/dirt past the seal into the engine.

Given it's already fitted I wouldn't bother changing it.
 
I tend to agree,you will prob damage it removing it and need another one.which way was the old fitted when you removed it?
Shouldnt be too difficult to flip/replace later if it gives trouble
 
This is the picture I took removing it. I think I'll leave it the way it is. After the first run, I'll pull the ignition cover and check things out. Good catch, I'll edit/update the build step for others.

 
Back
Top