You are using an out of date browser. It may not display this or other websites correctly.
You should upgrade or use an alternative browser.
You should upgrade or use an alternative browser.
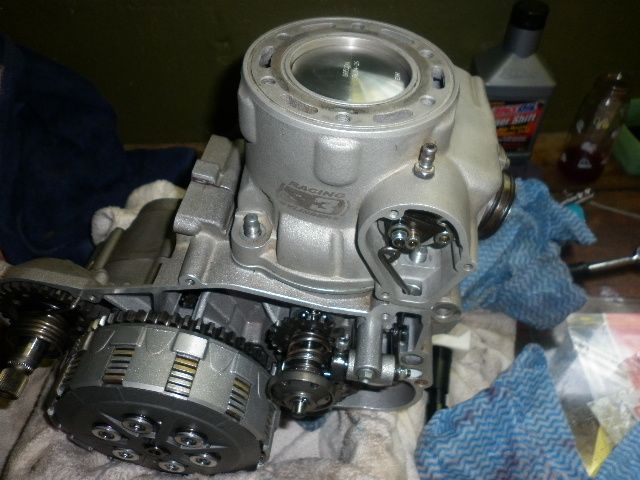
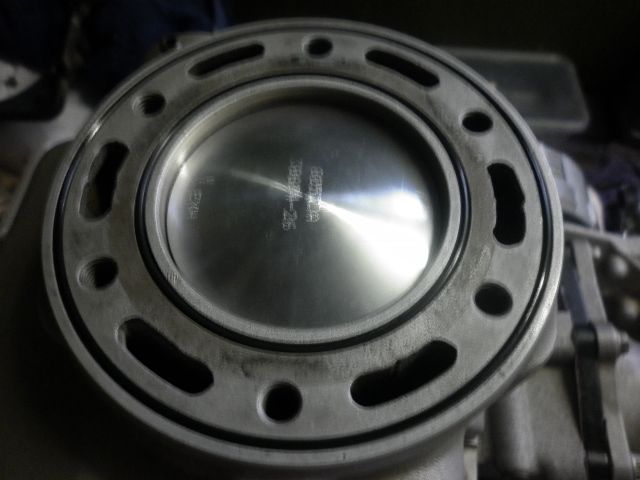
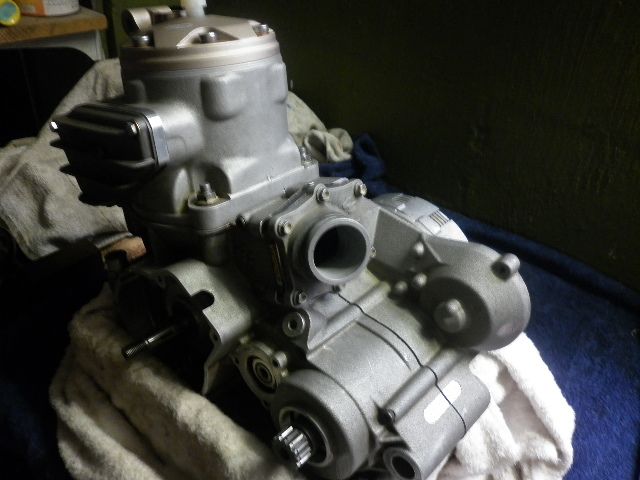
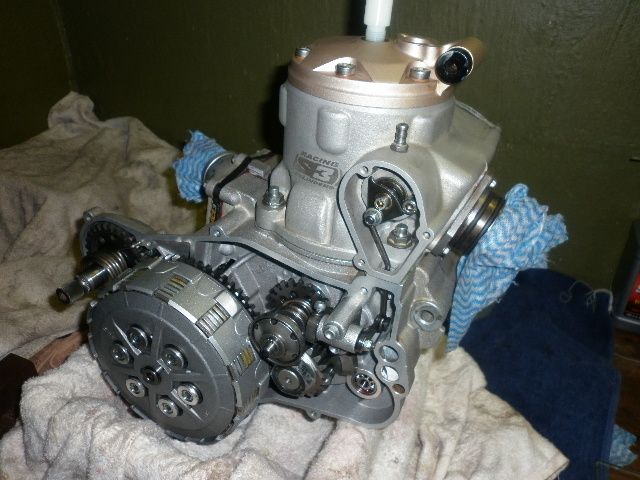
S3 Race Custom Modified EC250 Complete Rebuild
- Thread starter Jakobi
- Start date
GMP
Active member
Cranks are balanced for a certain RPM, called balance factor. This is part of the crank design and within production tolerances. That said, it can be improved. Do a search, a member here had his rebuilt and precision balanced with great results.
The '99 and '00 motors had a full circle 10oz. weight on the primary. This went to an 8oz. eccentric in '01, and back to a full circle(but heavier/thicker looking) weight in '12.
Sent from my iPad using Tapatalk HD
The '99 and '00 motors had a full circle 10oz. weight on the primary. This went to an 8oz. eccentric in '01, and back to a full circle(but heavier/thicker looking) weight in '12.
Sent from my iPad using Tapatalk HD
Jakobi
Super Moderator
Good info.
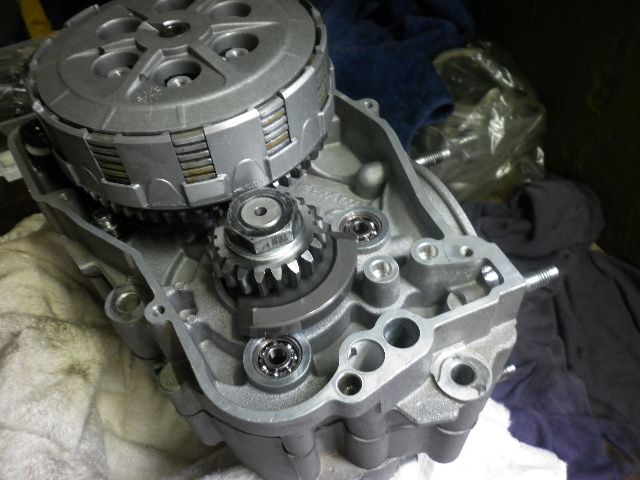
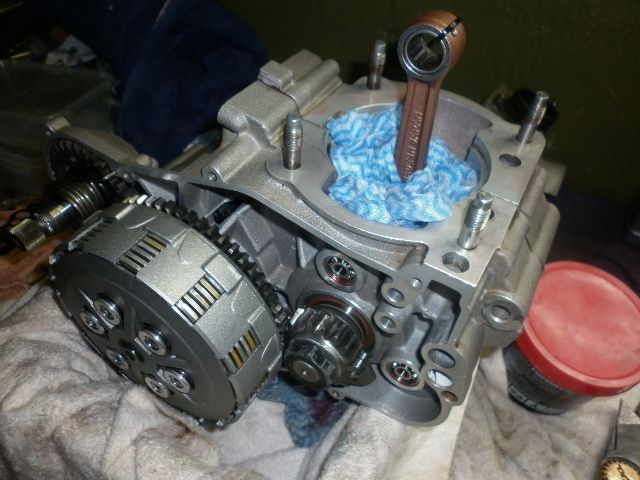
Today I have been going slow and steady again. I discovered my kinchrome torque wrench doesn't click in reverse. I undid the primary nut and redid it by feel using another bolt in the vice to guage the amount of pull required. Basically ended up where I was again anyway, but I have piece of mind now. Clutch went back together no worries. Gearshaft/scorpian and seal all no issues there. I'm actually getting a greater understanding of how it all works by doing this too. Kind of looking forward to the next time. Things should go much smoother.
Onto the powervalve, and I'd like to know what the shims are. From the exploded diagram it says the shims sit at the rear of the spring against the pinion and preload the spring. I have none here. Up at the governor end I have 2 x thrust washers, a spacer and 3 washers keeping everything separate. I was going to remove some shims for a harder hit down low but it doesn't look like I have any. Am I missing anything?
Jakobi
Super Moderator
I hear you. I used my brain and definitely no way I can remove anything up the other end. Its all vital to the function of the PV. I may experiment with preloading the spring at some point and seeing if I can get it to open a bit later even. More for curiosities sake than anything else.
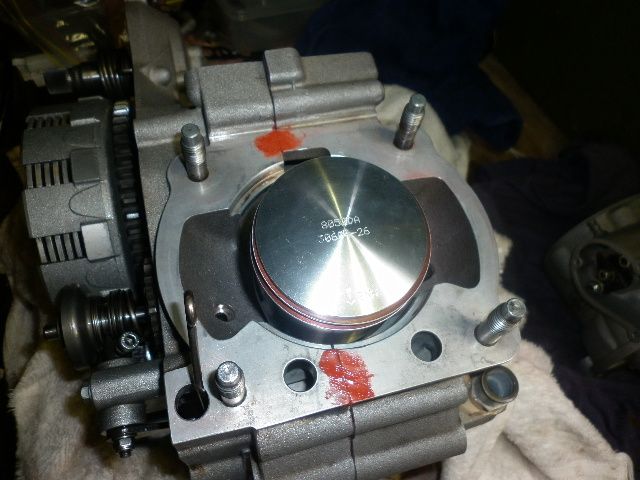
In regards to the build, all the new challenges are done. Just have to button up the top end, take a squish measurement with the new base stack, and decide which coloured head to use. I'm thinking I'll stick with gold because it matches the price of my suspension and well.. I don't have to dig it out of a box
In regards to the build, all the new challenges are done. Just have to button up the top end, take a squish measurement with the new base stack, and decide which coloured head to use. I'm thinking I'll stick with gold because it matches the price of my suspension and well.. I don't have to dig it out of a box
Jakobi
Super Moderator
No worries. Hope it helps a bit. Had my fair share of challenges along the way and spent about 4 times longer than I should. Pull things apart and put them back together 3 times just to be sure its right. 
Speaking of which, I've noticed the PV governor and actuator seem to have more resistance at some points in its action than others. Like the spring doesn't offer even resistance all the way around. One side feels really good. The other feels a bit slack but still comes back to the stop. Is that normal or should I pull it back out and double check everything again? It also seems to feel a bit more slack if I lay the engine on its side as opposed to standing up. I'm thinking it might come good once I put the outer cover back on and locate the other end of the shaft in its bearing.
Speaking of which, I've noticed the PV governor and actuator seem to have more resistance at some points in its action than others. Like the spring doesn't offer even resistance all the way around. One side feels really good. The other feels a bit slack but still comes back to the stop. Is that normal or should I pull it back out and double check everything again? It also seems to feel a bit more slack if I lay the engine on its side as opposed to standing up. I'm thinking it might come good once I put the outer cover back on and locate the other end of the shaft in its bearing.
GMP
Active member
Jake,
What do you mean by "governer and actuator"? Your not pulling up on the rod or moving the governer are you? If you did, I suggest you check for disloged balls (in the governer) . The flapper and drums in the cylinder willl feel slightly different depending on position because the leverage on the main flap changes slightly.
What do you mean by "governer and actuator"? Your not pulling up on the rod or moving the governer are you? If you did, I suggest you check for disloged balls (in the governer)
Jakobi
Super Moderator
Jake,
What do you mean by "governer and actuator"? Your not pulling up on the rod or moving the governer are you? If you did, I suggest you check for disloged balls (in the governer). The flapper and drums in the cylinder willl feel slightly different depending on position because the leverage on the main flap changes slightly.
I already had my balls out
jhendr3702
Silver Level Site Supporter
I already had my balls outThey're were they're meant to be. The governor being where the balls are housed. The actuator being the arm and plate on the PV shaft. Its not resistance to the actual powervalve assembly or drums. Its where the pin seats behind the governor and the pressure of the spring. At one side its nice and firm. If I grab the spring and rotate it around it feels like it has much less resistance. I think I'll disconnect it all again today and double check it. I'm pretty good at doing that..
jake.. nice job here.. very good info..
as many times as i have read about dis lodging the balls in the pv governor, i never really figured out what everyone was talking about.. until i did it...
doh....
Jakobi
Super Moderator
I ended up laying it on its side and setting the tension again. I think it was that the shaft wasn't fully seated (clip against bearing) when standing upright so when I layed it over it had more slop in it, which would have become evident when putting the cover back on. Its good now. There is still a variance in the tension depending on the location of the governor/spring assembly when rotating it through its stroke so I set it up for light return to the stop at the weakest point. The rest feels good, and in reality with the engine turning it should average out anyway.
Onto the water pump and I have a good couple mms to shave from the checkpoint impellor. I'm about to go take some pics. I don't have access to a lathe so I'll have to go about fixing it another way. I'll probably just shave down the pointed tips of the checkpoint to match the stock one (which only just rubs with no gasket).
Onto the water pump and I have a good couple mms to shave from the checkpoint impellor. I'm about to go take some pics. I don't have access to a lathe so I'll have to go about fixing it another way. I'll probably just shave down the pointed tips of the checkpoint to match the stock one (which only just rubs with no gasket).
Jakobi
Super Moderator
jake.. nice job here.. very good info..
as many times as i have read about dis lodging the balls in the pv governor, i never really figured out what everyone was talking about.. until i did it...
doh....
I know my balls
Jakobi
Super Moderator
Ok can that idea. Lapping from the cooling fins is a waste of time. I brought it down to the same height as my stock and still no clearance. I then took it another mm down in hope but it keeps rubbing. There is a good reason Glenn did his the way he did. Now I think I've taken enough off the fins that it probably won't cool as well as it could so I'm going back to the stock plastic one. It fits well and doesn't contact with the gasket in.
I know the simple solution is to just clearance it out with another gasket, or a spacer but I'm not fond of that as all it takes is a blonde moment or a mechanic, or the next owner to not know this and its back to the potential problem.
I know the simple solution is to just clearance it out with another gasket, or a spacer but I'm not fond of that as all it takes is a blonde moment or a mechanic, or the next owner to not know this and its back to the potential problem.
Jakobi
Super Moderator
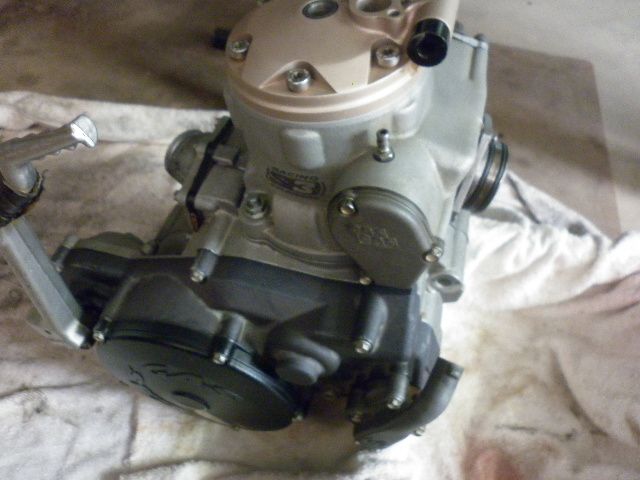
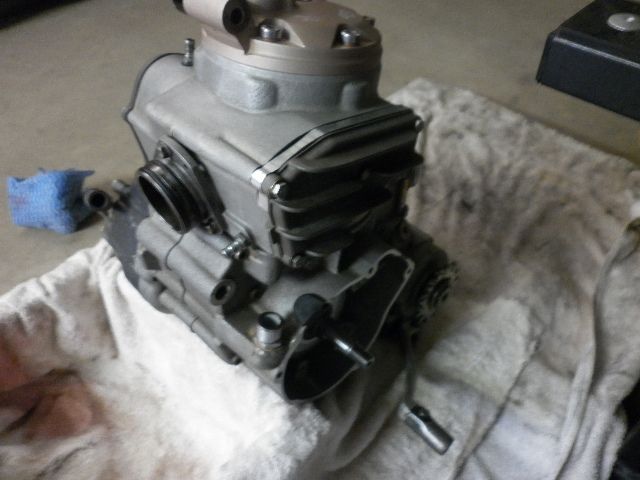
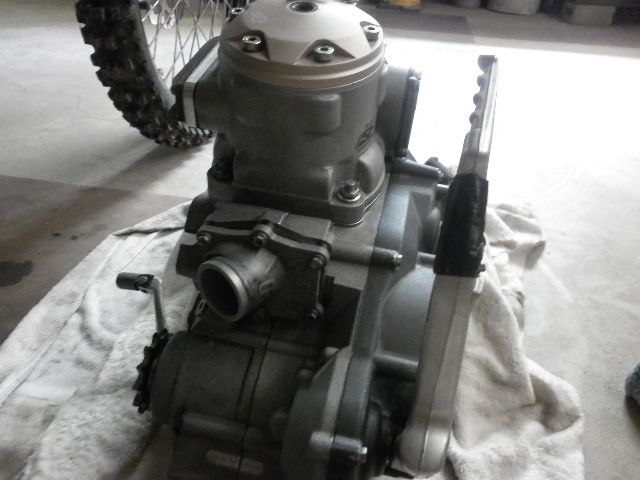
A fair bit of time wasted playing water pump this morning, and ended up just going back with the stock as it fits and doesn't rub against the case. I also found the particular alignment of the case could cause minor rubbing vs no rubbing. I assembled all the seals, impellor and shaft in the outer case before installing it onto the bike.
Some issues with the outer case. I couldn't get it to lay flat on the engine case around the kick starter shaft. It was out considerably. Looked closer and found the plastic sleeve that retains the kick starter spring had backed out of position. Once back in place everything dropped together really easily. All gaskets replaced and torqued up to spec. Countershaft and kick start shaft seals pressed in.
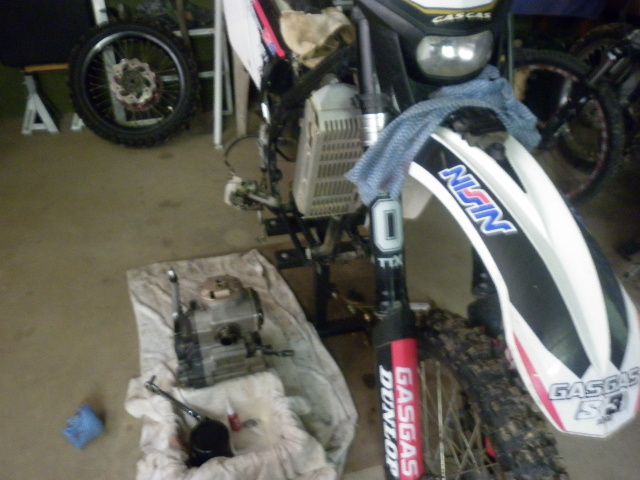
Now time to drop it back in the bike. Everything turns over nice and easily by hand. No strange sounds or binding. Comparing the feeling of the flywheel shaft and crank from before to after it feels much snugger now. Hopefully will see less vibes too.


(F5)
Gold Level Site Supporter
While you're about it. . . oops, erm anyways I've just pulled my cover apart after a youtube clip http://www.youtube.com/watch?v=dI0fUUHaDjQ
showing the lever arm at bottom of wire rod hits the case. Mine did. He took his off & bent his, but I just took it off & touched mine with the grinder & then made sure the burrs didn't impinge the wire. Now there is a gap.
Then checked & found the wire rubbed a bit against the triangle plate so bent slightly.
Yet to try it out, but explains a noise I was getting.
Similar threads
- Replies
- 1
- Views
- 174

