S3 Race Custom Modified EC250 Complete Rebuild

Finished work. Went past the ice factory and picked up a kilo and a half of pellets for $7. Past the bike shop and picked up the crank which went straight on the ice. It was a 45min trip home and I was all ready to install the crank. Then.. old man challenge decided to play his hand again.

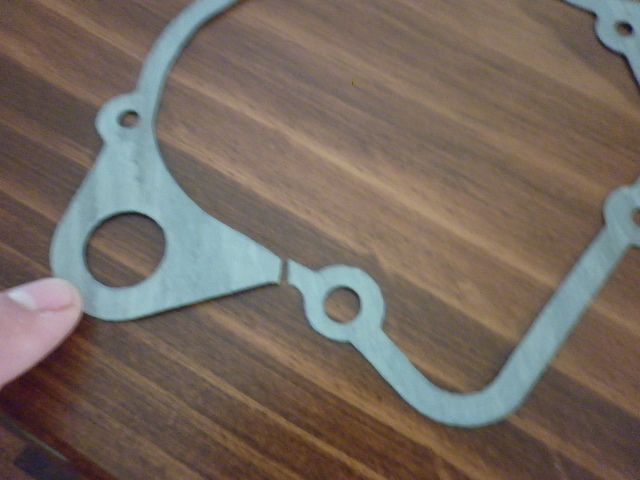
I removed the gasket from the spares and its torn. It didn't tear when I just pulled it out. It appears to have just sheered away along its natural grain. Needless to say its only good for the bin now. Scottys dirt bike spares are shipping me one up express which will save me, but tomorrows a public holiday and I'm at the other end of the country. It could be 3 days until I see it. The dry ice won't last that long so I'll be back to square one again. Not much more I can do but laugh about it. Wasted time and money. I guess I'll spend the spare time enjoying the PH, and the rest getting the top end setup (ring end gaps, deglaze bore, refit the pv, etc).
P1010100_zps9e5b68cd.jpg
 
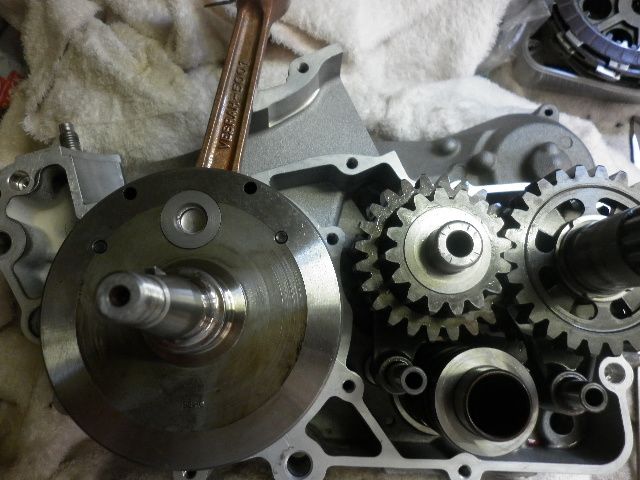
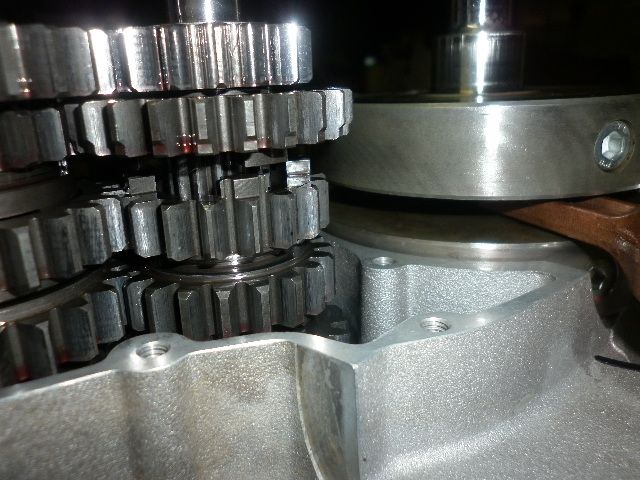
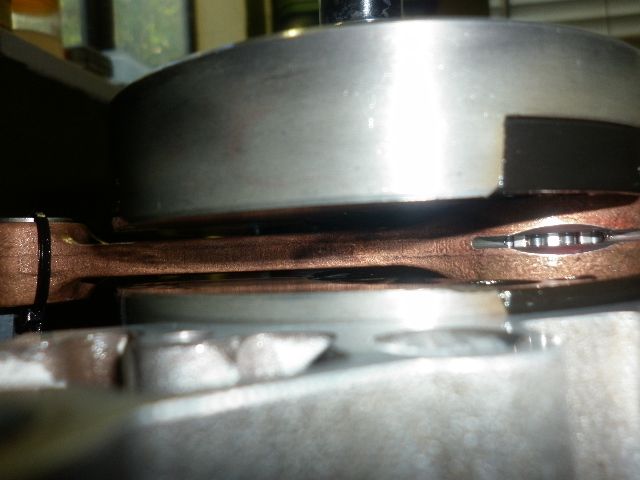
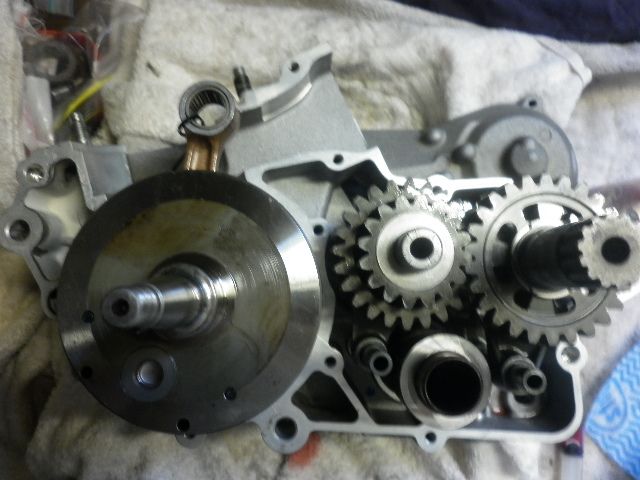
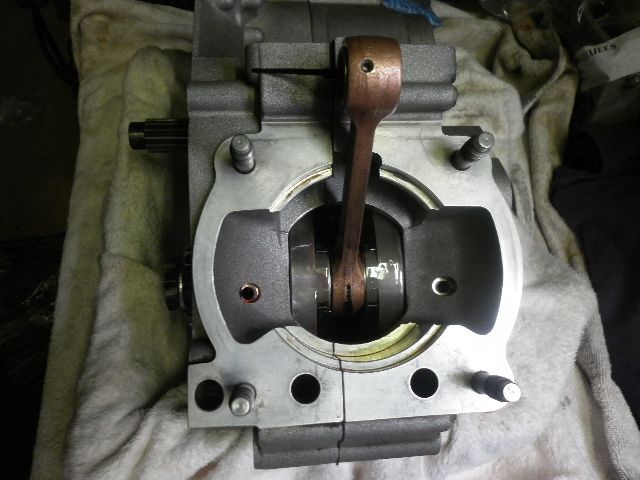
In the mean time. I have dropped the crank into the pri side. The freezing process always ends up with a fair bit of condensation forming on the parts. Adding oil just seems to emulsify and make a nice creamy past. Whats the best way to deal with this? Just let it evaporate off as best as possible and then add oil?
 
In the mean time. I have dropped the crank into the pri side. The freezing process always ends up with a fair bit of condensation forming on the parts. Adding oil just seems to emulsify and make a nice creamy past. Whats the best way to deal with this? Just let it evaporate off as best as possible and then add oil?

I'd let it fully form condensate, then wipe as much of it off with a rag as you can, then give the hair dryer or small fan a chance to blow off the rest. A mist of premix will look after anything else.

Great work on the rebuild - you're getting the full experience - and thanks for sharing the pics. You may have a future in GasGas technical writing ;)

Basically exactly what I ended up doing too Steve. Wiped it clean and I'll give it some fresh lube before the end of the day. The crank rebuild set me back $100 large ones for the local bloke to work his magic. I'm sure there were a few dollars landed in the dealers hand who played middle man for the whole exercise but I'm happy to help him out for helping me out. I specced it back up again and the new crank doesn't rock nearly as much as the old. Side clearance is back to 0.8mm where its meant to be.

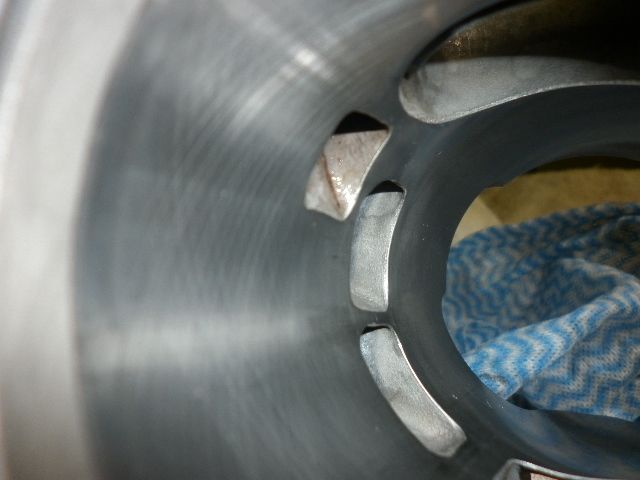
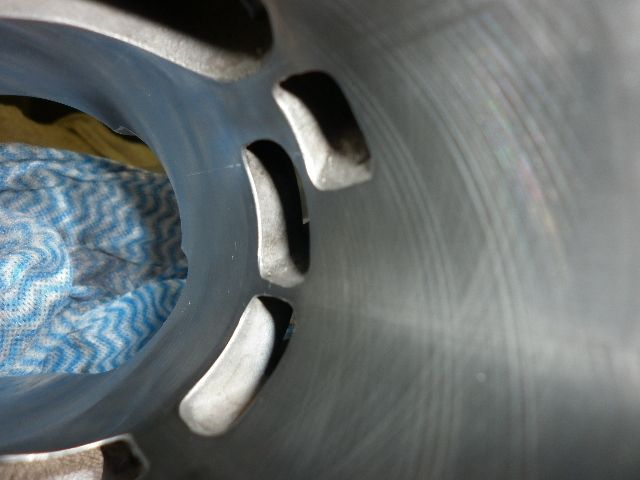
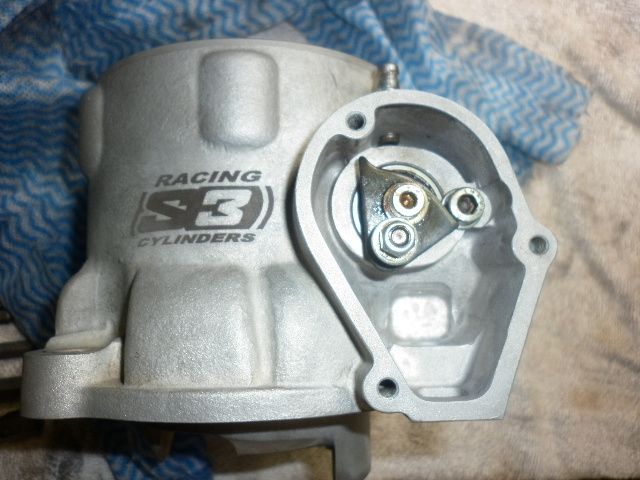
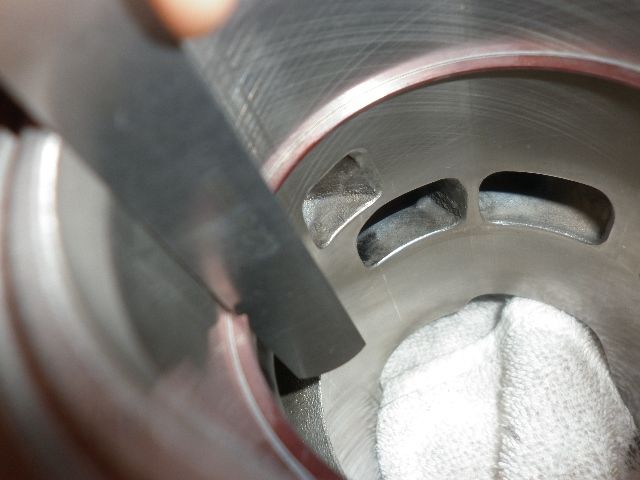
The cylinder has been deglazed using some carb cleaner and a scotchbrite pad. Powervalve assembly was cleaned to remove the excess carbon. I didn't scrub it back to metal or polish it up this time. It cycles through its range of motion freely forwards and backwards with the stop bolt removed. The head wiped clean really easily. Not sure if I want to run the gold head or the red one.. Decisions decisions.

P1010101_zpsd5535656.jpg


P1010103_zps8bfe77dd.jpg
 
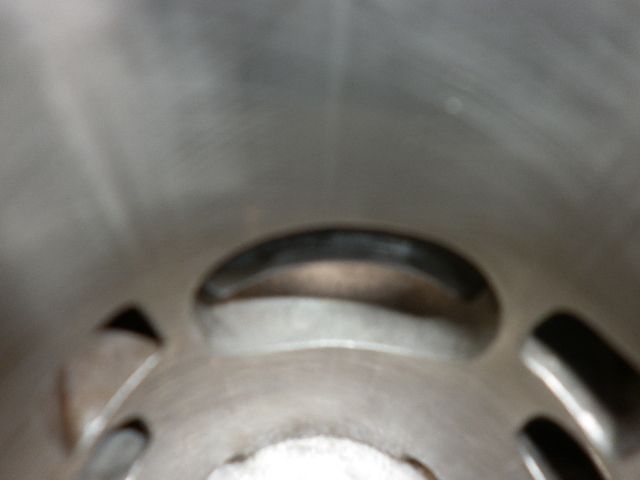
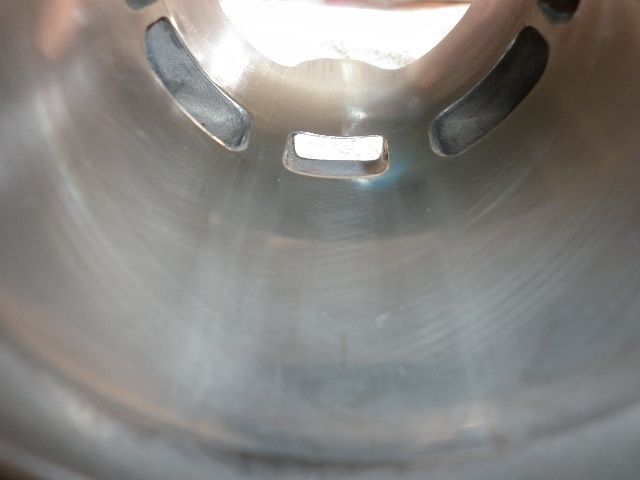
The cylinder has some verticle lines in it each side of the exhaust port. You can still see the cross hatching through them. Dragging a fingernail around the cylinder across the scoring they are not noticable. I think this might have been caused by the top ring buldging from its end gap being at the maximum spec.

P1010107_zps2139d58e.jpg


P1010108_zps35357e01.jpg


P1010115_zps2932a33f.jpg


P1010116_zps0e086427.jpg
 
That looks good. I usually do motors over the winter, so my pellet stove is going all the time. Condensation does not last long in the warm dry air in that room. Cases with cryo fit bearings I'll put right on top for a quick warm up.


Sent from my iPad using Tapatalk HD
 
Pottering around today taking things slowly between other jobs.

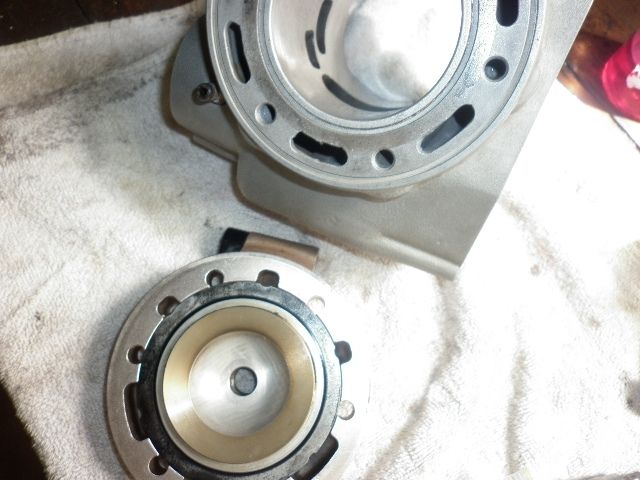
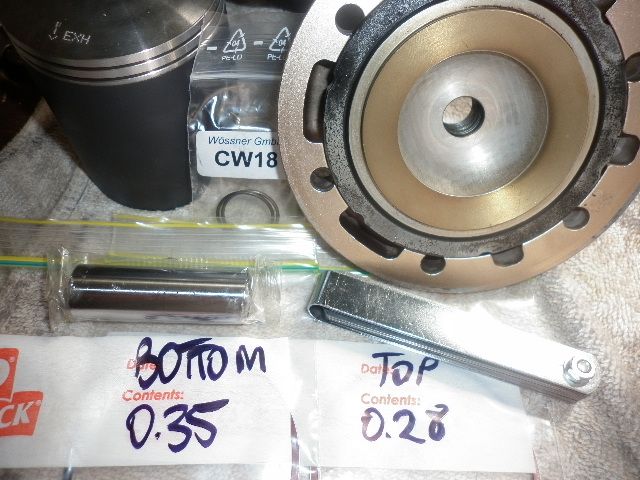
Ring end gaps set
P1010122_zps3d926a00.jpg


P1010126_zps5c687286.jpg


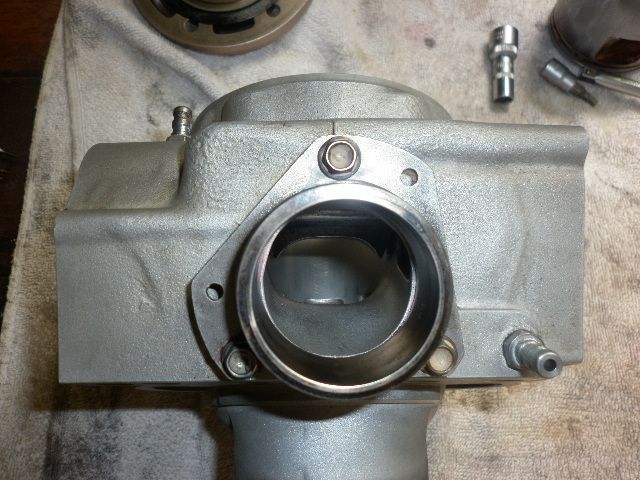
Exhaust spigot cleaned and installed. I could have chose to port match the cylinder with the spigot but couldn't be bothered hooking into this one. The spigot has been matched to the 300 cylinder in the past and is pretty close when on the 250. Good on top and bottom, with just a bit of cylinder overhanging both sides.
P1010127_zpsadddbead.jpg
 
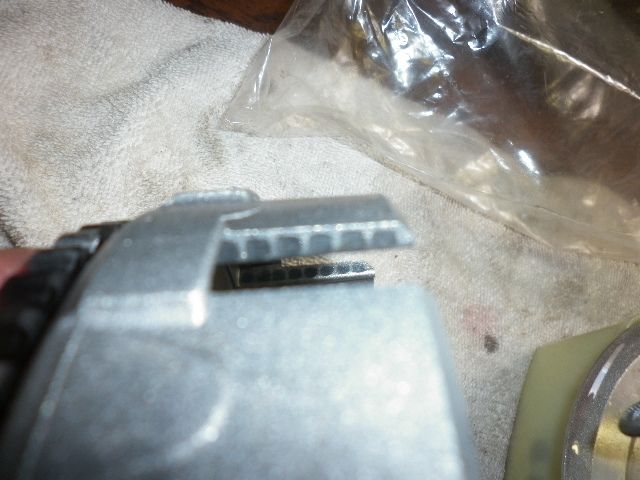
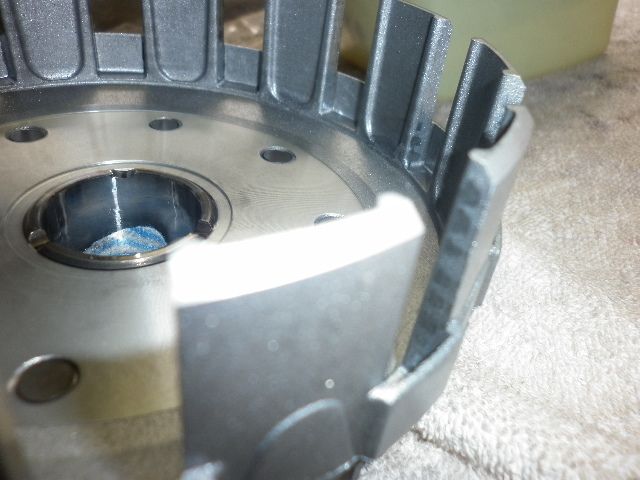
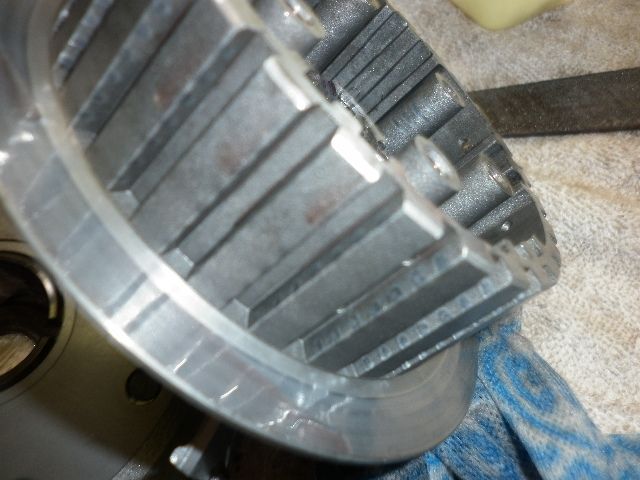
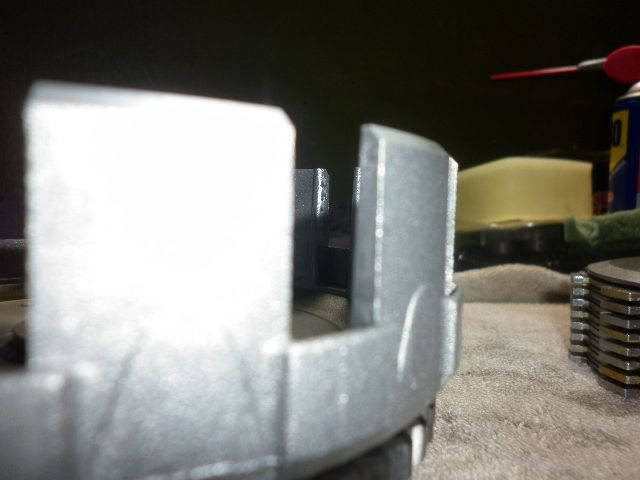
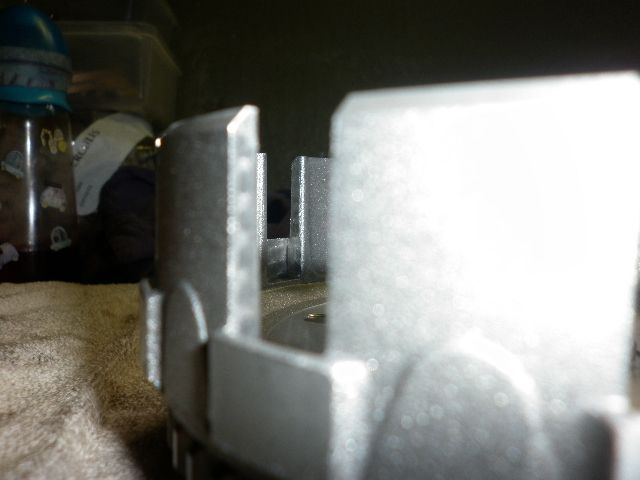
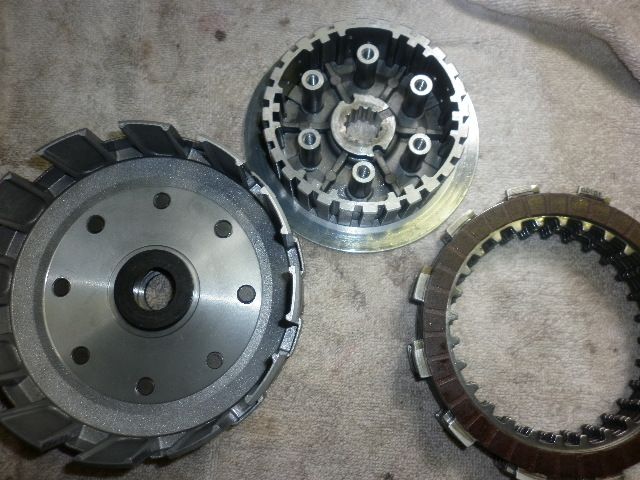
And the clutch baskets were showing some wear. Starting to notch a bit in the fingers. I have given them all a light file only.

P1010131_zpsbdec7617.jpg


P1010132_zpsf488bb38.jpg


P1010133_zpsa1cc15cf.jpg
 
So heres the basket after a quick file. I forgot to snap the inner, but pretty much the same deal. I didn't take much material off at all, just smoothed things out a bit.

P1010134_zps194d299e.jpg


P1010135_zps8cd47962.jpg
 
Then I spread out all the parts and specced up the steels and fibers.
P1010136_zps822b645c.jpg


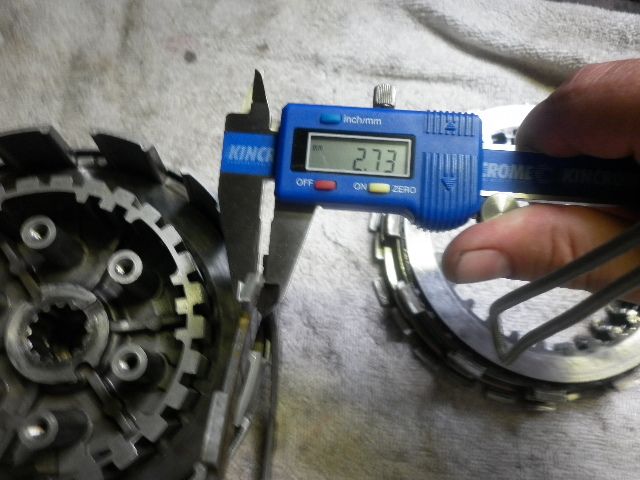
For the fibers Gas Gas advises standard size is between 2.75 to 2.85mm, with a limit of 2.68mm. My fibers all came in at 2.73mm. Showing some wear but should be good for a while yet. I'll definitely keep an eye on them and probably check them again in 50hrs or so.
P1010139_zpsf425f8c7.jpg


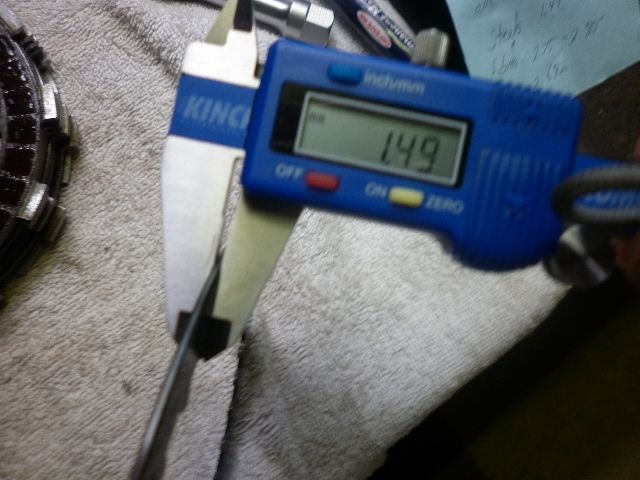
No issues with the steels at all. I still need to check they haven't warped which I will do before installing them. Size wise they measured 1.49mm. Spec being 1.45 - 1.55mm with a limit of 1.40mm.
P1010138_zpsecaac295.jpg
 
I have heard talk of balanced (or counter balanced) cranks on this forum, is it something that can be done when you are doing a bottom end rebuild? Or is it something that needs to be designed into the bike at the factory?

<just planting a seed here>
 
I looked into it a little bit Matt. Essentially you'll never get a single cylinder engine balanced. What you can do is either set it up to be slightly underbalanced, or slightly overbalanced. What this does is changes the plane in which the vibrations occur. Either up and down, or forward and back. The later being less noticable/annoying to the rider.

Out of the factory the cranks (like the rest of the engine) have set tolerances that are deemed to be acceptable, but are not optimal. The cranks can have a certain amount of run out, and simply by having someone precision true the crank the vibrations are reduced noticably. This is what I had done.

Then GG also uses a counter weight which attaches directly to the crankshaft on the primary drive side. Not sure how this effects things, but I'd say its very similar to a flywheel weight that just adds some inertia and smooths things out, while also counter weighting the rod and piston.
 
I thought you would have got some cracking discussion with the above question Matt. I was looking forward to learning more too!

Back onto the build. Nothing else has happened. The gasket never made it to me Friday and then weekend the post office is closed and I'm back at work. I spent a few minutes pulling the P3 pipe guard and gave the pipe a quick cleanup. Nothing too impressive but enough to look half alright again.
 
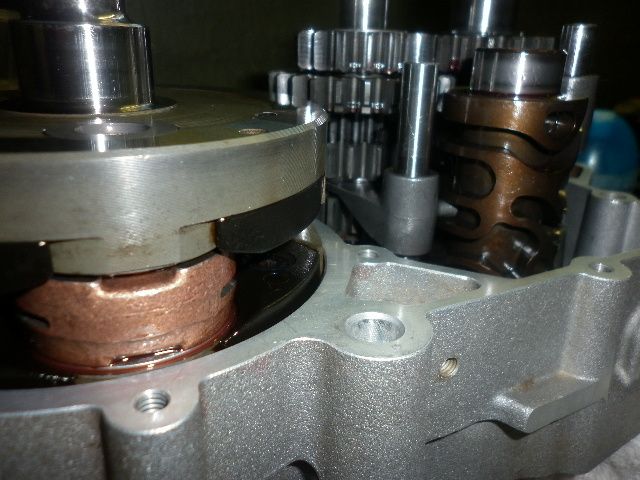
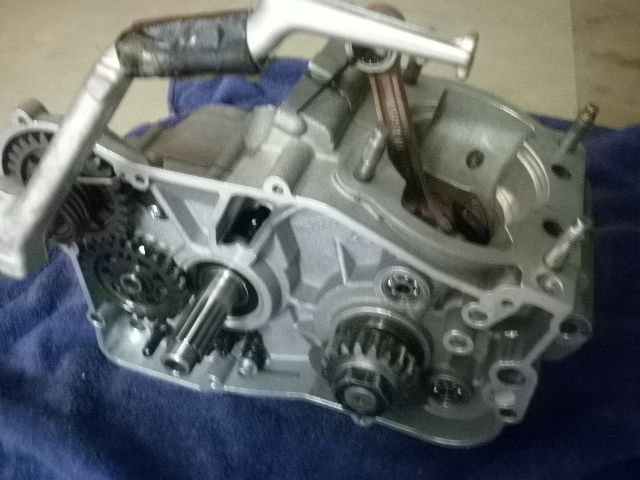
The build goes on. Today I decided to do a bit more. Cheers to scottys for helping me out with a replacement gasket. It all fit up nicely. The cases went together well with a cold crank. To be honest there was more reistance on the counter sprocket shaft than anywhere else. Bit of a snug fit and explains why the gears wanted to lift out with it when I originally split the cases.

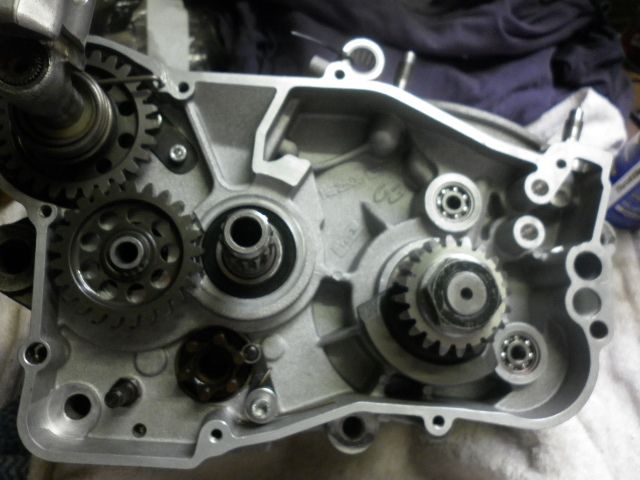
All buttoned up again
P1010170_zps852acaf7.jpg


P1010173_zps9cf51161.jpg


P1010172_zps4c846281.jpg


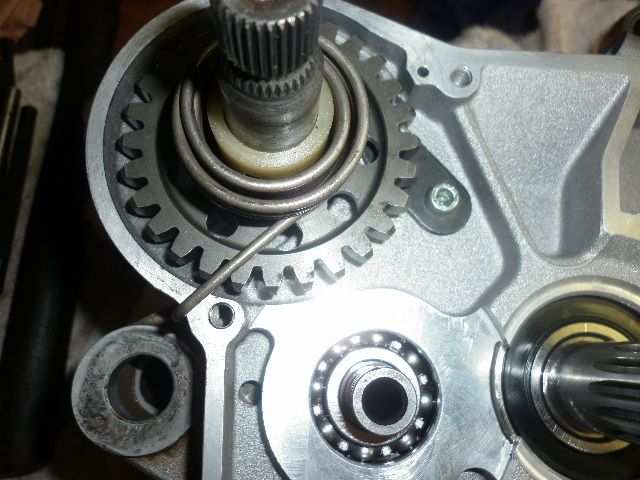
And for reference, this is where I set the spring at rest. Took some effort to bring it right around but the kicker recoils all the way as expected.
P1010168_zps6a3e1685.jpg
 
Now for the questions.

With the pri side crank seal. I originally seated the seal flush with the case but the bush only just ran the seal lip right near the edge. I checked my photos from pull down and they all showed the seal being pressed in further so I did that. It now allows the seal to run a good couple mm's in on the bushing.

With the pri side gear and nut. The key pressed into the crank with a light taps of a punch. It didn't take much but I couldn't push it in by hand. I had froze the key before doing this too. The counter weight and gear all went on without issue. Same for the nut. However, I have no idea who to measure if I have 40nm on it or not. I used a battery operated impact to rattle it up till I thought it was pretty tight. Marked the nut and crank with a permanent marker and rattled some more until it moved a few mm tighter. Thats about as tight as it'll go with this gear. I also used blue loctite. Is it ok to use the stop in the plug hole to torque up the pri side nut with the torque wrench once the engine it back together or will that be too much load on the big and little end?

The little gear locking unit was heaps of fun to install. Got there in the end.

New starter rachet and pinion installed as the kicker would sometimes slip upon engagement in various positions.
 
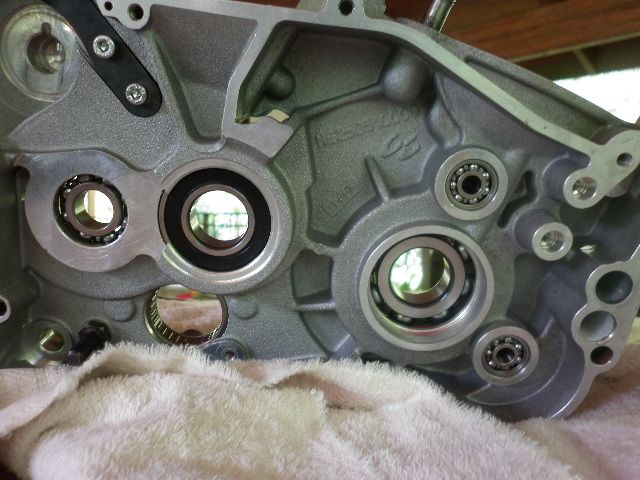
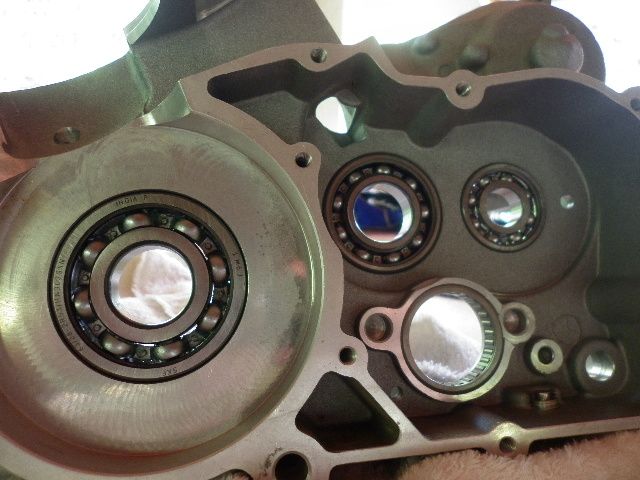
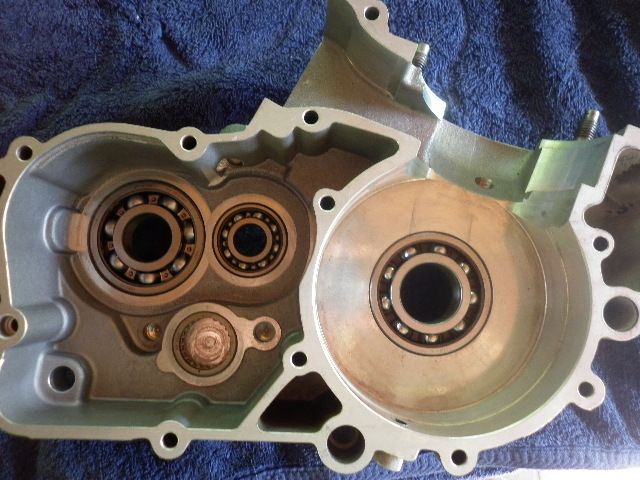
Amazing how much simpler things go when you know what you're doing. Basically a 2 minute job this time around. Heated cases sufficiently. Bearings dropped right in. Made sure all were seated properly and left to cool.

P1010084_zps5f22cd4f.jpg


P1010083_zpse71c414d.jpg


P1010082_zpsbda739de.jpg


Now off to service the car. If I get time later I might start dropping the transmission back into the case.

In regards to fitting the crank, whats the best method? Is it worth while heating the inner race of the bearing using a socket and torch? Or just a frozen crank should drop right in?

Just noted one of those SKF bearing says India !!!!! the trouble we have with anything from India inc sealed bearings is poor to say the least. One thing u dont skimp on is bearings ..... OE for those im afraid for me.
 
Last edited:
Older GGs always had top notch Euro or Japaneese bearings OEM. I never pulled a Chineese or Indian bearing out of a GG motor. Now, with the financial climate as it is and the govt. banks controlling things, cheap stuff would not surprise me. I get all my stuff from a supplier that understands this and will not sell you crap.

Jake,

I don't like to lock the top end to torque the primary, prefer to lock the gears with a piece of aluminum or copper.
 
Not all the bearings were indian skfs. But that one main definitely was. I think the one that came out was too. All part of a global economy. I'd prefer quality jap bearings and now that I know whats in there and its not so daunting, if I ever get to where I need another bottom end rebuild I'll be sourcing Nachi bearings from the local supplier. For me this whole bottom end experience has been a first, and while I understand mechanics well in theory, I have my fair share of struggles in practice. Things never work as easily as they should. :p I've learnt quite a bit by doing this with the help of everyone here.

I'll see if I can use an aluminum washer between the clutch gear and pri drive and get the torque wrench onto them tomorrow. It didn't look like there was much room behind the basket but I'll double check! Thanks
 
Back
Top