You are using an out of date browser. It may not display this or other websites correctly.
You should upgrade or use an alternative browser.
You should upgrade or use an alternative browser.
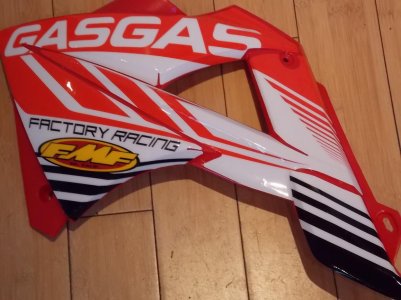
Newer Plastic on Older GasGas show your bike
- Thread starter tazzer
- Start date
dirtjunky_uk
New member
cant wait to see the pics pepperami that white frame is looking awesome
fullthrottle
New member
thejackrabbit
Member
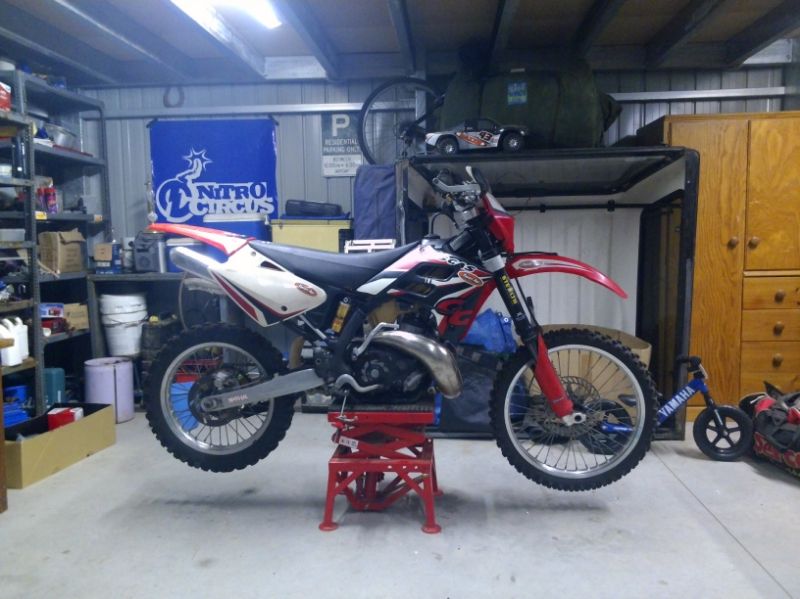
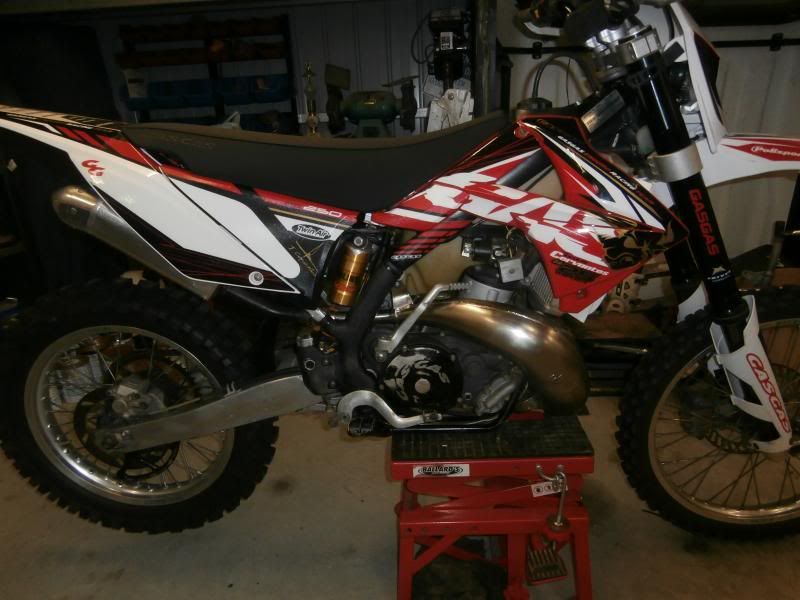
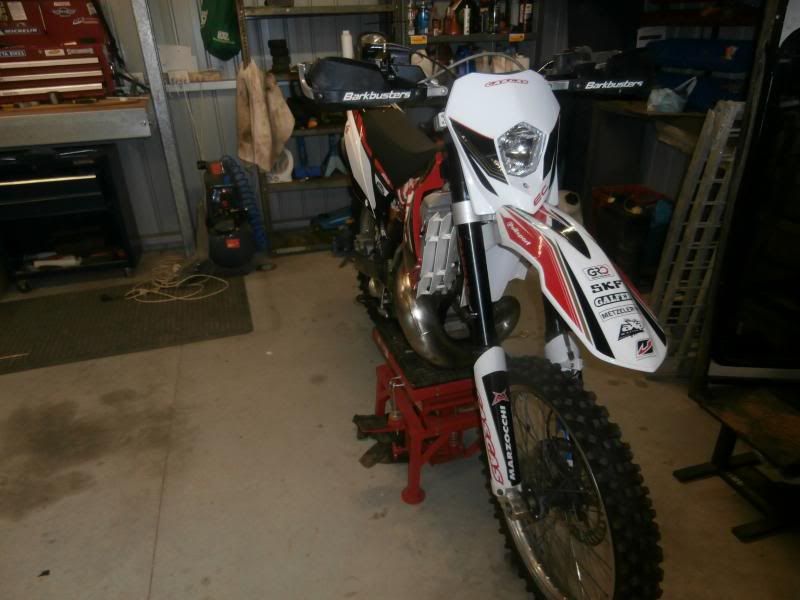
This is my 2005/06? EC/DE? 200 converted to a 2011
powder coated frame, rims, swing arm, 2011 subframe
I used 3M non slip tape on the frame so the paint doesn't wear off
The number plate graphics are from BikeGraphix they make a great product
the bike didn't come with a headlight so I put a piece of rubber over the hole, however I am looking for a headlight housing from a 2011 if anyone has an extra laying around


Coop
New member
I've seen that 200 for sale a few times I knew Hayden when he had it
I have seen it on craigslist too. Didn't realize there were so many SW Pa guys on this forum. Good looking bike.
Pepperami
New member
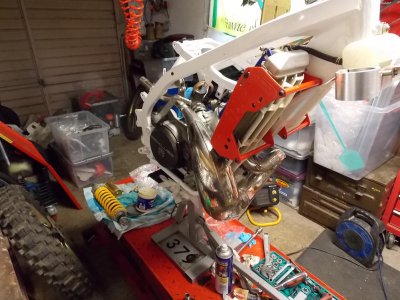
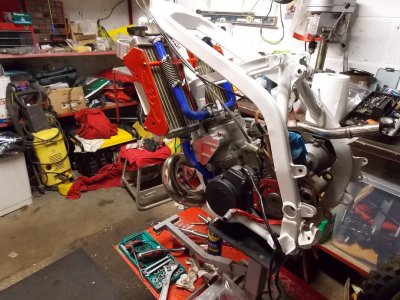
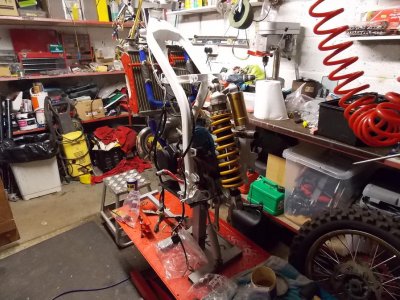
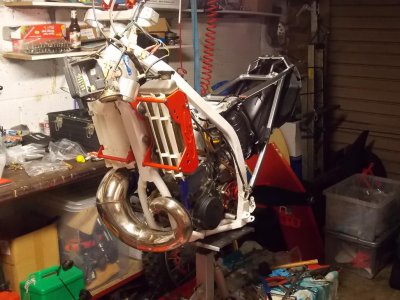
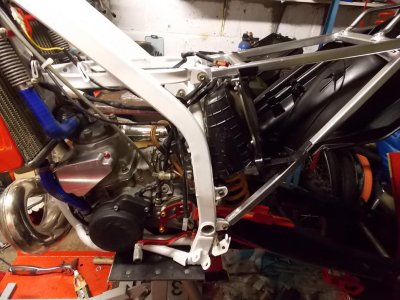
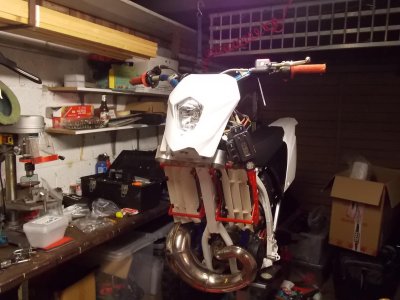
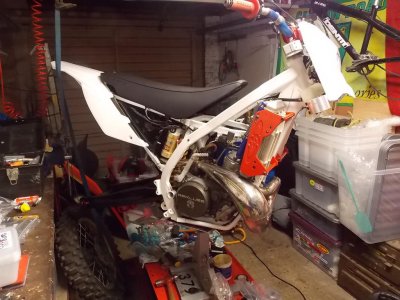
Received a huge box of bits from Spain! Started fitting it, I think I have the airbox sorted but trying to get everything lined up is proving time consuming!
Attachments
fullthrottle
New member
Received a huge box of bits from Spain! Started fitting it, I think I have the airbox sorted but trying to get everything lined up is proving time consuming!
Did you stay with the old style filter setup?
fullthrottle
New member
Thats what I did just had to take time to get holes lined up perfect
what did you have to trim? I didnt trim anything just left the boot in the sun for an hour or so and it went in not to bad once I worked out how it works
what did you have to trim? I didnt trim anything just left the boot in the sun for an hour or so and it went in not to bad once I worked out how it works
Pepperami
New member
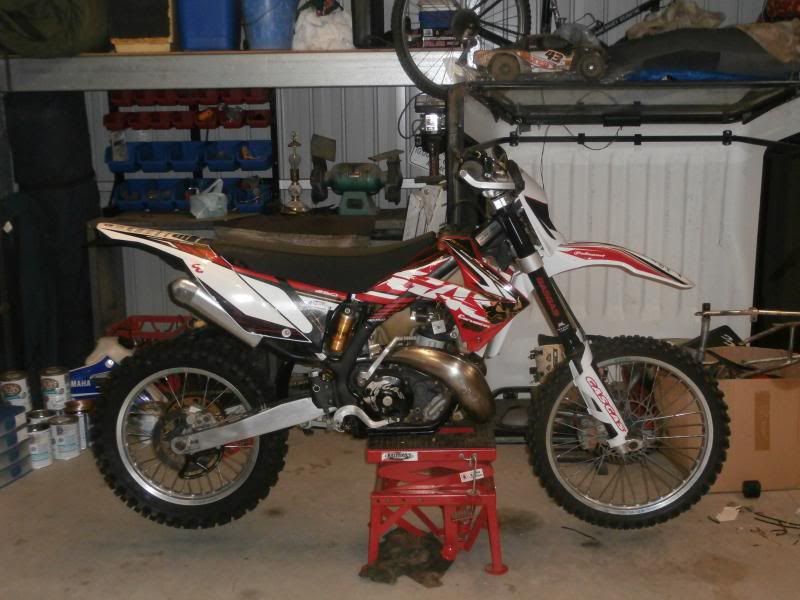
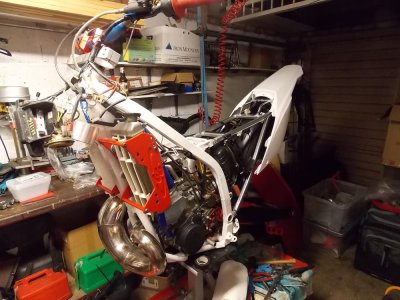
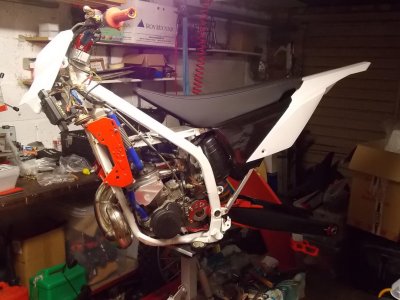
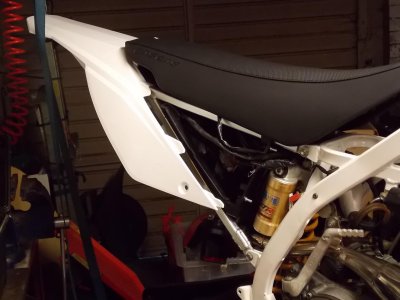
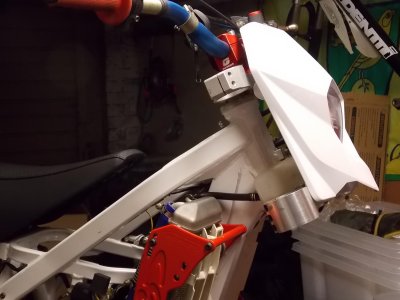
Unfortunately we haven't got any sun! Trial fitting the rear end today and started to fit the graphics! It's close but not close enough 
Starting to find out what all the bits are, still confused about seat fitting and a couple of the little bits!!!!!!
I thought they came with graphics already on Not my strongest point!!!
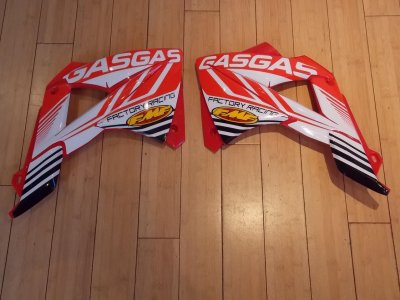
Question Red or White fork protectors? I have both but only one set of graphics.
Starting to find out what all the bits are, still confused about seat fitting and a couple of the little bits!!!!!!
I thought they came with graphics already on
Question Red or White fork protectors? I have both but only one set of graphics.
Attachments
Pepperami
New member
A couple more pics plus a quiz!
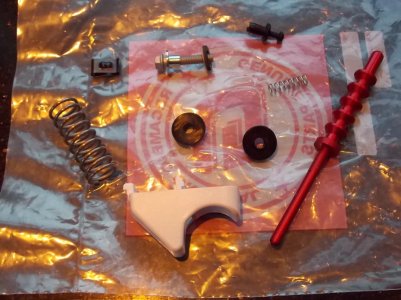
Name the items on the plastic bag and tell me how they fit and you will win eternal stardom!
Name the items on the plastic bag and tell me how they fit and you will win eternal stardom!
Attachments
fury1
New member
The two rubber grommets hold the headlight pins snug onto the fender
red metal Tube and large spring hold the new style air filter in place
the white triangle plastic item mounts behind the headlight mask to hold the brake line in place
the small spring and the black clip are part of the headlight adjuster assembly, should be a white plastic square to go with it, my kit needed a proper size nut and bolt to attach, it wasnt included
The shouldered washer and bolt setup maybe for the top gas tank mount? My kit didnt come with that.
The black push pin is for the airbox...I used rivets on mine
Pepperami
New member
The two rubber grommets hold the headlight pins snug onto the fender
????
red metal Tube and large spring hold the new style air filter in place
I don't think I will need that then!
the white triangle plastic item mounts behind the headlight mask to hold the brake line in place
Gotcha!!!!!!
the small spring and the black clip are part of the headlight adjuster assembly, should be a white plastic square to go with it, my kit needed a proper size nut and bolt to attach, it wasnt included
I have bodged up my own system at the the moment~
The shouldered washer and bolt setup maybe for the top gas tank mount? My kit didnt come with that.
????????
he black push pin is for the airbox...I used rivets on mine
I have rivetted all of mine together as well!
Thanks for that it takes a lot of the puzzle out of it!
fullthrottle
New member
The two rubber grommets hold the headlight pins snug onto the fender
????
Nope i think they go either end of the spring on the red airbox quick release pin
Last edited:
Similar threads
- Replies
- 6
- Views
- 1K
- Replies
- 8
- Views
- 3K
- Replies
- 6
- Views
- 4K
- Replies
- 6
- Views
- 5K


