What did you do to your Gas Gas today?

Installed new grips and some outrageously priced front wheel bearings. Smith's is a great shop and super nice, but I will be using info Jakobi gave me and sourcing alternative bearings next time haha. I also took the tool bag off the rear fender. I keep hitting it when moving around while standing and it was annoying me.

No wise cracks about the mud, the water line to my hose froze and broke over winter so I have no outside water right now lol.

IMAG0009_zps7l0wn1bi.jpg

IMAG0004_zpshur50ia7.jpg
 
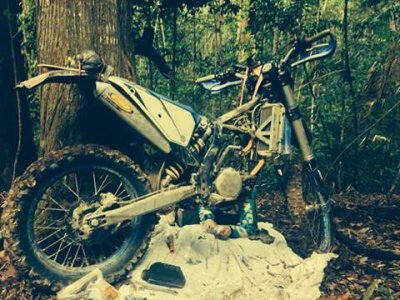
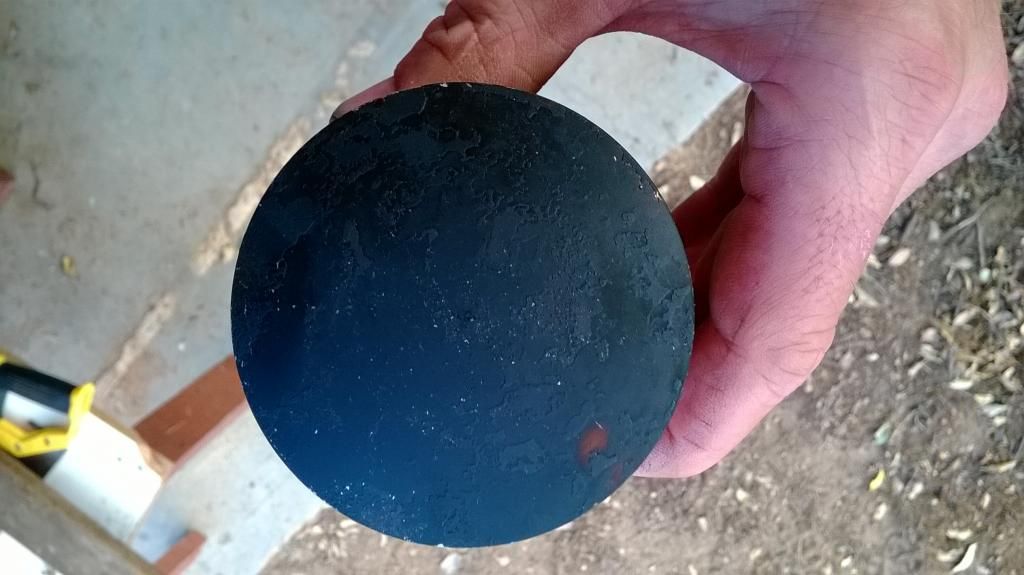
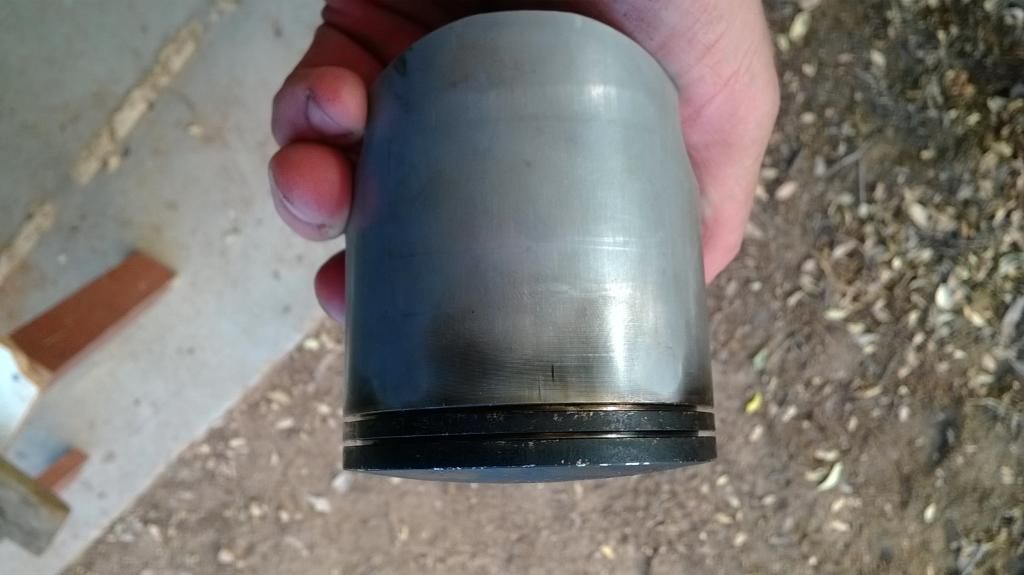
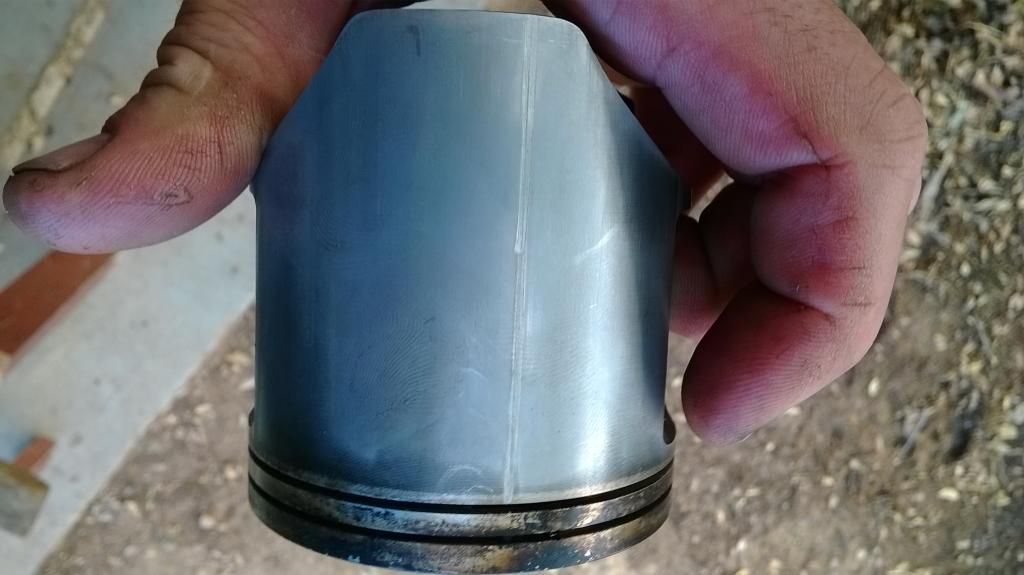
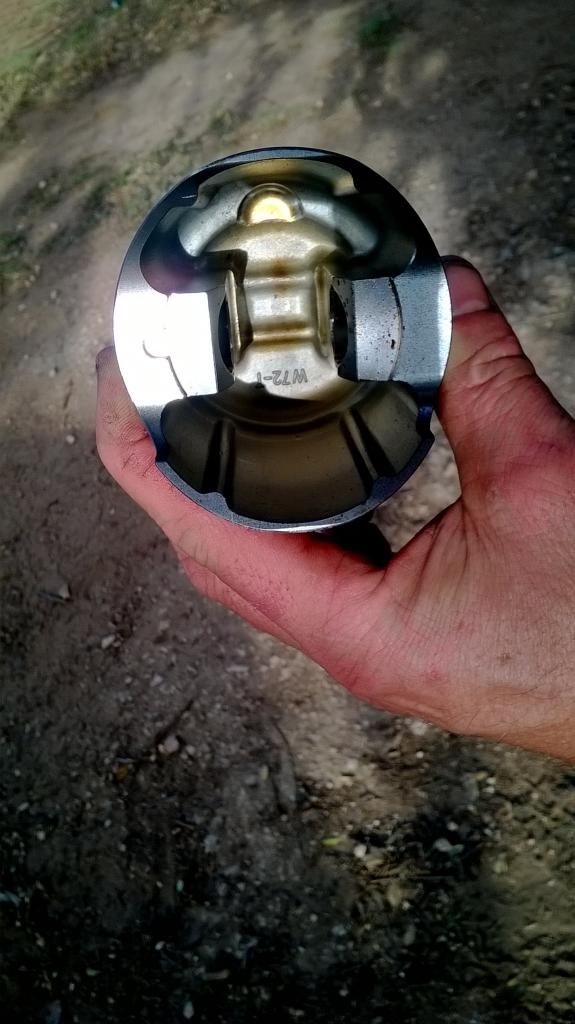
Rode the 2010 model out into the sticks loaded with tools yesterday! Found a Husberg TE300 against a tree, and a piston taped to the tree above it. Pulled it down, and did what obviously had to be done! Came home and gave the bike a quick rinse! Off to wet a line with the young fella and take the lady out for some lunch today, and then giving the new bike a once over before heading out for a solid ride tomorrow!
 

Attachments

  • TE300.jpg
    TE300.jpg
    44.9 KB · Views: 82
Rode the 2010 model out into the sticks loaded with tools yesterday! Found a Husberg TE300 against a tree, and a piston taped to the tree above it. Pulled it down, and did what obviously had to be done! Came home and gave the bike a quick rinse! Off to wet a line with the young fella and take the lady out for some lunch today, and then giving the new bike a once over before heading out for a solid ride tomorrow!

You know it's a lot easier doing top ends in a nice clean garage don't you. :D
 
Put her up for sale, gotta say, she looks real pretty with the new plastics and graphics. But I yearn for a younger mistress, so this one has to go :p


I finished a top end rebuild and changed and maintained a few bits.
Installed the set of pivot pegs I had from the 07, cleaned PV, rerouted a few cables and put the newly tuned forks on.
Afterwards I had a home made?????
Last shot:D


Cheers Mark
 
Rode the 2010 model out into the sticks loaded with tools yesterday! Found a Husberg TE300 against a tree, and a piston taped to the tree above it. Pulled it down, and did what obviously had to be done! Came home and gave the bike a quick rinse! Off to wet a line with the young fella and take the lady out for some lunch today, and then giving the new bike a once over before heading out for a solid ride tomorrow!

I'm a little slow (I'm an engineer lol)...what really happened here? :D
 
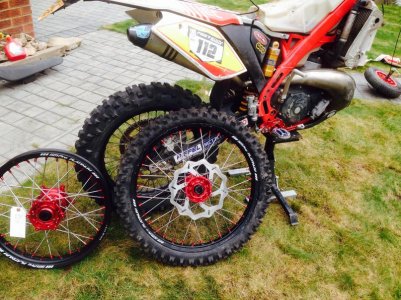
New wheel and a fork strip , maybe I should have done the rear swap before I dropped the forks doh
 

Attachments

  • image.jpg
    image.jpg
    129.6 KB · Views: 59
Removed rear brake lever to discover that its eyelet which connects lever with the master cylinder was seriously worn out - it's 3 years old after all. After some drilling/machining/heating this eyelet is now sleeved with a new shiny bronze sleeve and should last many more years :).
 
Took my 200 out of the bike room prepped it for its first hare scramble of the year Sunday ! Cant wait it is going to be fun !
 
Hey guys! I've been a lurker for a little over a year now but I've decided it's time to come out of the shadows.

So I've been rebuilding my 2011 EC250 over the past few weeks and I'm making good progress.

So far I have installed:
new top end
cleaned & adjusted powervalve
new reeds
new powervalve bearings
new linkage and swingarm bearings
new chain slider
dunlop mx51 front and rear
stripped and cleaned the carb
painted the frame
protaper footpegs
and much more

All the original parts were washed, scrubbed and given a healthy dose of love before being reinstalled.

Today I washed and fitted the tank, rad shrouds, rear fender, and cleaned the air filter.

Here's a gallery(sorry crappy iPhone pics) to show what I've been up to. You'd be hard pressed to find a cleaner 2011 ec250 out there. :D


I'll keep you guys posted on future developments with better pics next time.

PS love the site,
 
Rebuild

Looks good! what brand are the rad. hoses? You need to blow out the pipe dents while your at it. It's not too difficult to make the required parts to pressurize. 50-60 psi, oxy/acetylene torch=. no more dents
 
MeepMeep, great looking bike!

I would offer one suggestion ... turn the footpeg clevis pins over so that the cotter pins are on the bottom not the top of the mount. That way the load is not on the cotter pins, causing a failure. If that happens, the clevis drops out and you loose the pin and peg.
 
Good suggestions from a keen eye! I run my brake side pin up from the bottom as it won't fit the other way (unless if the clutch cover is removed).
 
MeepMeep, great looking bike!

I would offer one suggestion ... turn the footpeg clevis pins over so that the cotter pins are on the bottom not the top of the mount. That way the load is not on the cotter pins, causing a failure. If that happens, the clevis drops out and you loose the pin and peg.

Thanks for the tip wrench. I just installed the pegs temporarily as they have to come off during transport. But more on that later.
 
Looks good! what brand are the rad. hoses? You need to blow out the pipe dents while your at it. It's not too difficult to make the required parts to pressurize. 50-60 psi, oxy/acetylene torch=. no more dents

The hoses are Samco. Super overpriced(to the point I would not recommend them) but hey I wanted yellow. Fix the dents you say? But then I won't be able to justify this masterpiece. :eek:
http://www.gasgasmotos.es/en/racing-parts1/88-hand-made-exhaust-expansion-chamber-for-2t-en.html

But I think I need to restrain myself.

Restrain= take a big hammer to the stock pipe, whatever it takes to justify that cone pipe. Looks like Scalvini and I love mine........Nice build!
 
Back
Top