desertgasser300
Banned
+1 to you guys.
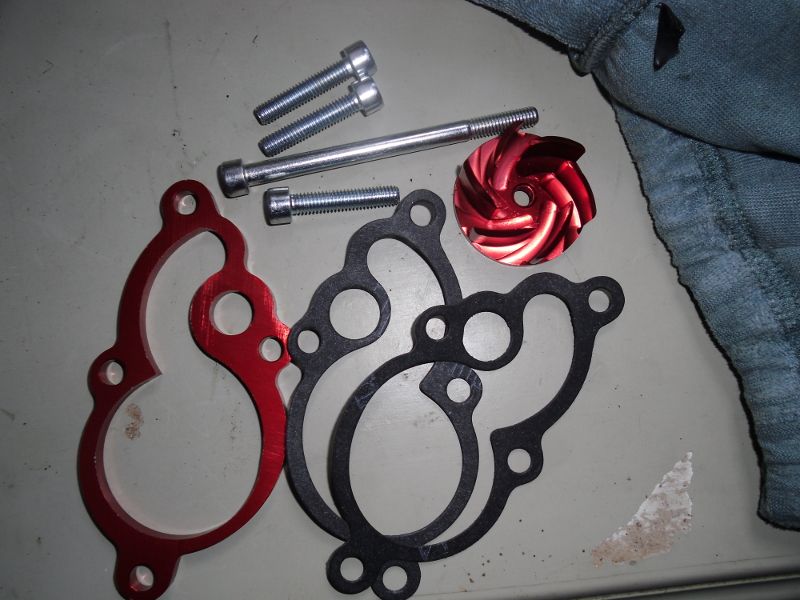
By the way, just FYI, the water pump kit at Motocross Center is on back order for 3 weeks.
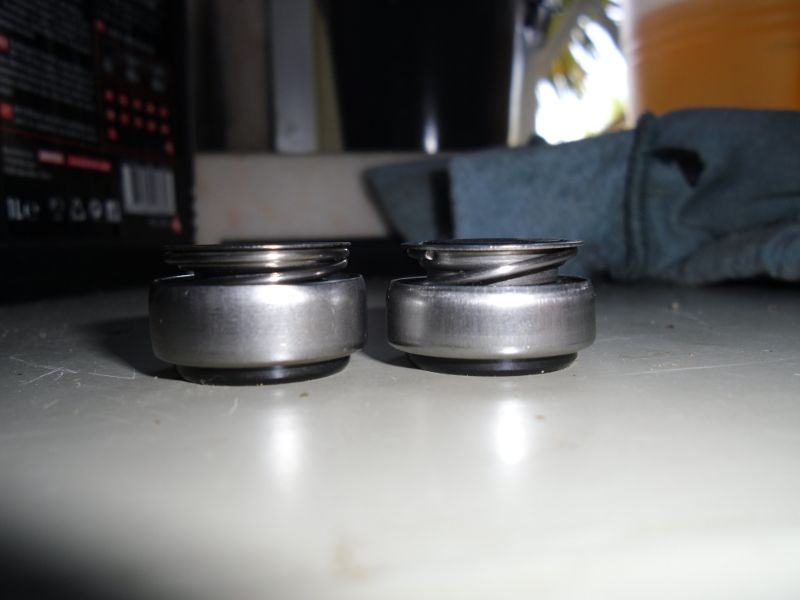
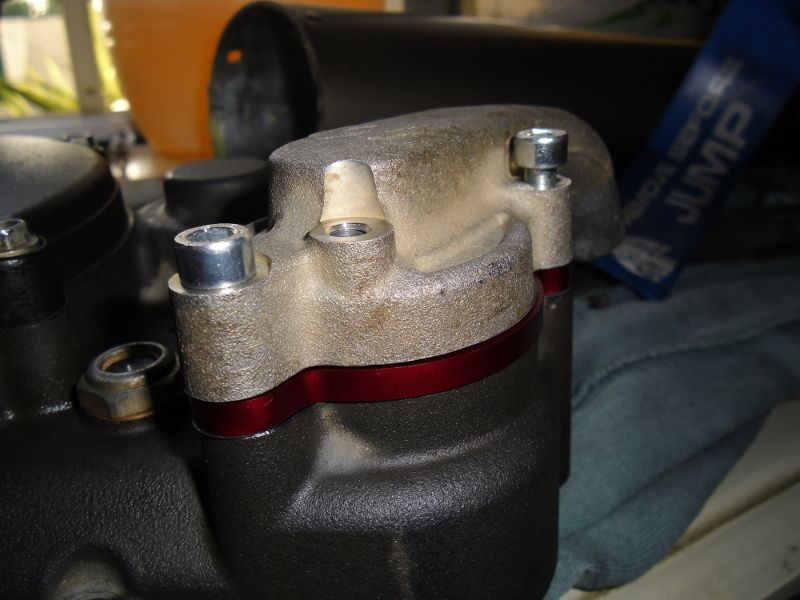
Would have taken a bit more than 0.5mm to get mine to clear Glenn. I don't even think a second gasket would have managed to clear the checkpoint on my 2010. Never the less you are right with your solution. Its the quickest, easiest and most effective method. I was just throwing thoughts around.
Well that sucks....
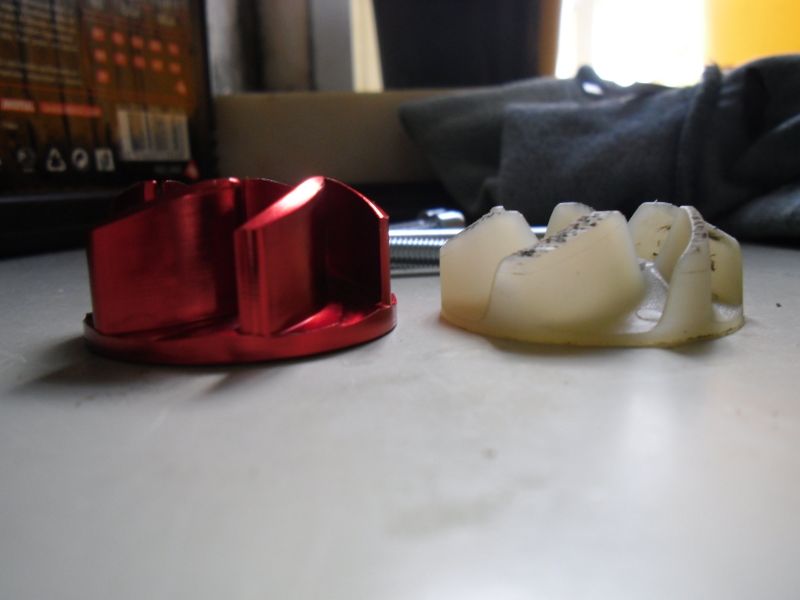
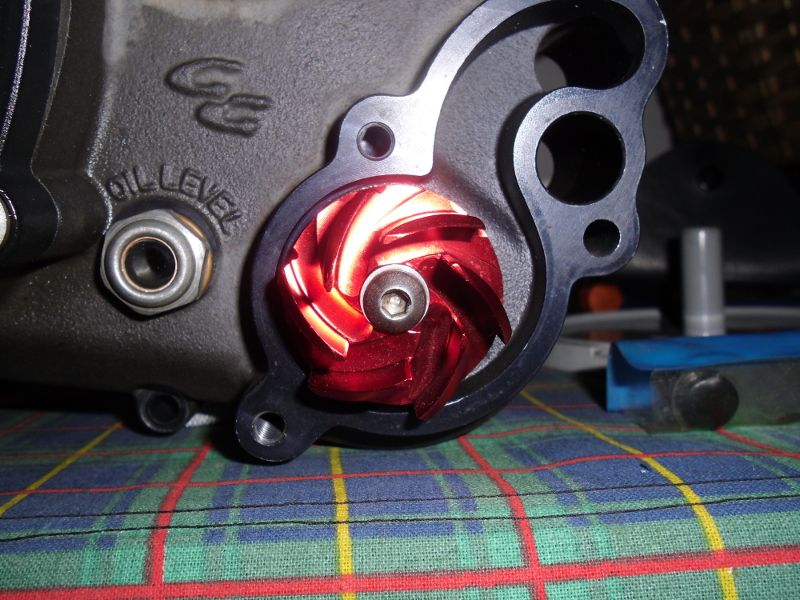
I have a Checkpoint on my way now. I actually called and spoke to Matt today and he indicated his impeller is a good 2 mm taller than the OEM one..... Well how is that going to work?
I may be returning it and back to the OEM one.
Glenn -- your idea seems so easy but not sure exactly how some of us could do it when don't have access to the proper tools.
WOW!! Awesome Clay, Mark, and Glenn!!
Does this offer apply to all 2010+ bikes outside the USA as well?
I will try to get some from Gas Gas Pacific and have them for us Albertans!