Marzocchi 48mm CC Forks

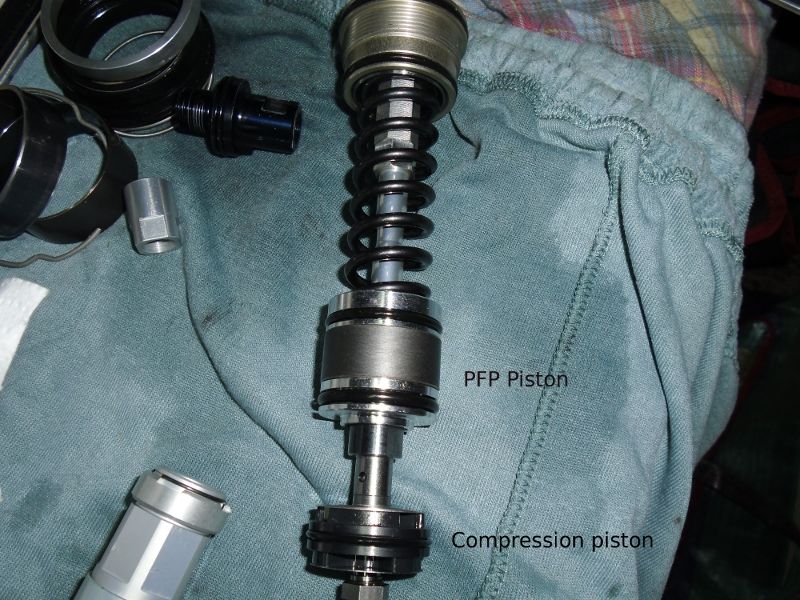
I think its the fast rebound making it extend too fast after deeper compression. Its suprisingly good on trail trash, even on uphills where there is less weight on the front end. This is where too stiff a compstack really gives you trouble and deflects. I think what I'll do is add a little HS rebound, and maybe a little less comp just to bring the adjuster in closer to midrange rather than close to full out. I'm on the fence about stiffer springs, seems OK, have to play with the PFP more first.
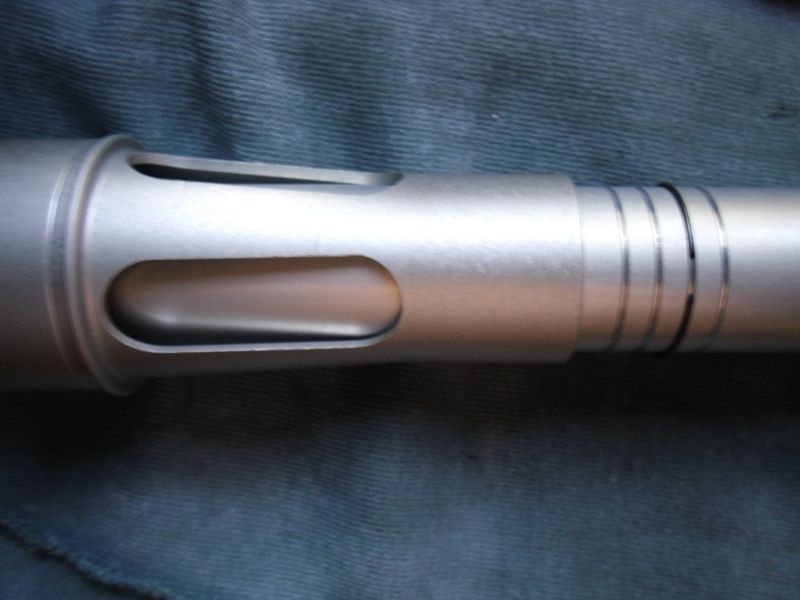
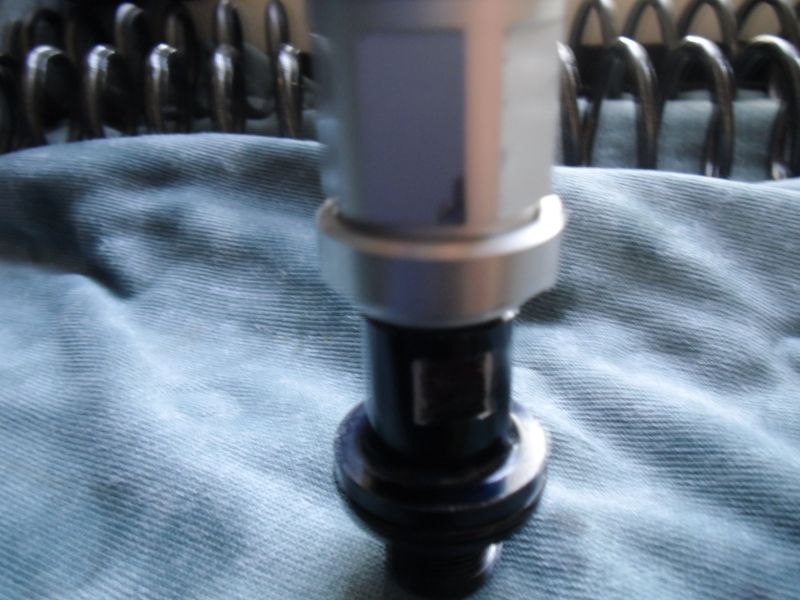
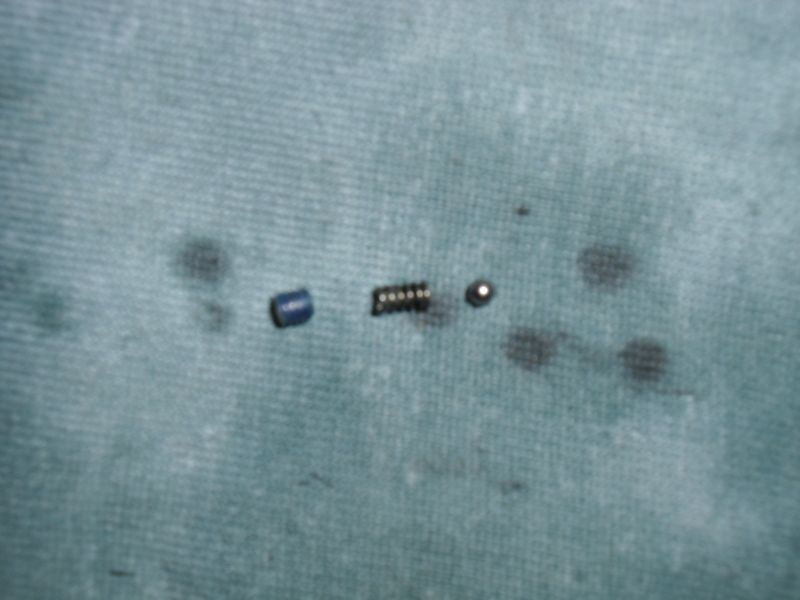
 
Remember that you can play with the spring preload. There 4 positions and you can lessen the preload by 5mm
 
Anyone find a manual for the 48's, Marzocchi's website says there's a manual available but there doesn't appear to be any way to download it. LINK

I just checked to see where the PFP was set on my forks, one was at 0 turns (all the way out counter clockwise) the other at 2, turned the one at 2 back to 0 turns, but when doing so another part of the CAP turned as well??? Is this the other preload adjuster??? I've only have 8 hours on my bike so far, the forks are compliant on trail trash but there is a sharp spike at mid stroke, I've just been confirming the settings on the forks in anticapation of them breaking in a bit more.. any help would be appreciated...

Ed.....
 
Ed,

The only thing up there is the PFP and the main fork cap. PFP adjuster is stiff so it sounds like you cracked the cap loose. Same 49mm as KYB, so wrench easy to find.
 
Hmmm, the pfp was easy to turn, 22mm socket..what also turned does not appear to be the cap as it is internal to the cap....wish I had the manual...


Ed....
 
Last edited:
How/where do I set the preload? Is there a adjuster?

You need to remove the coil. Where the coil sit (Upside) there is an part that you need to slide down. (you need a little force here) Than you will see the ring and the others channels.
 
Ed,

Sorry, I meant the cartridge cap, with the internal octagon surface. That is in the main cap.
 
You need to remove the coil. Where the coil sit (Upside) there is an part that you need to slide down. (you need a little force here) Than you will see the ring and the others channels.

CIMG1049.jpg
 
Here's a picture of the contaminated oil after sitting for one week, you can see all the debris has settled on the bottom

CIMG1039.jpg
 
While waiting for all the parts to arrive I opened the cartridge.

Inspecting the cartridges I noticed that one of the rods wouldn't run entirely to the end , it would stop 4/5 cms before the lock nut

Pic 1
CIMG1071.jpg


as opposed to this one

Pic2
CIMG1072.jpg


My guess is that the amount of oil in the cartridges was different. I think that if overfilled it will push the PFP to top against the cartridge cap but I'm not entirely sure as at this point I did not observe the PFP movement through the small bleed holes. I'm not sure if this is correct as for my understanding this will limit the traveling of the fork . Would anyone kindly confirm this ?

Disassembly was not very difficult except for the center bolt (the one attached to the damping rod) that was glued from factory. Once done, placed some tape over the grooves to make sure I wasn't going to scratch the small seal on the chamber and pushed it up gently up.

CIMG1090.jpg
 
Cleaned/inspected everything and to insert the rebound piston I used a small o-ring to secure the piston band and with a 10mm T-handle I pushed it down (nice tip from Mr. Jeff Slavens :-) ) . The o-ring will be pushed back to the t-handle after the piston is inserted in the tube.

CIMG1089.jpg


Cleaned the rebound clickers and just greased it with oil

CIMG1042.jpg


Here's everything assembled again

CIMG1051.jpg


Image of the rebound damping rod

CIMG1093.jpg
 
Did you get into the valving at all? I'm going to break mine down next week, will have over 20 hrs on them. I'd like to add some rebound while I'm in there. Nyloc nuts on the taps holding the stacks or are they staped/peened? Thanks.
 
Here is the compression piston / Progressive Floating Piston

CIMG1091.jpg


I filled the inner cartridge with 130mm of Motul 7,5w Factory Line . The way I measured was with the cartridge fully extended and after all the air was out ( I think this is the way to measure). This amount was a tip from someone that services these type of forks and claims this is standard setting for this fork.
After fighting my way to push the PFP down and to close the cartridge :mad::mad::mad: (there's got to be an easier way! ) I compared both cartridges again and now they both use the full travel of the damping rod. Not sure if it's correct but seems natural to be.

I just have one small difference between both, one rebounds 1 sec faster than the other... Also, when pushed all the way down I can see PFP bushing (the one that sits between both o-rings) through the bleed holes while on the other it just reaches as far as the upper o-ring. Don't know what might be wrong as I serviced both the same way but seems that one of the PFP is able to generate more pressure than the other. My guess is I might have to replace the PFP o-rings because there's always a small tiny amount of oil coming out of the bleed holes in one of the tubes.

Any Ideas ?
 
Did you get into the valving at all? I'm going to break mine down next week, will have over 20 hrs on them. I'd like to add some rebound while I'm in there. Nyloc nuts on the taps holding the stacks or are they staped/peened? Thanks.

Some sort of Nyloc nuts, you can re-use it .
 
If you overfill the carrtridge, will the excess oil be pushed out the bleed holes when inserting the comp / PFP assembly? This is confusing as Leo has said it does, and Evan Yarnell has said it does not. It makes sense that it should. Could there be differences in the forks?

I would think that the reason one extends slower is due to less pressure, which is due to less PFP preload, lower piston position from a leak. What size orings?
 
Back
Top